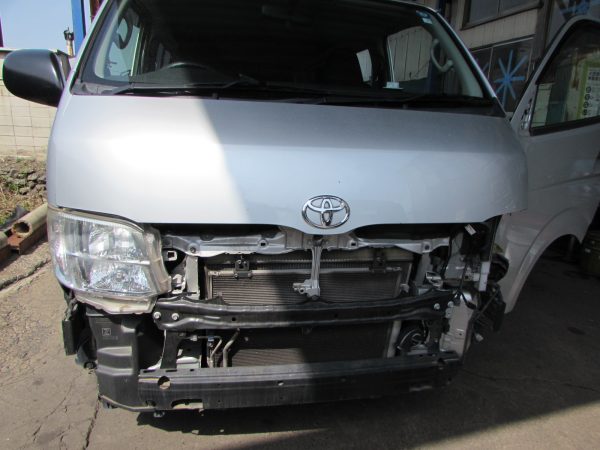
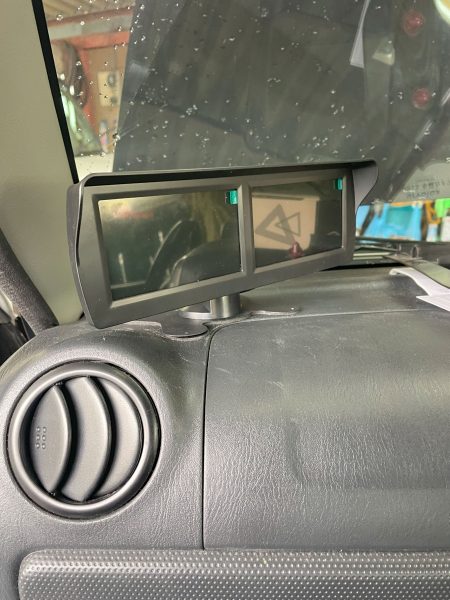
今回のご紹介は200系 ハイエースへサイドカメラとフロントカメラの取付で城南モーターサービス様からの請負作業で世田谷区へ出張取付にお伺いいたしました
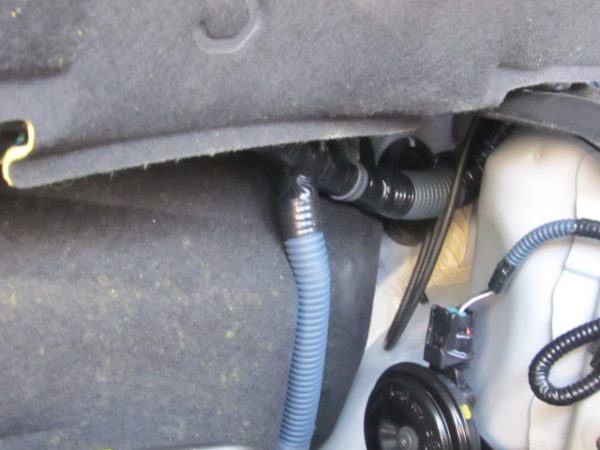
既に板金部の方でバンパーの取り外しがされているところからスタートです
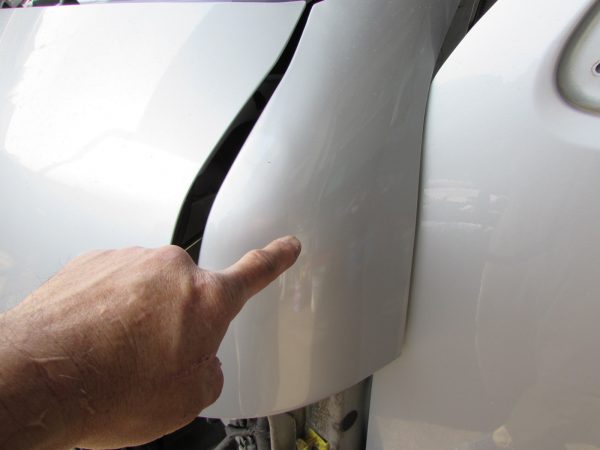
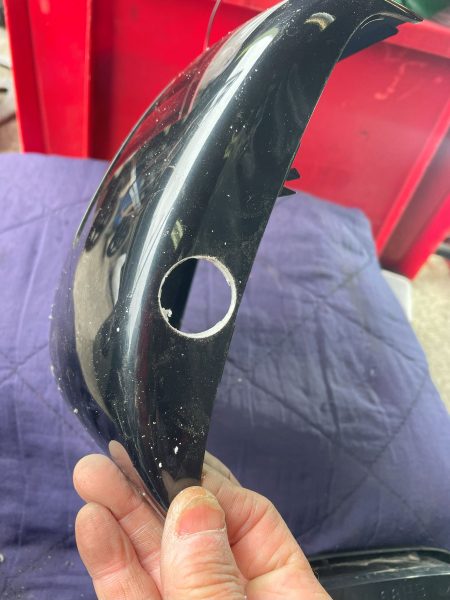
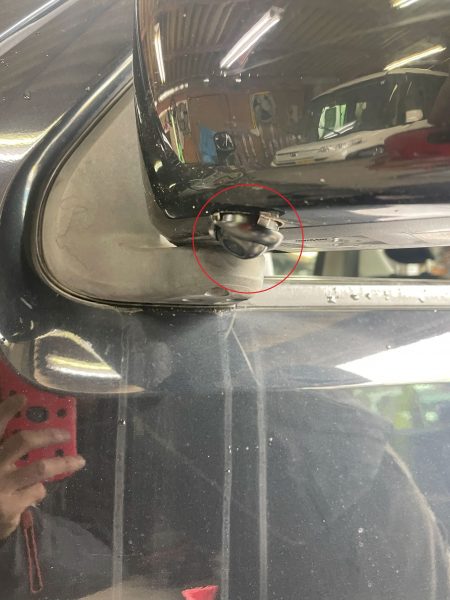
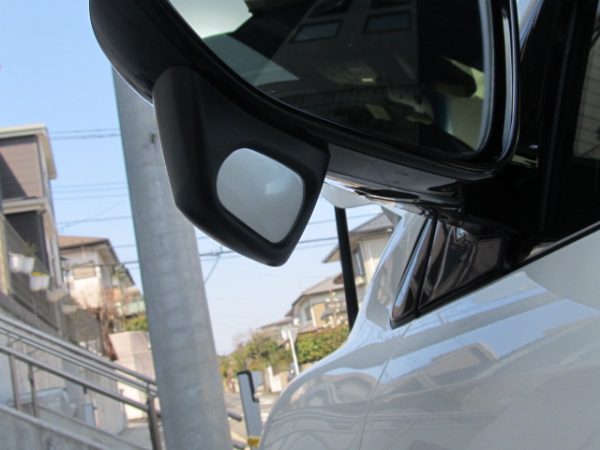
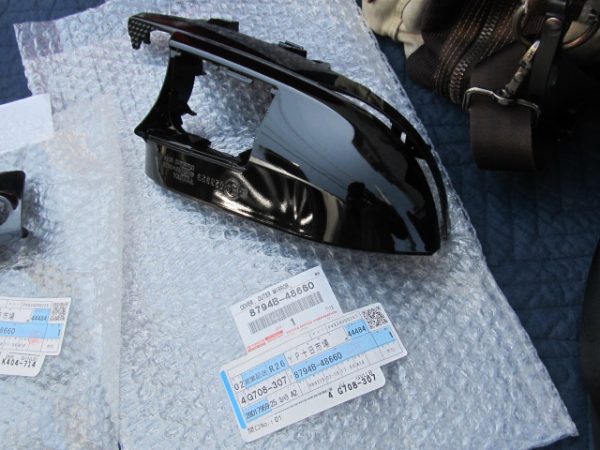
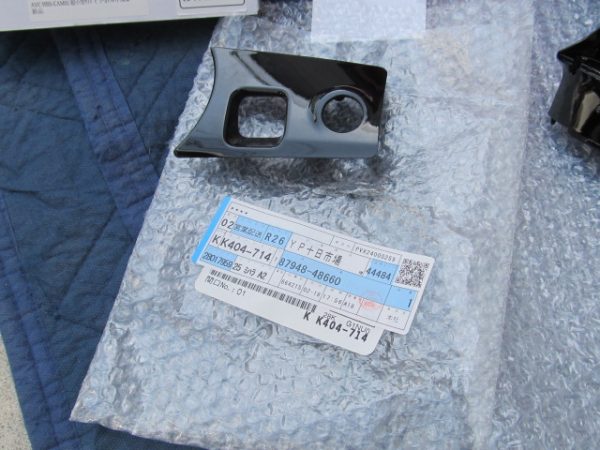
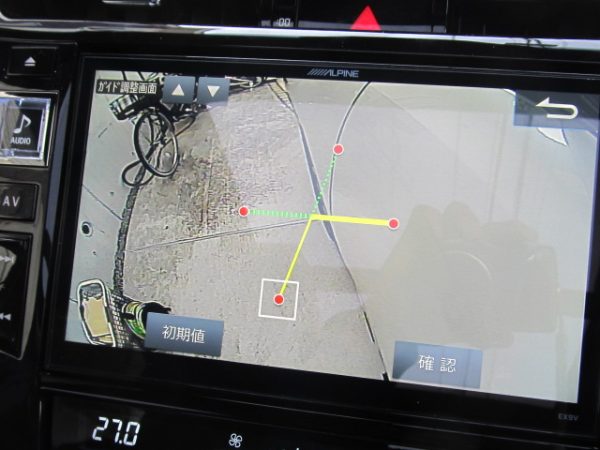
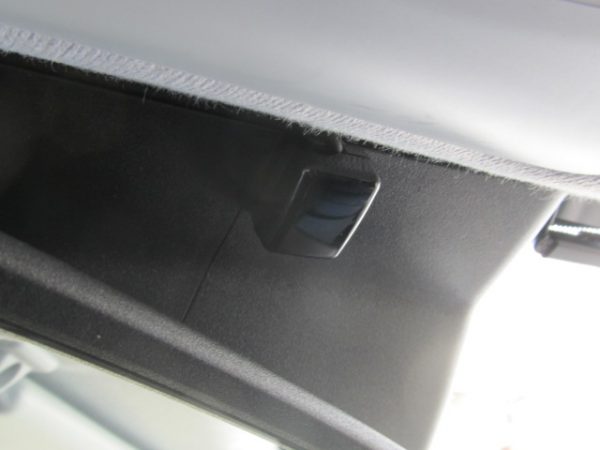
いわゆる『ガッツミラー』のスムージング化による車検適合の為のカメラ施工となります
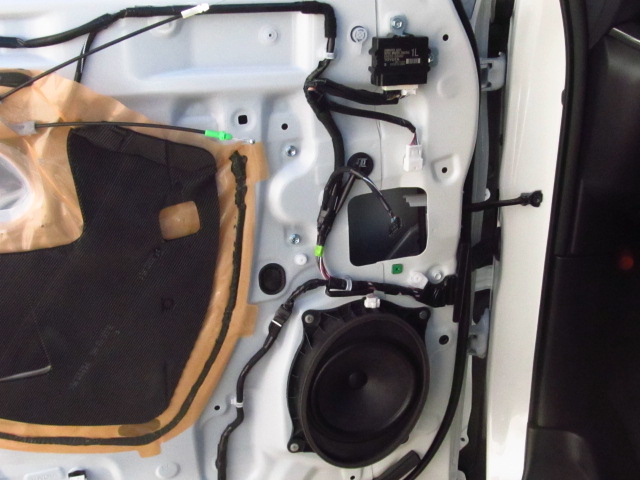
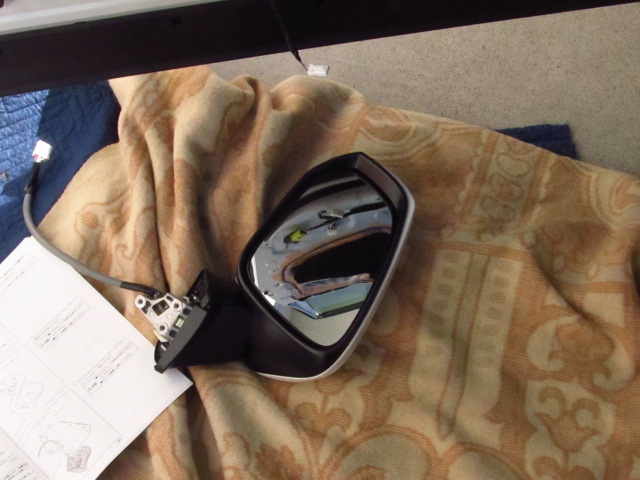
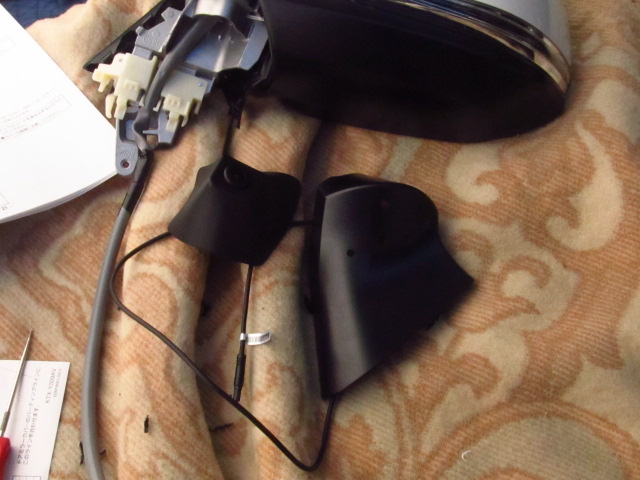
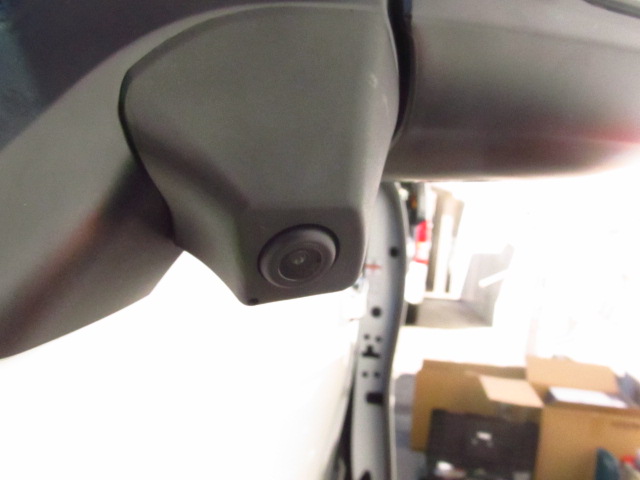
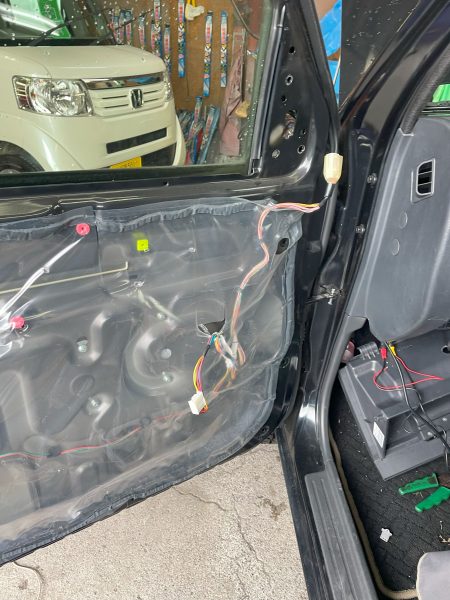
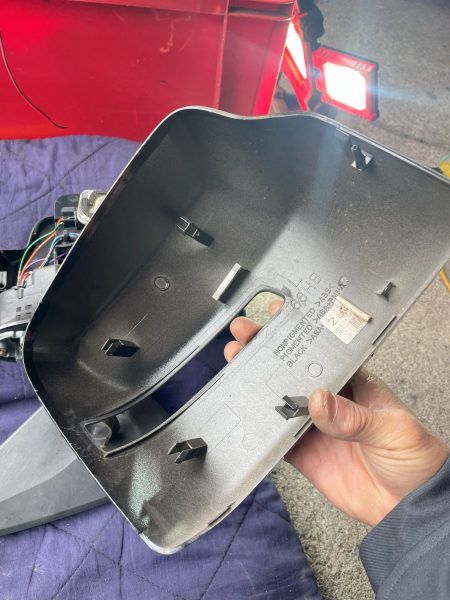
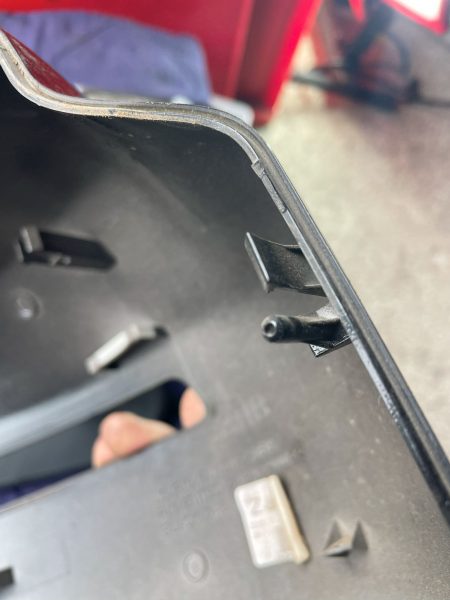
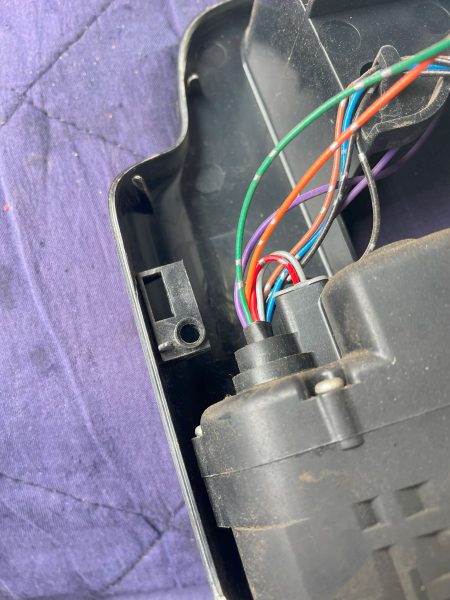
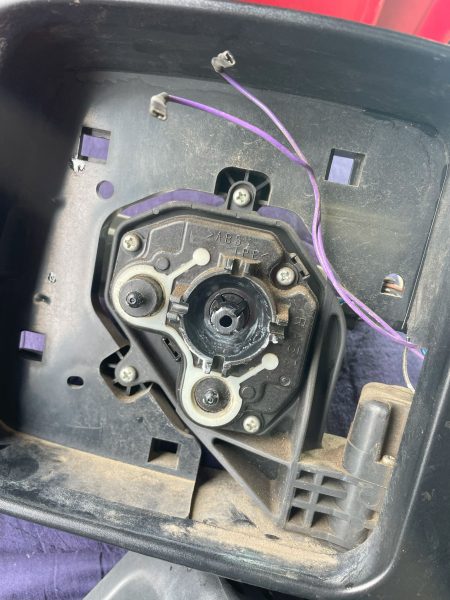
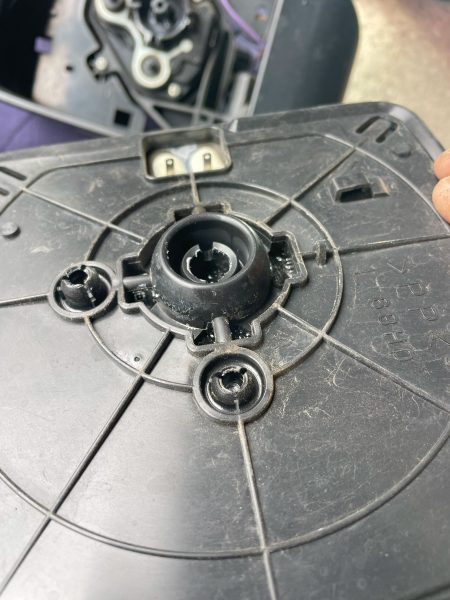
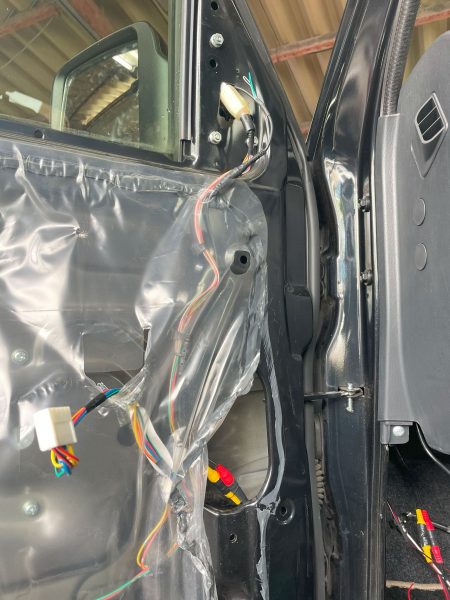
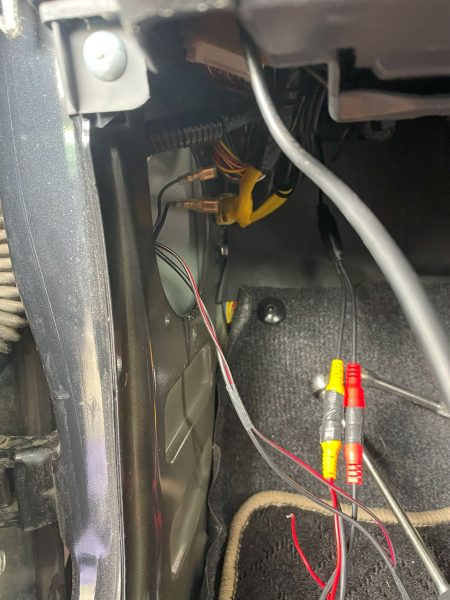
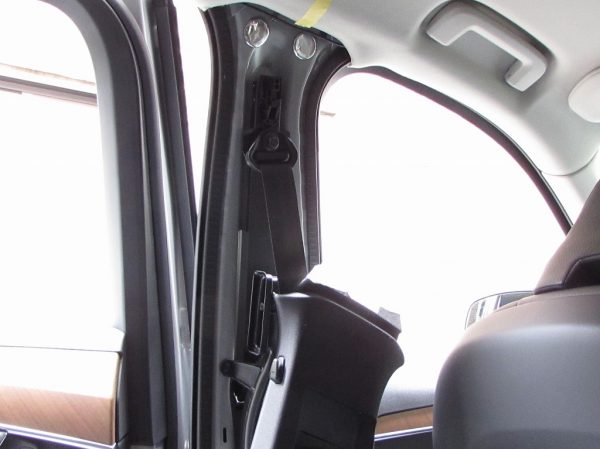
まずはサイドカメラから開始ドア内張を剥しサイドミラーの脱着

入念に観察して鏡面部への干渉が無いように位置決め埋め込みです

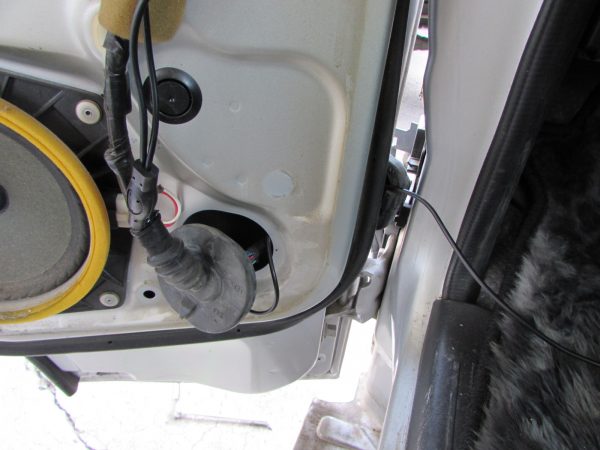
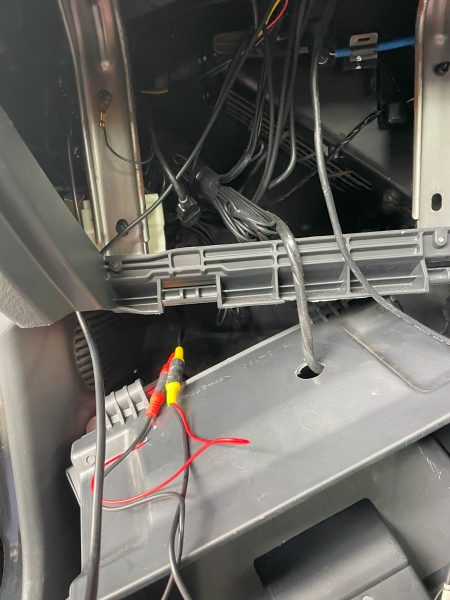
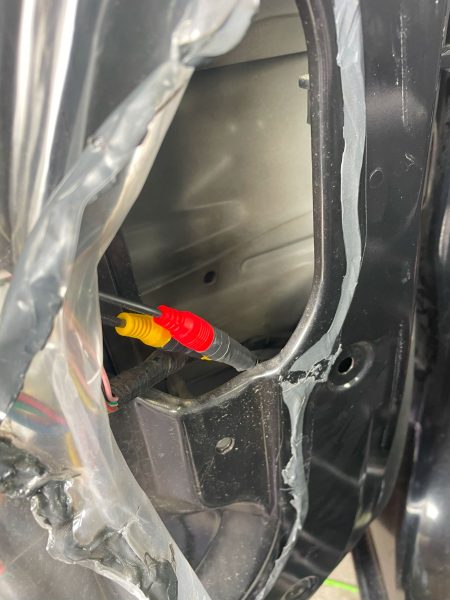
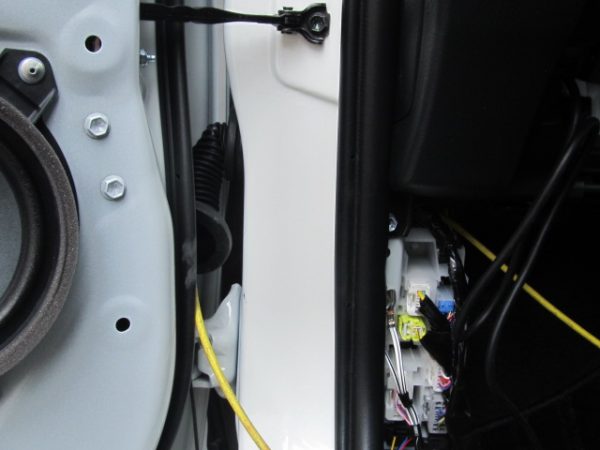
ハイエースはドア内の配線が一度バンパー裏に回ってからバルクヘッドを介して室内へ配線が通る為バンパー脱着は必須となります

キット言っても在り物の中華製のカメラと2分割モニター抱き合わせ販売しているだけで専用品では有りませんので
フロントカメラも試行錯誤して取付け
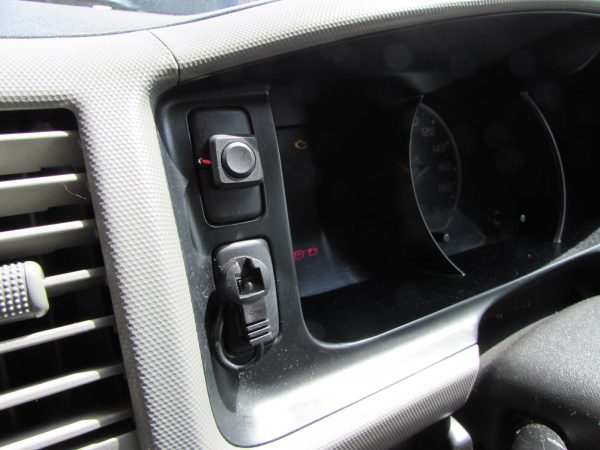
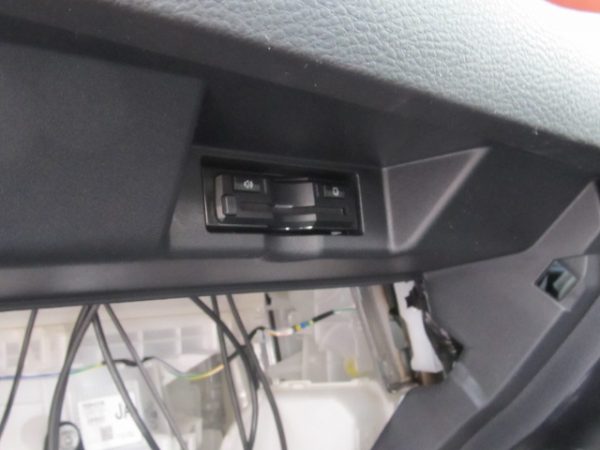
スイッチが有った為メーターフードへ施工
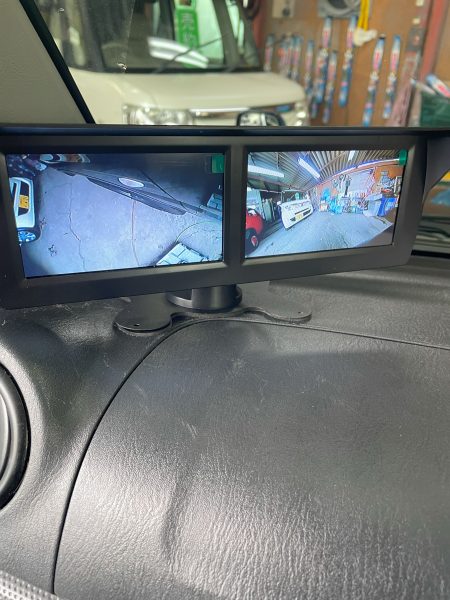
完成です

カーナビ、カメラ、ドライブレコーダーなど車の電気製品全般の商品持込、出張取り付けは是非サンライズガレージにご相談ください、東京、神奈川、埼玉、千葉、栃木、茨城、群馬等、関東近県どこでも出張取り付け致します。
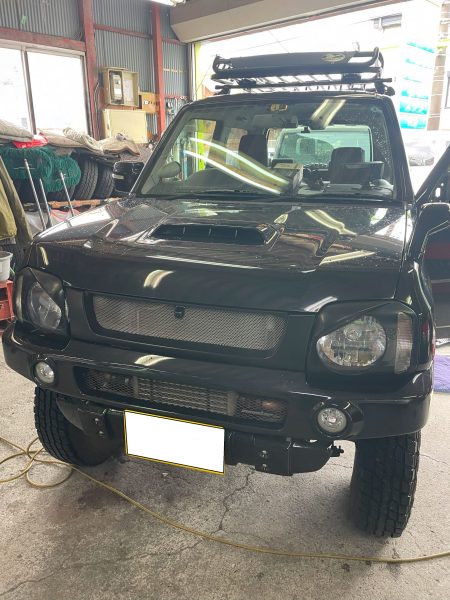
本日のご紹介はスズキ ジムニーJB23へサイドカメラとフロントカメラの取付で藤沢市へ出張取付にお伺いいたしました
藤沢市内の中古車屋さんからのご依頼なのですが今回のこのジムニーは2年前、納車前に弊社でナビゲーション、バックカメラを付けた個体となります、今回車検を迎えるのですがリフトアップしている為車検規定でフロントカメラとサイドカメラを付けなければならないという事でのご依頼となりました。
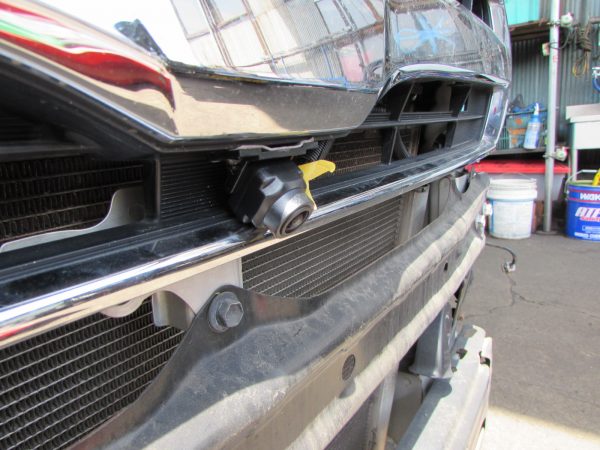
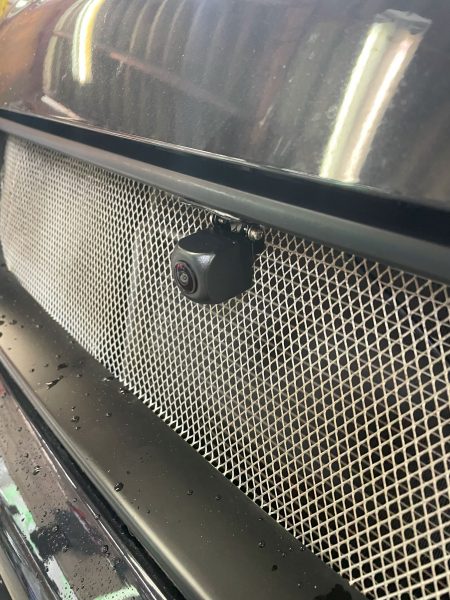
まずはフロントカメラから開始です、グリルに少々切り欠き加工をしてエンジンルームへ引き込みます
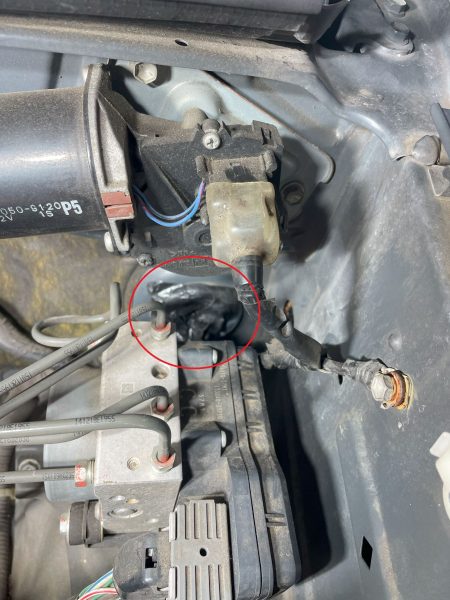
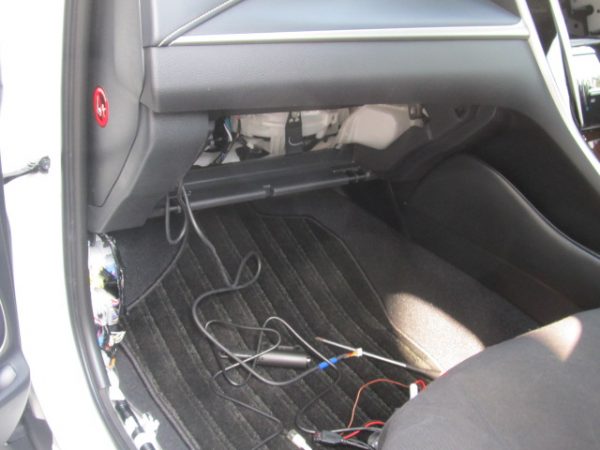
ケーブルはバルクヘッドに有る純正ハーネスの入るグロメットから室内へ引き込みます
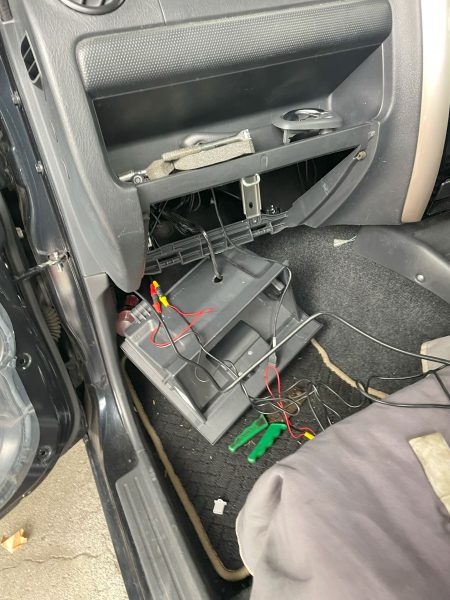
グローブBOX裏から配線が出てきます
専用のモニターをダッシュボードに設置
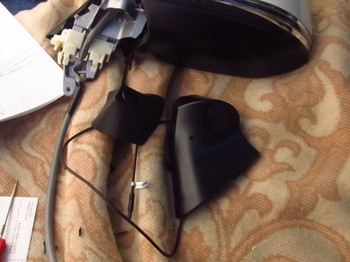
続いてサイドカメラに取り掛かります
この日はまだ3月頭だったので気温が低く温めながら慎重に分解していきます

爪の位置を把握するための備忘録的写真です
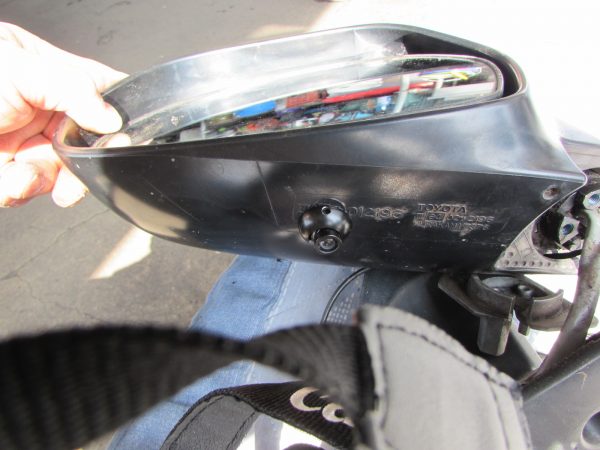
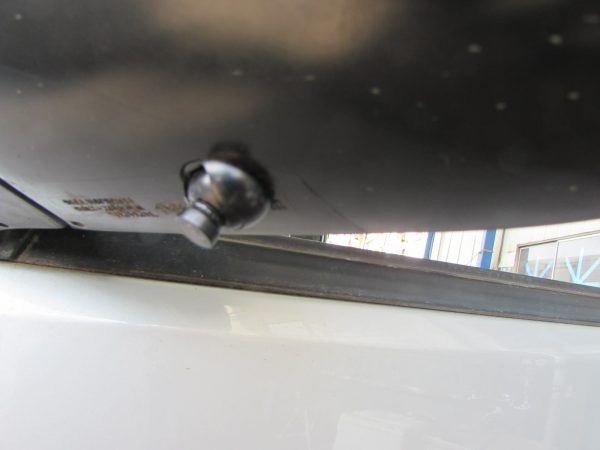
この真ん中のボールジョイントがなかなか取れず厄介でした
ミラー内部の構造をよく観察して位置決めます
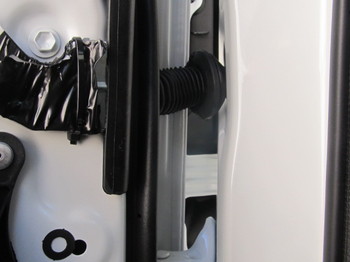
ドアヒンジを通してケーブルを室内へ引き込みます
Aピラー根元からサイドカメラ線が室内へ入ってきました
仮組で少し浮いていますがサイドカメラが付いた状況です
完成です
カーナビ、カメラ、ドライブレコーダーなど車の電気製品全般の商品持込、出張取り付けは是非サンライズガレージにご相談ください、東京、神奈川、埼玉、千葉、栃木、茨城、群馬等、関東近県どこでも出張取り付け致します。
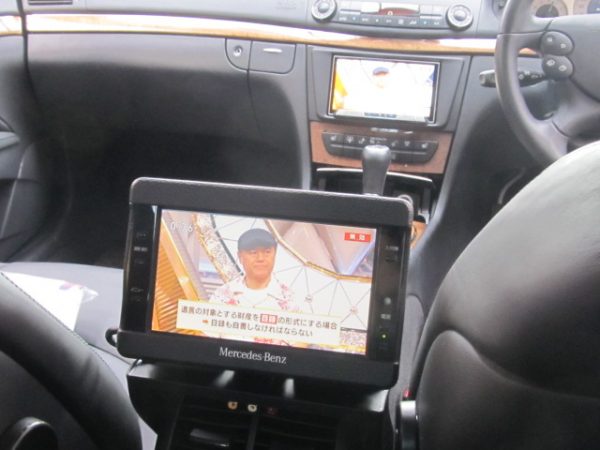
本日のご紹介はメルセデスベンツ Eクラス W211 2009年の最後期のモデルへ カーナビ、バックカメラ、ETCの取付で 東京都あきる野市へ出張取付けにお伺いいたしました。
2009年モデルでW211として最後期のモデルとなります、W211の後期は2008年~1年間ほどでW212が発売されたため
非常に球数が少ないそうです
前期モデルではあくまで画面がオーディオコンソールに有るだけで、ナビやアンプ、チューナー等の中枢はトランクルーム内に埋まっている為バイパス作業が必要になりますが
後期では全て一体式になり施工が楽になるのが大きな違いです、因みに出会ったことは有りませんが前期でも欧州本国仕様、つまり並行輸入車はこの後期モデルと同じ仕組みだそうです
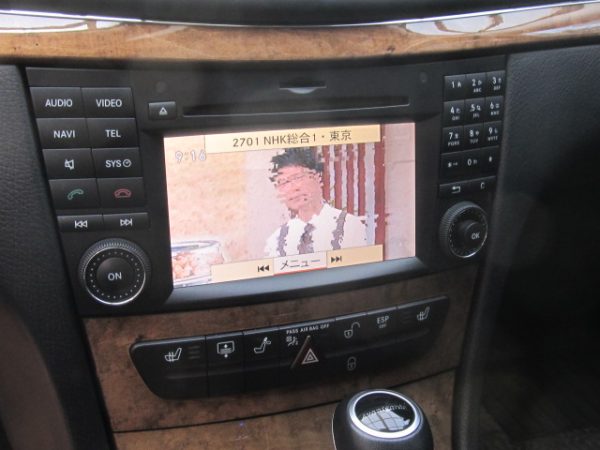
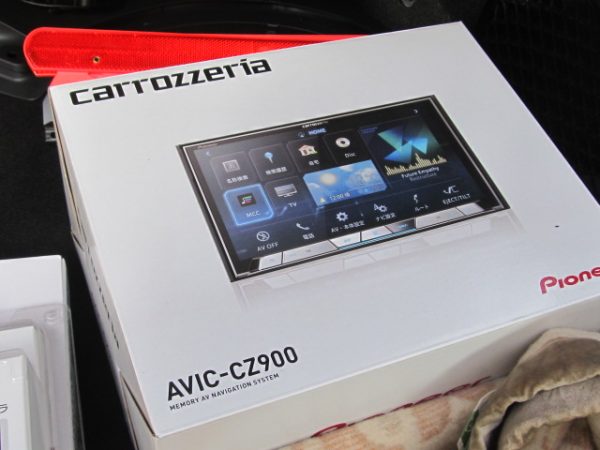
取り付けるナビはカロッツェリアのAVIC-CZ900
ETCはND-ETCS1、バックカメラはND-BC8Ⅱ

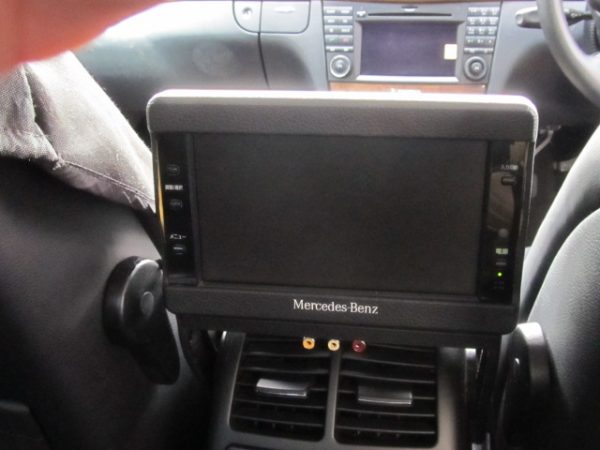
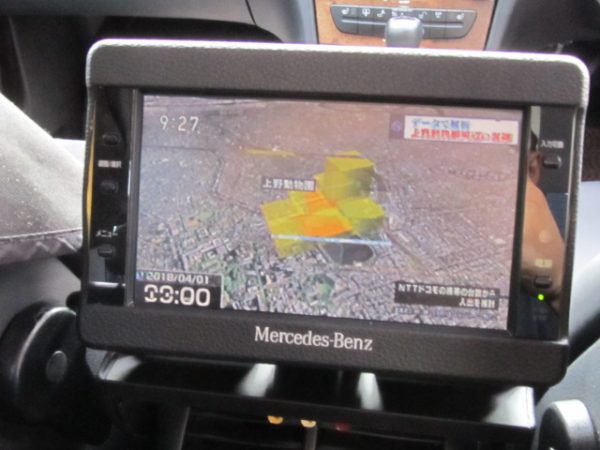
センターコンソールの上にメルセデスロゴ入りの後部モニターが付いています、ディーラーオプションだと思いますが
これも珍しいですね、この時点では社外ナビへの再接続が出来るのかは分かりませんので場合によっては撤去です
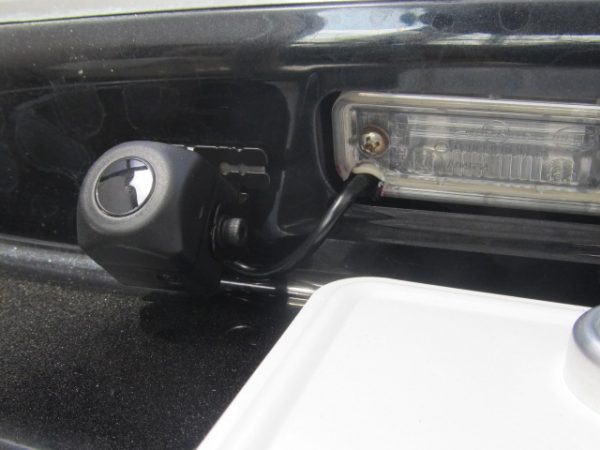
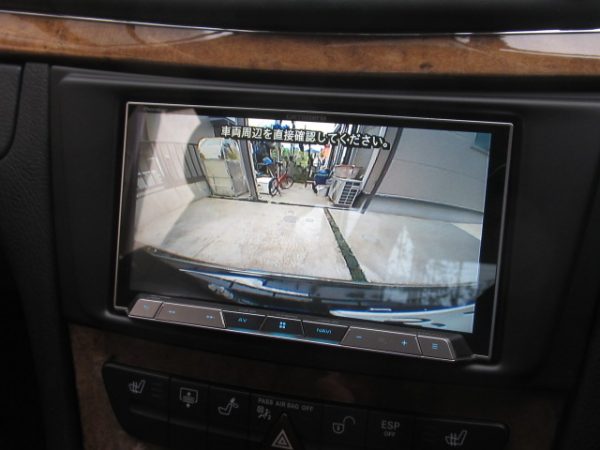
まずはバックカメラから開始です

ナンバー灯脇に切り欠きを入れてカメラ線を引き込みます
トランク内張りを剥してカメラ線を室内側へ送ります、因みに前期はこの場所にアンプやチューナー、ナビ本体が埋まっています
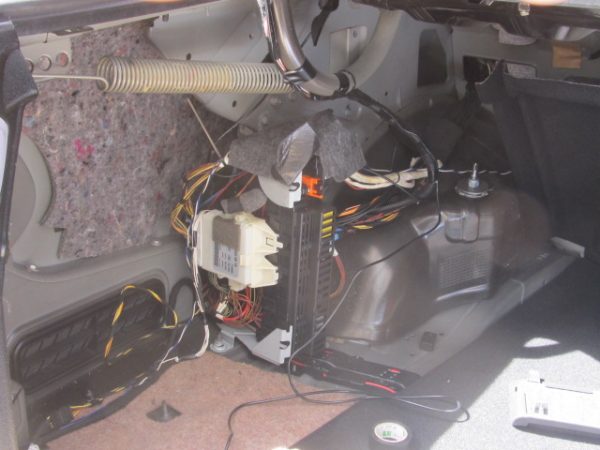
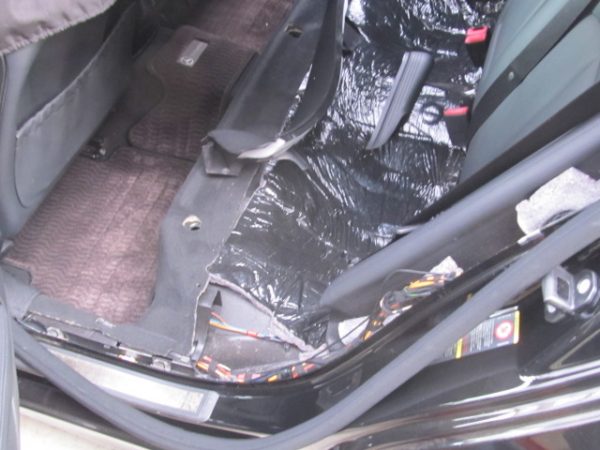
後部座席を外して通線します
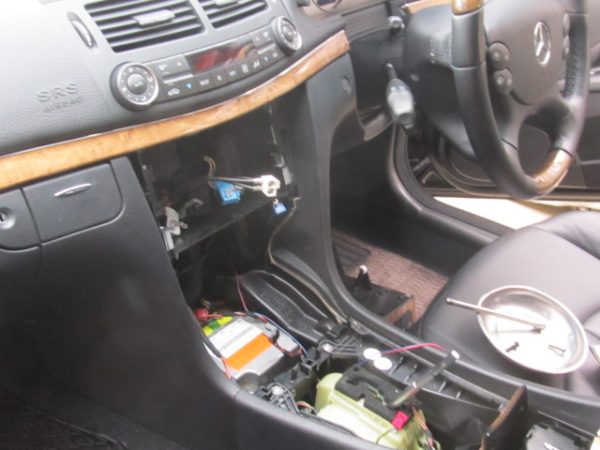
カメラ線がオーディオコンソール付近まで来たら本題のナビの作業となります
色々分解していくと後部モニターのユニットや見た事の無い機器が出てきました観察するとRCA入力でカロッツェリアのナビと接続可能の様なので後部座席モニターは残すことになりました

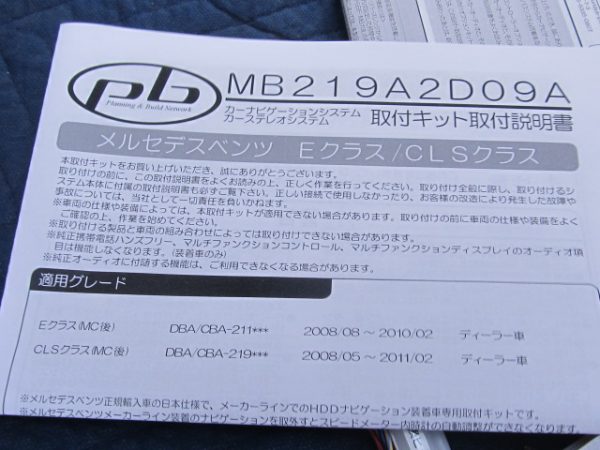
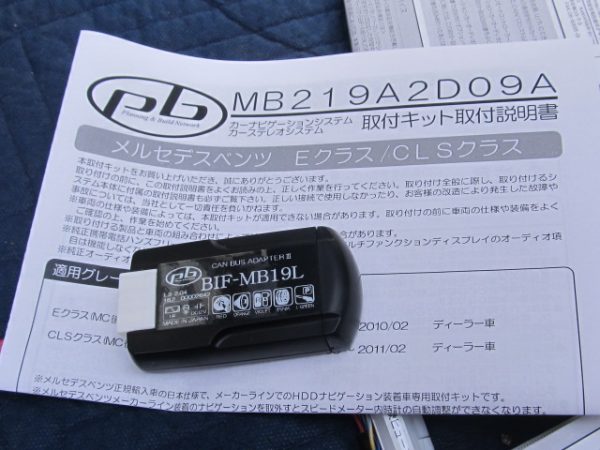
取付にはpb社(現在は廃業)の取り付けキットMB219A2D09Aを使用、後期専用のキットです
CANバスアダプターも同じくpb社のBIF-MB19L
地デジアンテナ、GPS、マイク、ETC配線を施工して完了です
バックカメラ映像
後部モニターへの出力もOKです
カーナビ、カメラ、ドライブレコーダーなど車の電気製品全般の商品持込、出張取り付けは是非サンライズガレージにご相談ください、東京、神奈川、埼玉、千葉、栃木、茨城、群馬等、関東近県どこでも出張取り付け致します。
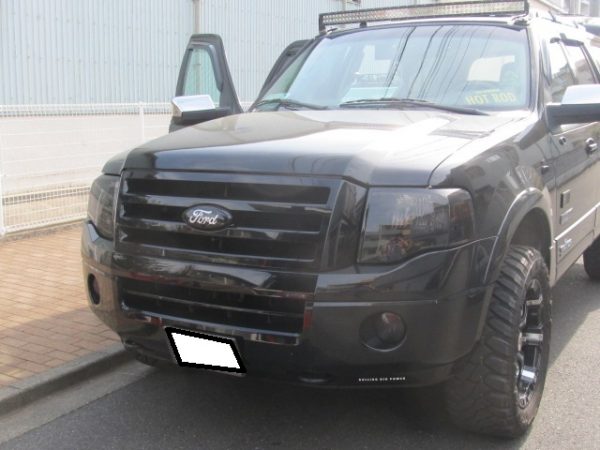
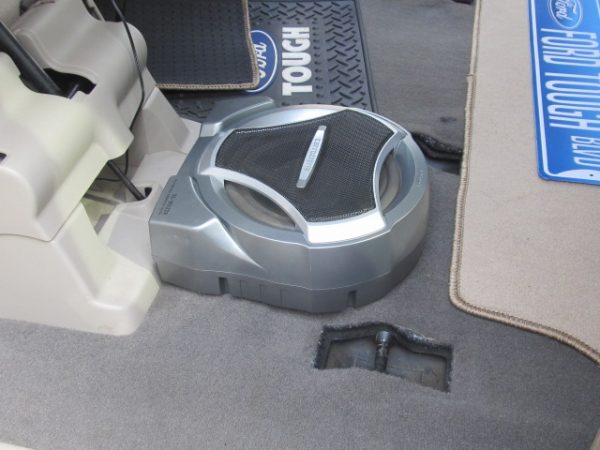
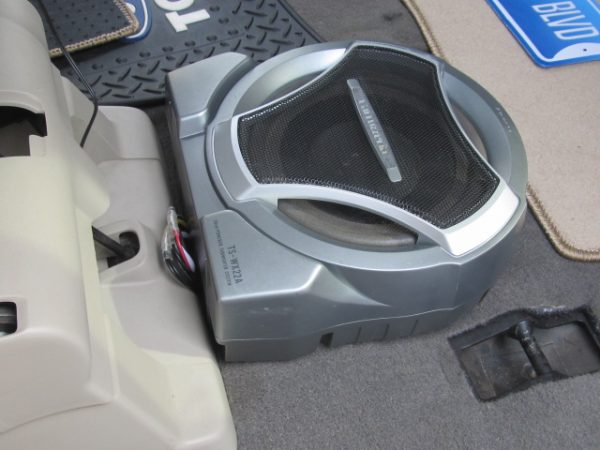
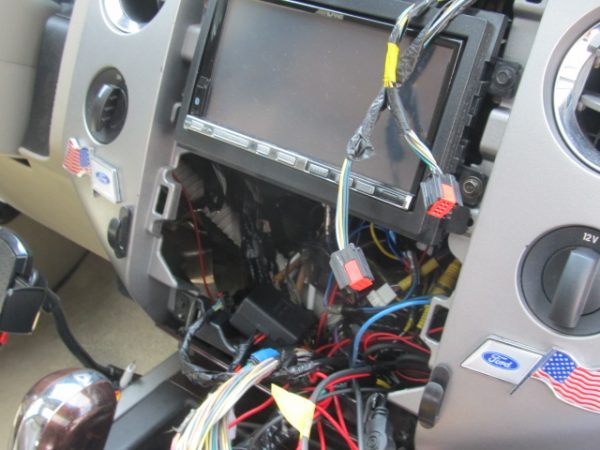
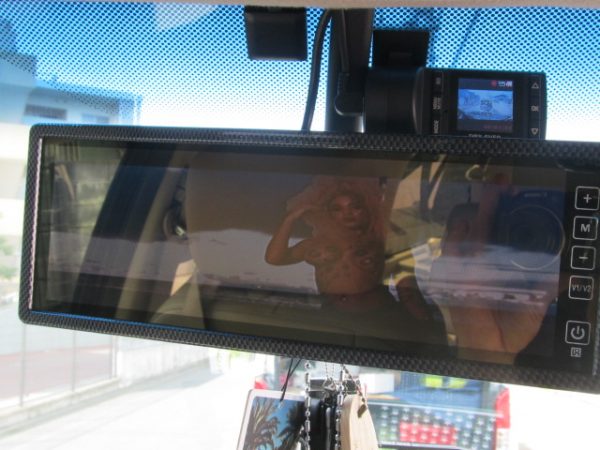
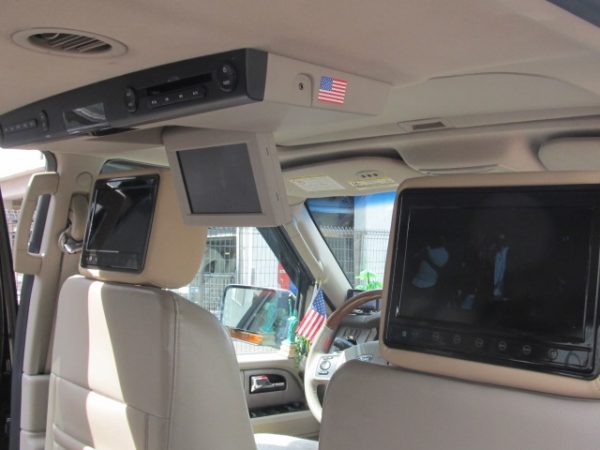
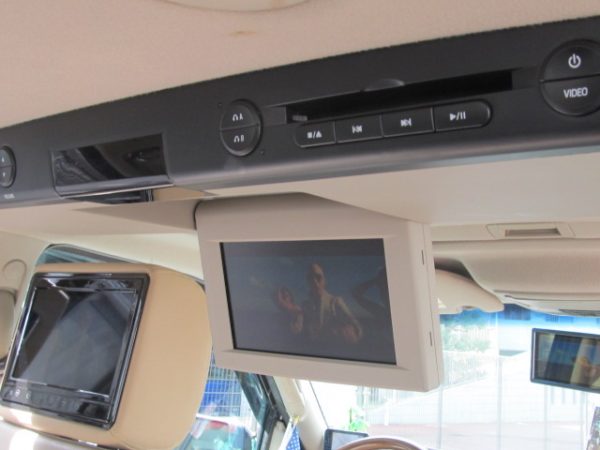
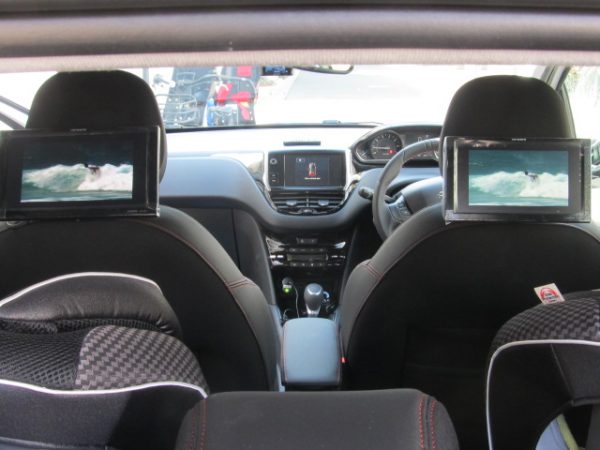
今回のご紹介はFord ExpeditionEL Limited (フォード エクスペディション ELリミテッド)2007年モデルへ
ヘッドレストモニター、ミラーモニター、ウーハーの出張取付で 東京都府中市へお伺いいたしました
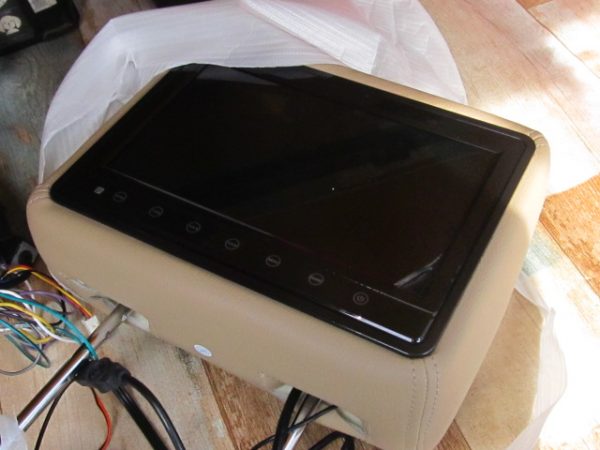
ヘッドレストは中華無名製の商品ですこの手はナビのGPSや地デジに電波干渉の恐れが有りますので予めお客様にはご了承頂いております
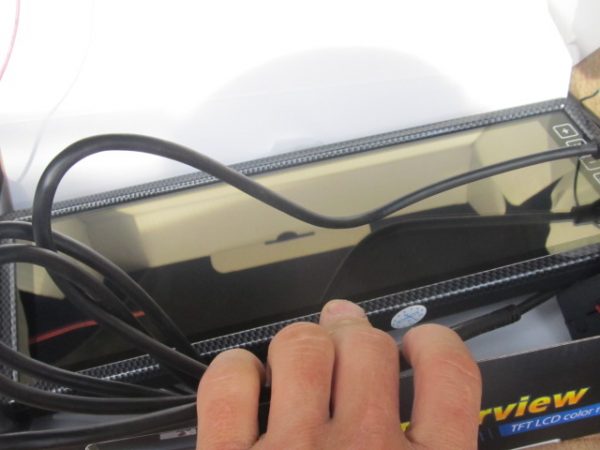
ミラーモニターも中華無名製となります
チューンアップウーハーは後部座席足元に左右2基設置
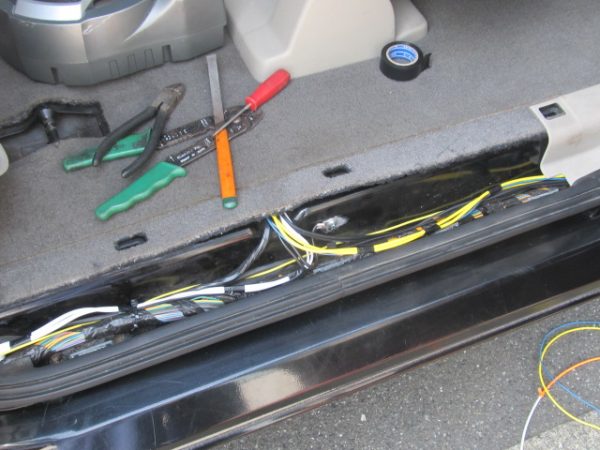
配線をカーペット下から隠し配線で這わせていきます
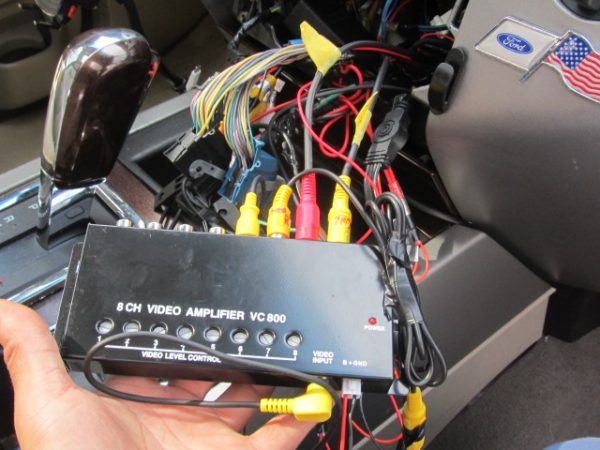
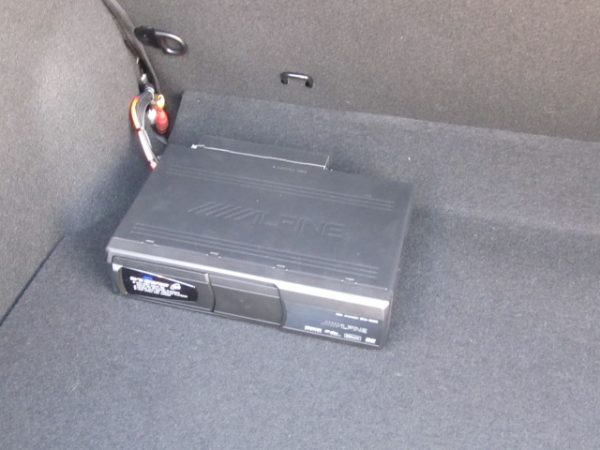
ナビは既にALPINEの物が付いていて映像分配器を使って追加モニターへ分配致します
完成です
ルーフに純正の物の様ですが仕組みは分かりませんがDVDプレーヤー内蔵の小型のフリップダウンモニターが付いていました
元々ALPINEのナビからこのフリップダウンモニターに繋がっており、映像分配から再度接続して映るようになっています
カーナビ、カメラ、ドライブレコーダーなど車の電気製品全般の商品持込、出張取り付けは是非サンライズガレージにご相談ください、東京、神奈川、埼玉、千葉、栃木、茨城、群馬等、関東近県どこでも出張取り付け致します。
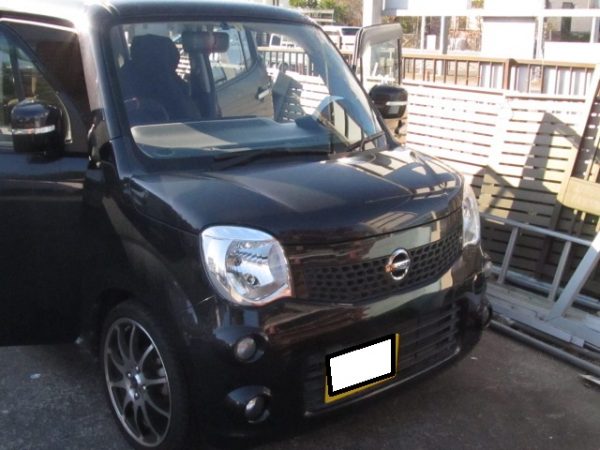
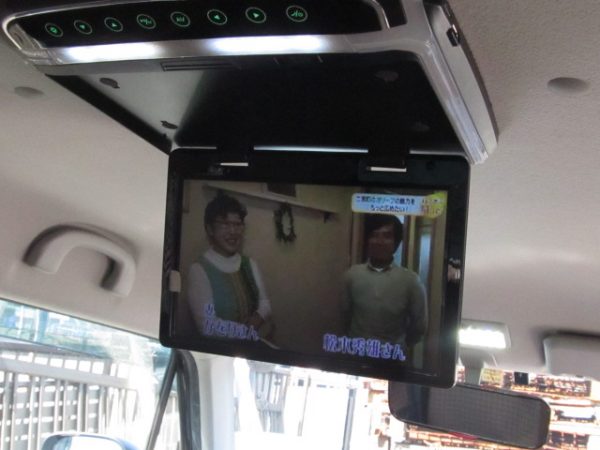
本日のご紹介は日産 MG33S モコへオーディオデッキとフリップダウンモニターの取付で川崎市麻生区へ出張取付にお伺いいたしました
現状はパネル一体式の純正オーディオが付いていますのでこちらと入れ替えます
純正のオーディオレス仕様のパネルを日産のディーラーさんで予め入手して頂く必要が有ります
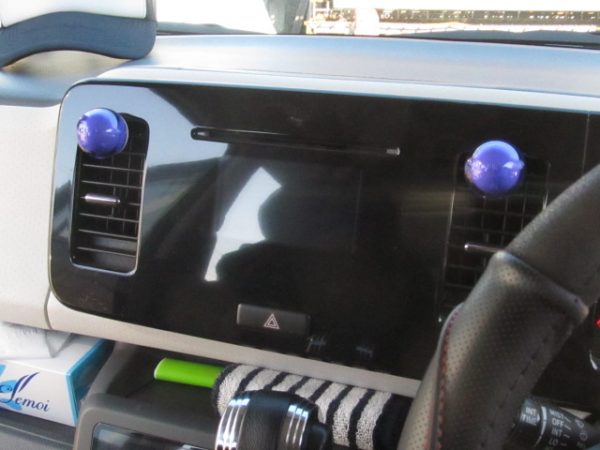
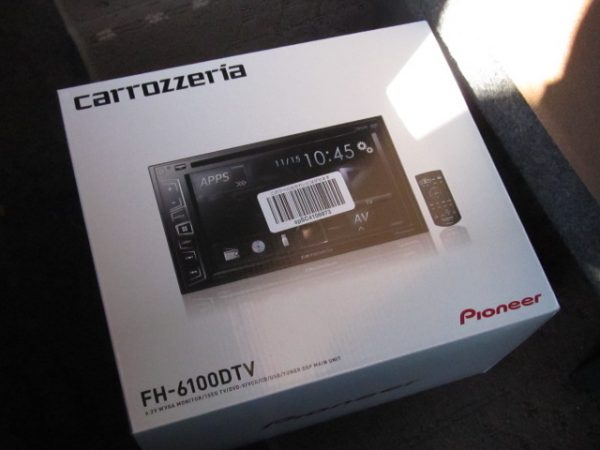
オーディオメインデッキはカロッツェリアのFH-6100DTV
フリップダウンモニターは中華無名製となります、この手の商品は地デジやナビのGPSに電波干渉の恐れもありますのでお気を付けください
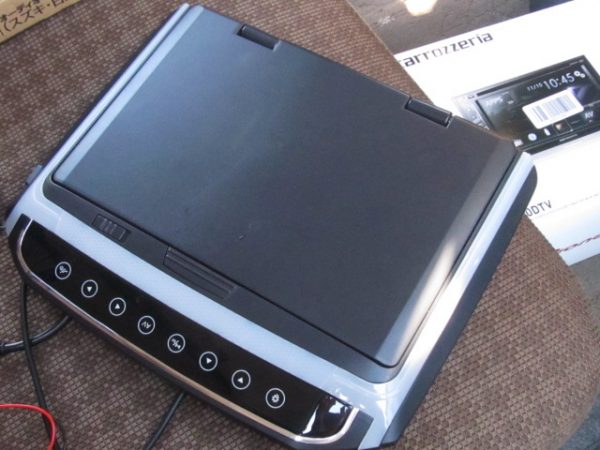
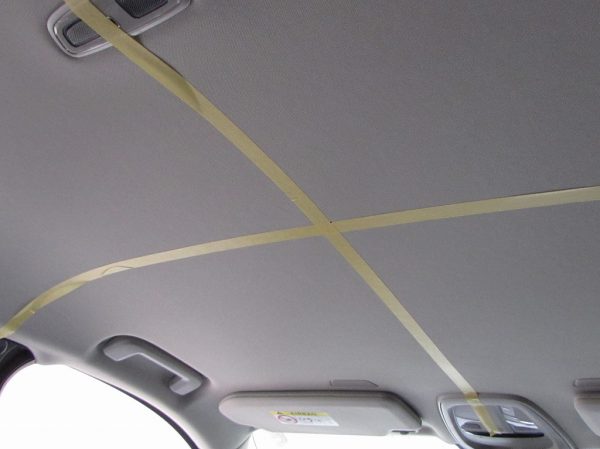
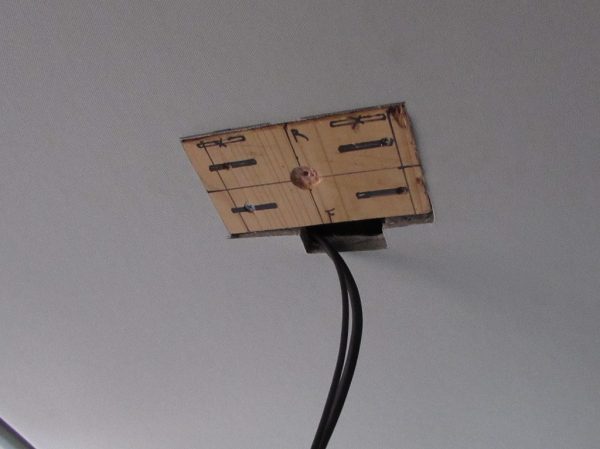
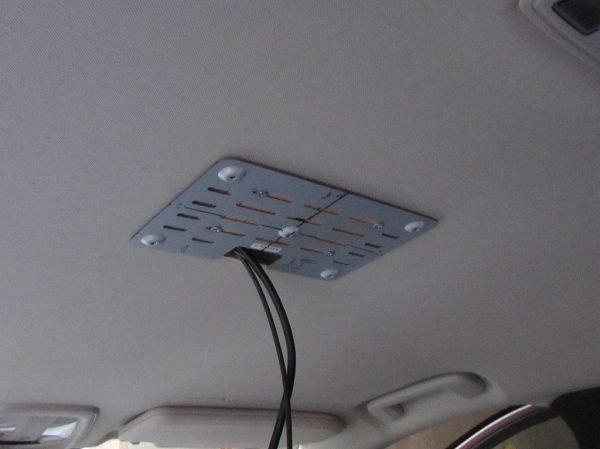
フリップダウンモニターを付ける前のルーフ形状です、今回中華無名製のフリップダウンモニターという事もありますが、仮にALPINEやカロッツェリアのモニターだとしても車種別取り付けキットは存在しないため、その場で考えながら『ワンオフ』での取付となります
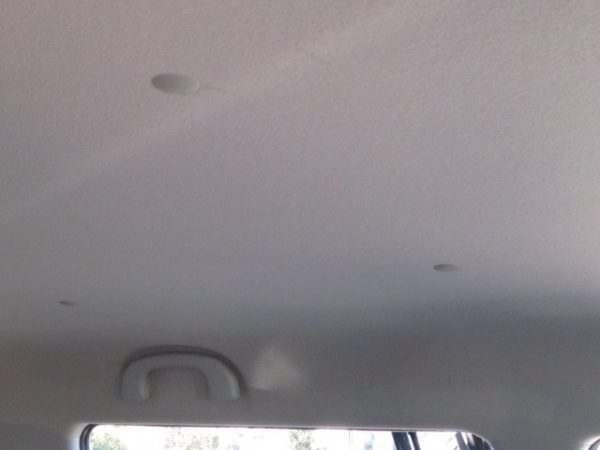
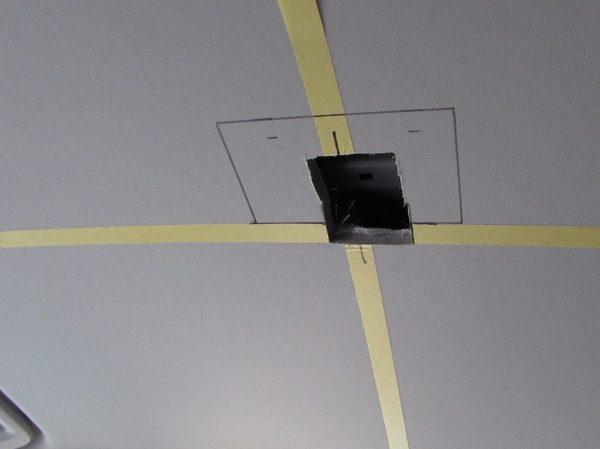
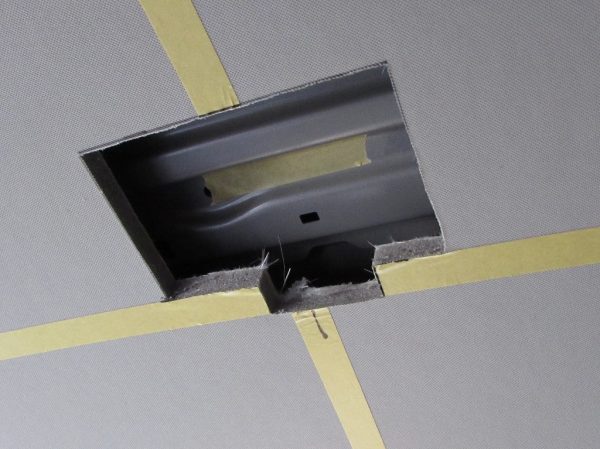
ルーフライニング(屋根内張)の裏にある『梁』の位置を確認して位置決め致します
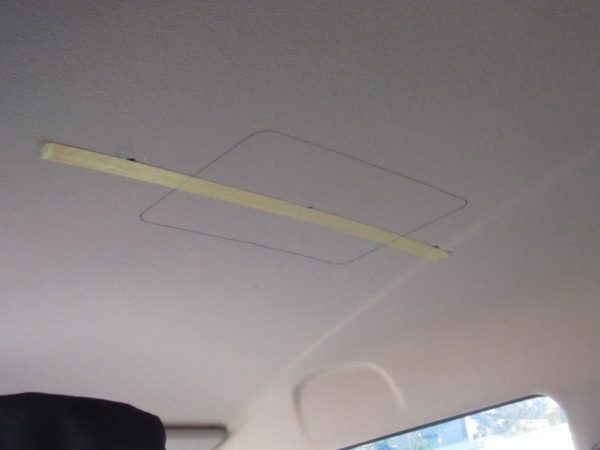
このカット位置をミスってしまうと大変ですので慎重な作業です
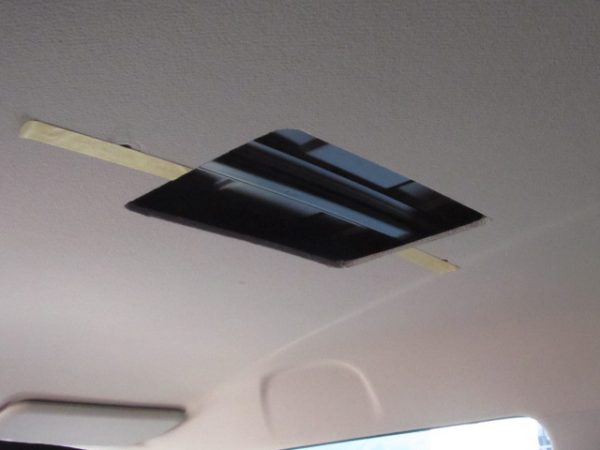
梁とルーフライニングの間に10mm~15㎜のクリアランスが有りますのでこれをコンパネ等で埋めつつ取付となります
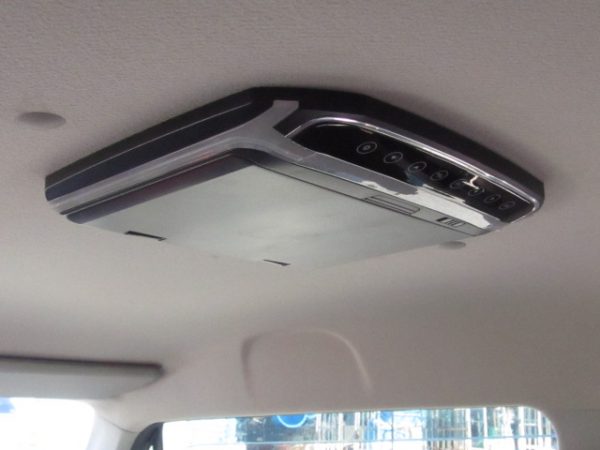
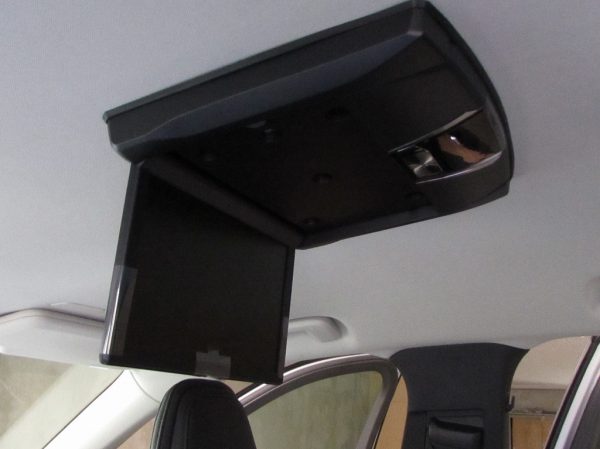
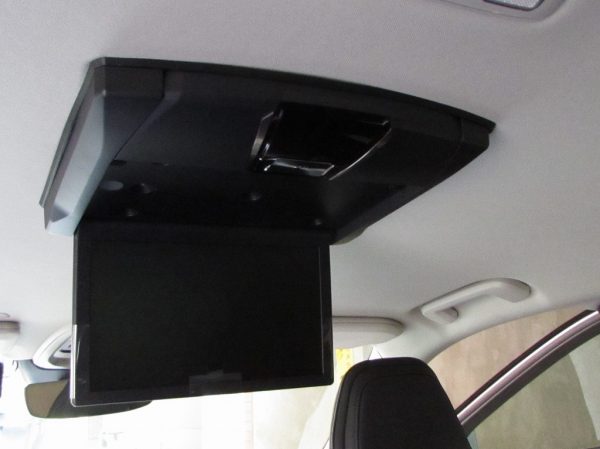
オーディオの取付も完了です

既存の純正カメラも再接続しました
カーナビ、カメラ、ドライブレコーダーなど車の電気製品全般の商品持込、出張取り付けは是非サンライズガレージにご相談ください、東京、神奈川、埼玉、千葉、栃木、茨城、群馬等、関東近県どこでも出張取り付け致します。
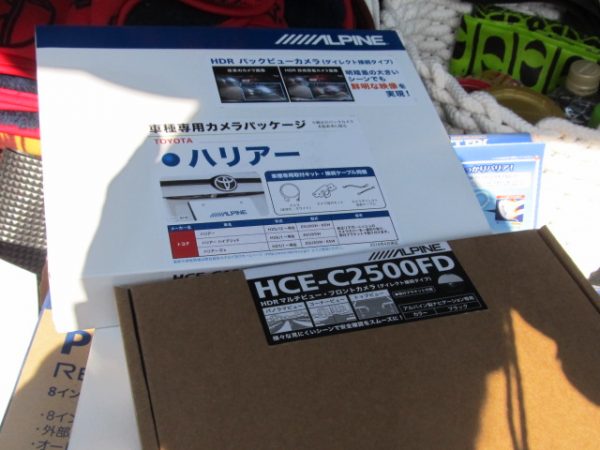
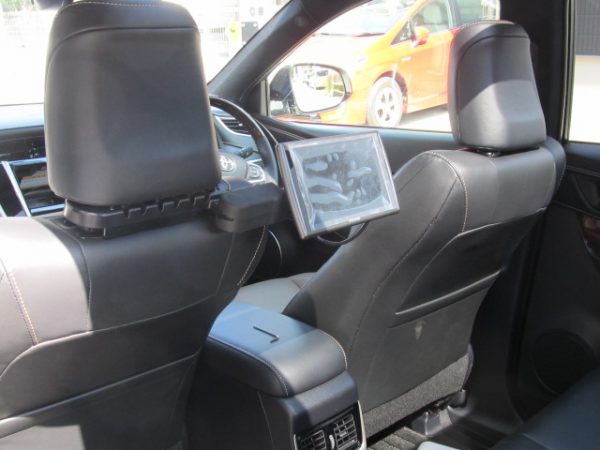
今回のご紹介はトヨタ 60系ハリアーへナビゲーション、前後サイドカメラ、ヘッドレストモニター、ETCの取付で東京都練馬区へ出張取付にお伺いいたしました
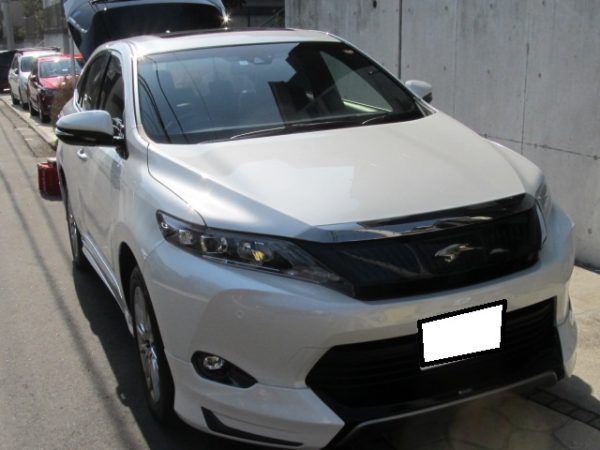
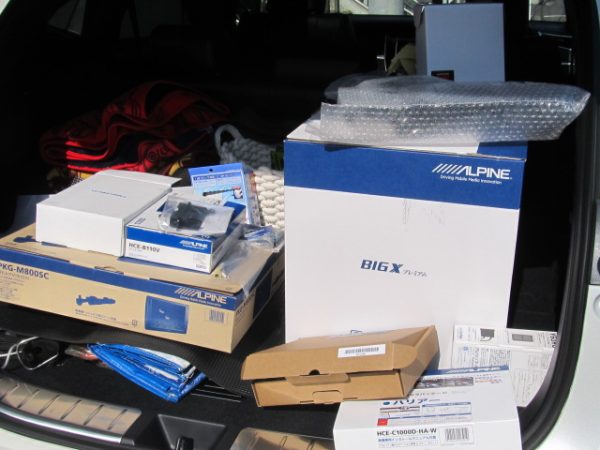
大量パーツで1日掛かりの作業です、全てALPINEの車種別キットで統一です
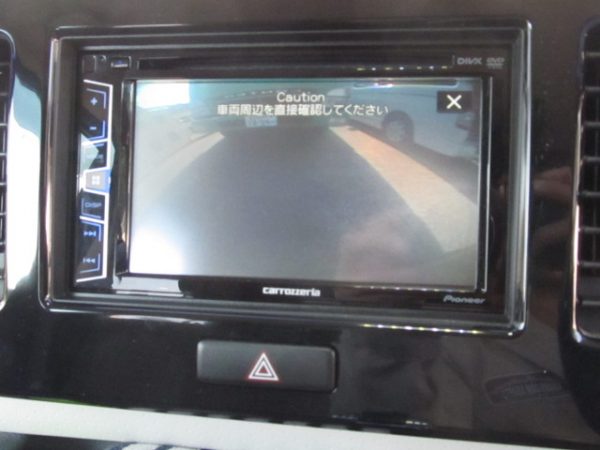
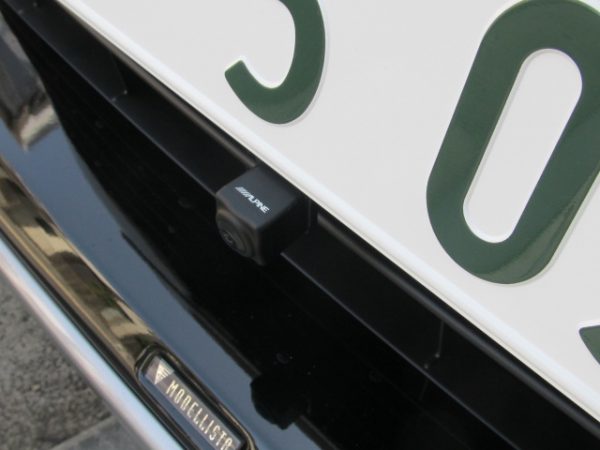
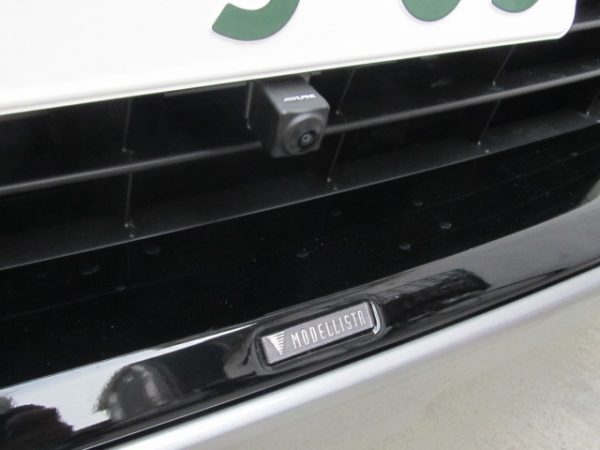
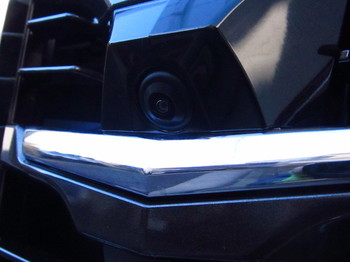
バックカメラはHCE-C2500FD
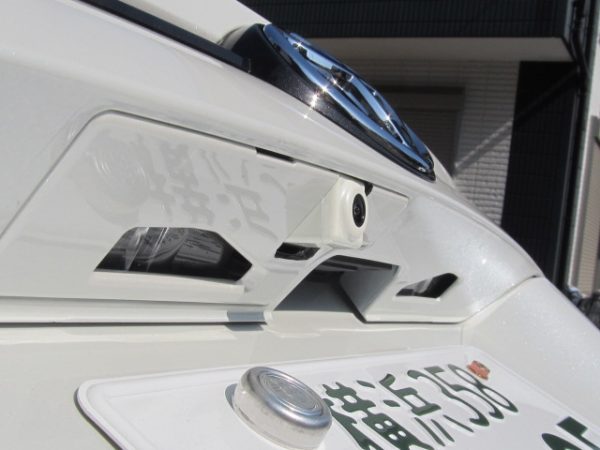
まずはリアカメラから開始
車種別専用キットなのでスマートですね
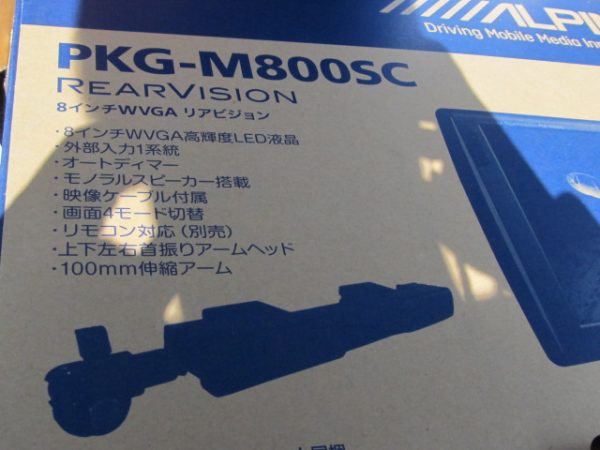
続いて後部座席モニターPKG-M800SC
続いてフロントカメラナンバー下へ設置
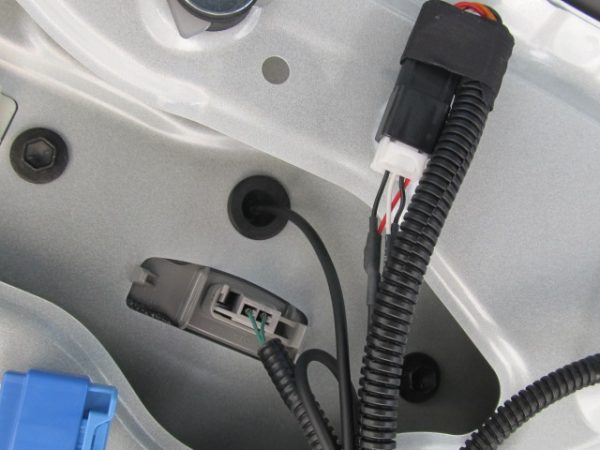
バルクヘッドからの引き込みは奥の方なので手間が掛かります
室内引き込み完了
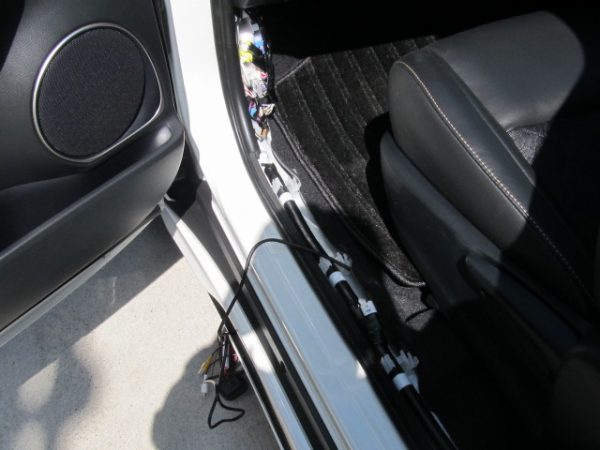
続いてサイドカメラの施工これが一番大変な作業です
このサブミラー?の内側のパネルを差し替えて埋め込みます
ミラーをバラバラにして組み替えます
サイドカメラ線をヒンジ部から室内へ引き込み
ETCは純正位置のグローブBOX内へ
ナビゲーションの施工写真を忘れてしまいましたが完成です
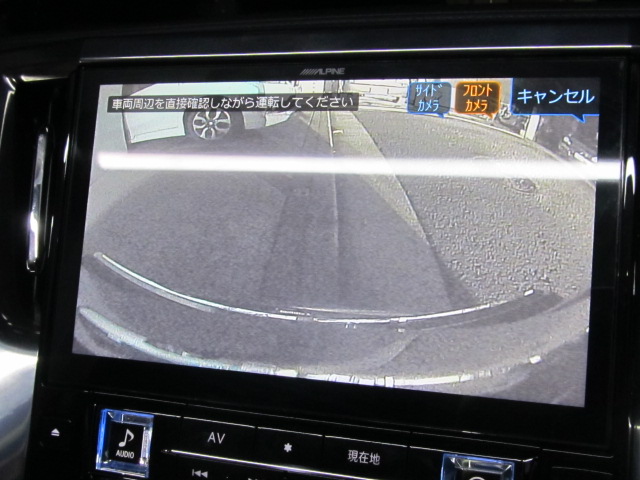
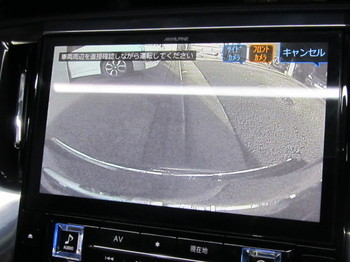
リアカメラ

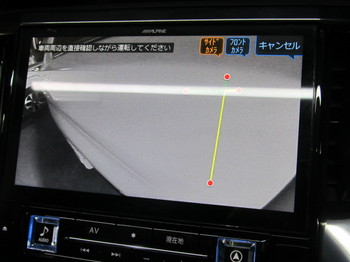
フロントカメラ
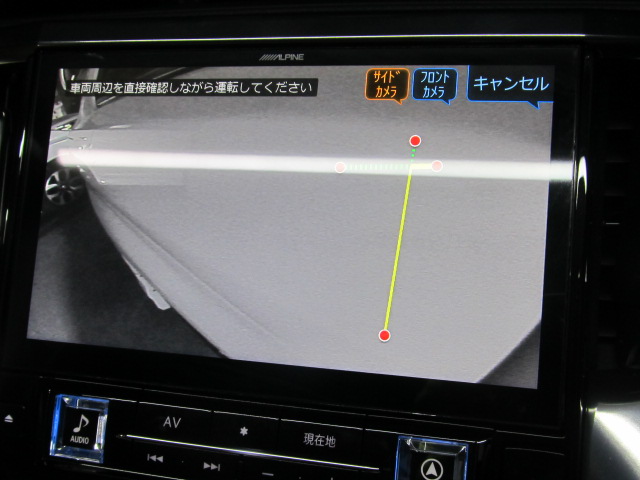
サイドカメラ
カーナビ、カーオーディオなど車の電気製品全般の商品持込、出張取り付けは是非サンライズガレージにご相談ください、東京、神奈川、埼玉、千葉他関東近県どこでも出張取り付け致します。
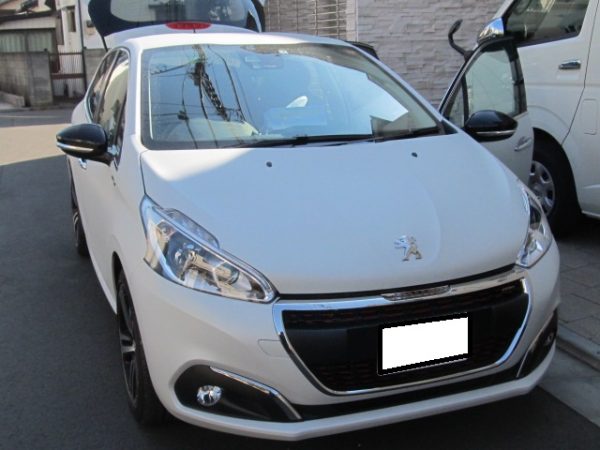
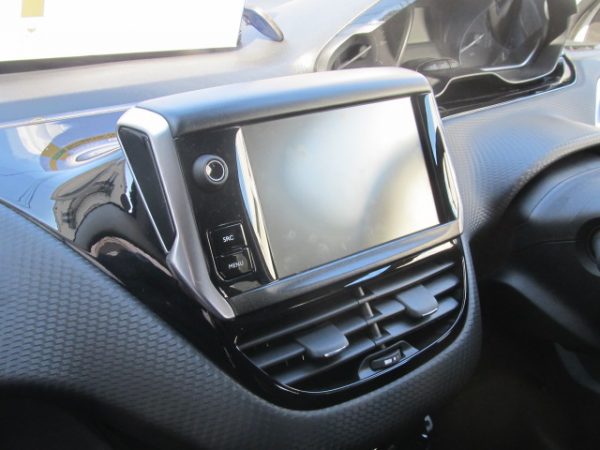
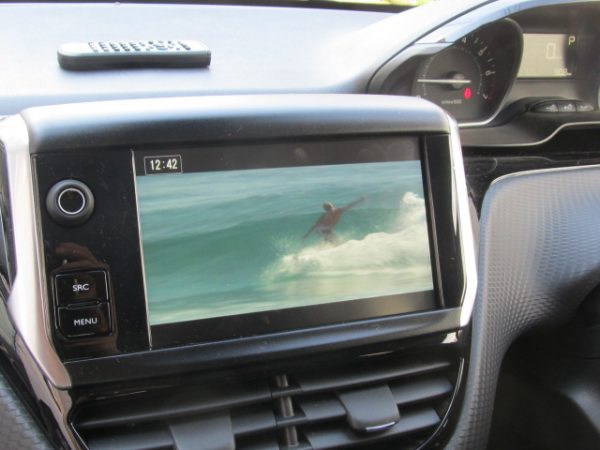
今回のご紹介はプジョー208 2017年モデルへDVDチェンジャーとヘッドレストモニター2基の取付で東京都練馬区へ出張取付にお伺いいたしました
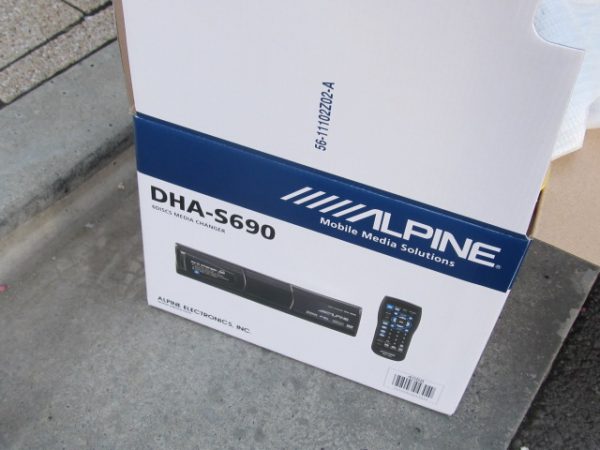
DVDチェンジャーはALPINEのDHA-S690
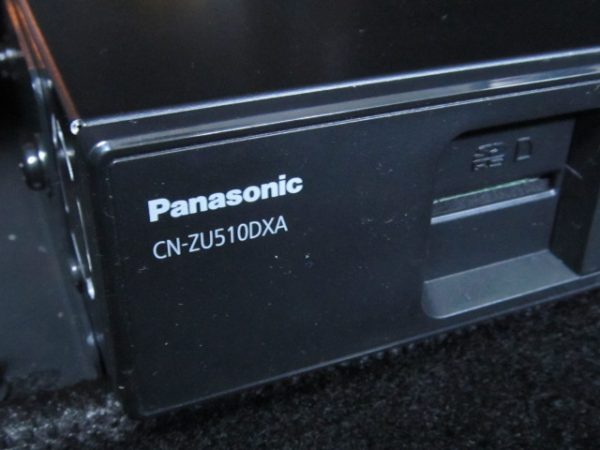
ディーラーオプションなのだと思いますがシート下に純正扱いのパナソニックナビが付いています
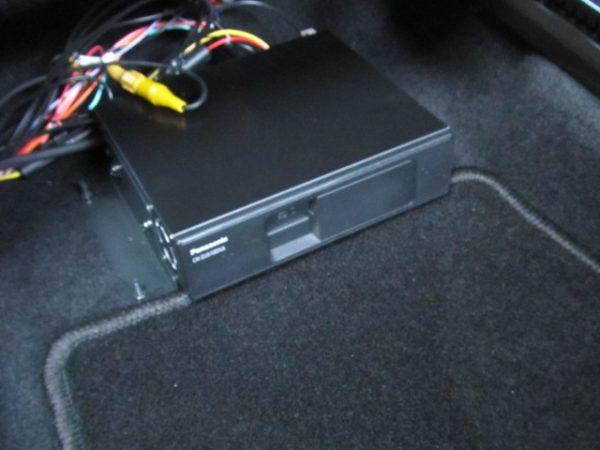
CN-ZU510DXAこのナビの外部入力にDVDチェンジャーを接続します
純正システムは交換不可の物ですね
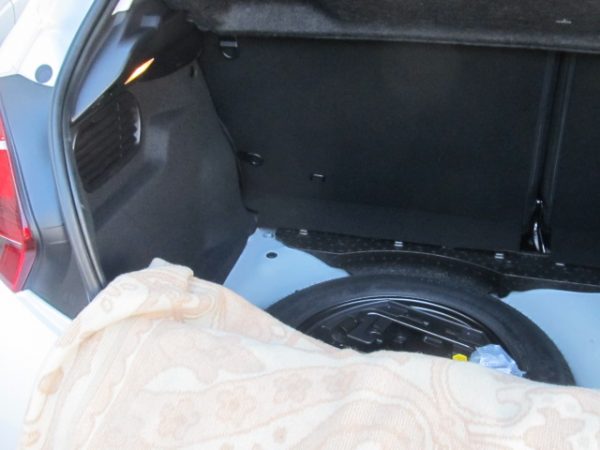
DVDチェンジャーはラゲッジルームに設置
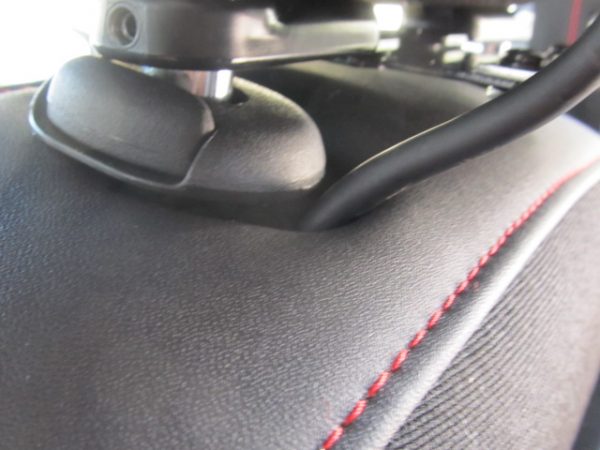
ヘッドレストモニターはナビ男くん社のスマモニライトと言う商品です左右2個です
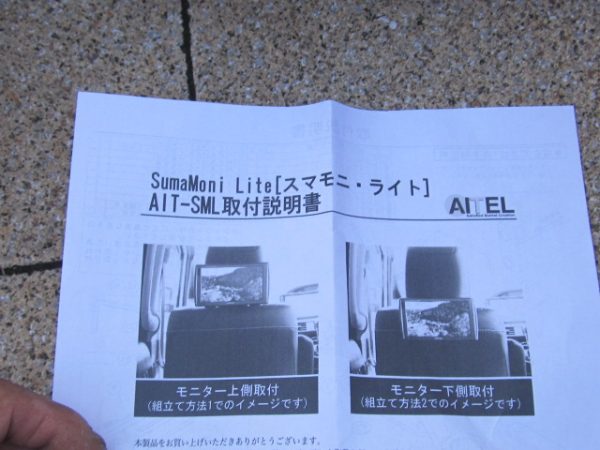
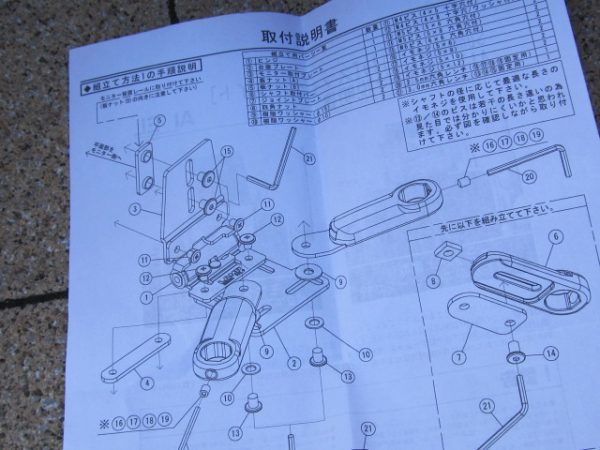
結構この金具の組み立て大変です
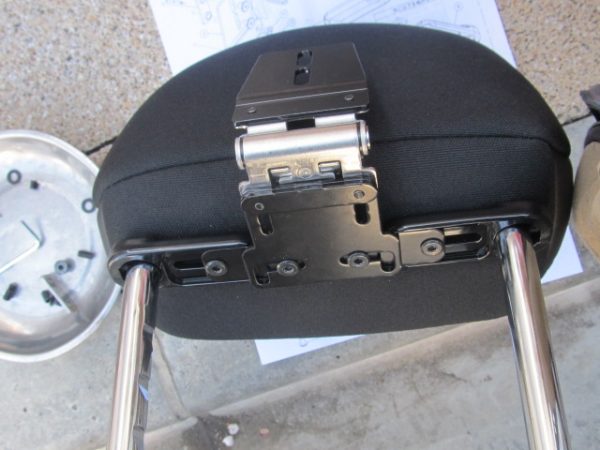
モニターの配線をシートバック内を這わせて隠し配線します
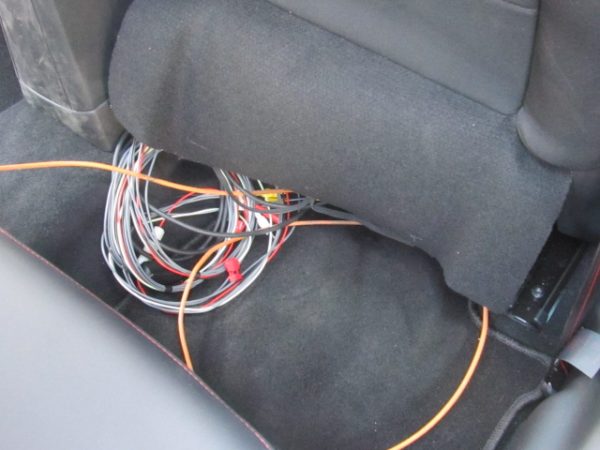
ヘッドレストシャフトの脇から何とか配線を引き出し見栄え良くします
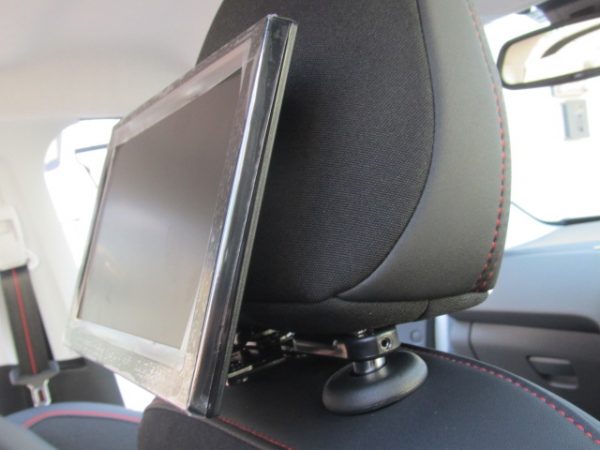
完成です
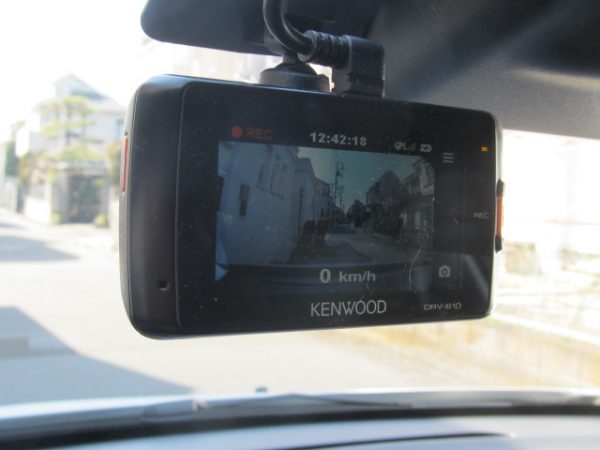
フロントドラレコも同時進行で完了です
DVDチェンジャーのリモコン受光部はルームミラー上部のカバーに貼り付けこれであれば車検は問題ありません
ヘッドレストモニターにも映りました
カーナビ、カーオーディオなど車の電気製品全般の商品持込、出張取り付けは是非サンライズガレージにご相談ください、東京、神奈川、埼玉、千葉他関東近県どこでも出張取り付け致します。
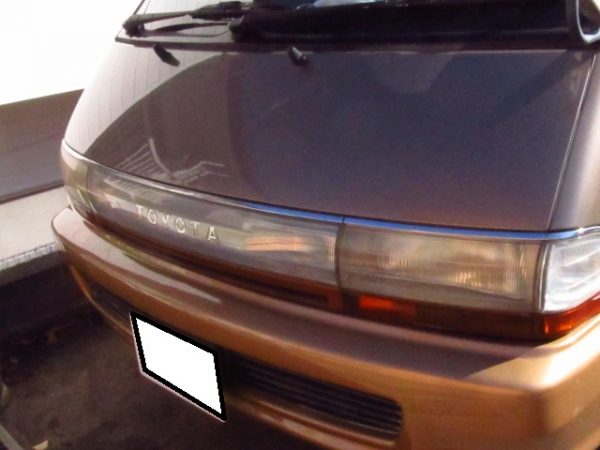
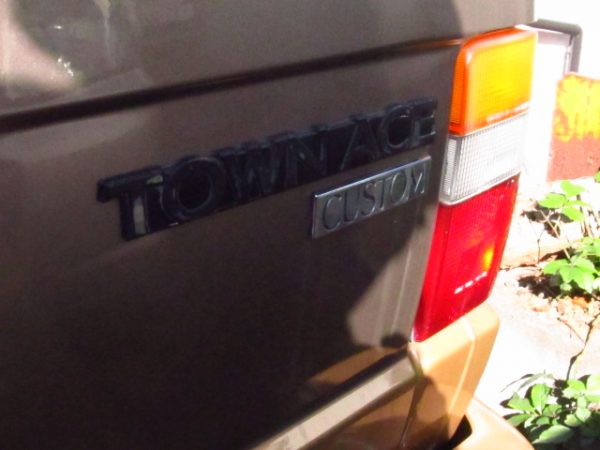
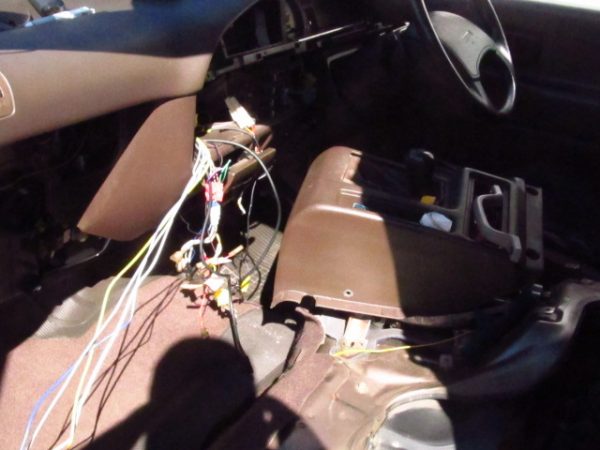
今回のご紹介は世田谷区の城南モーターサービス様の請負い作業でトヨタ 20系/30系 タウンエースへナビゲーション、スピーカー、サブウーハー、後部座席モニター他の 東京都世田谷区へ出張取付にお伺いいたしました
個人的には非常に好きな雰囲気の車です調べると1982年~1999年まで長きにわたり生産されていたんですね~

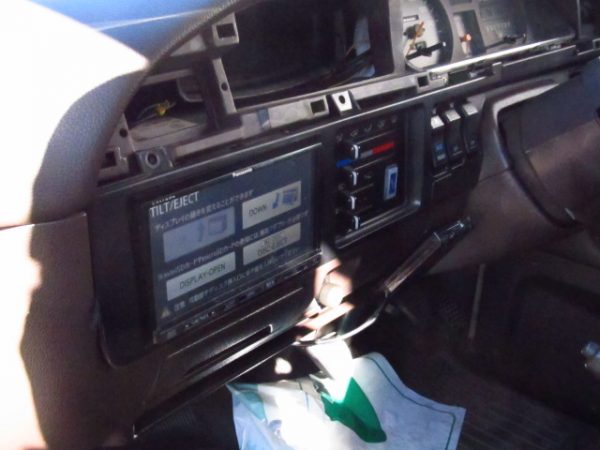
既設でパナソニック ストラーダが付いていますがこれと入替となります
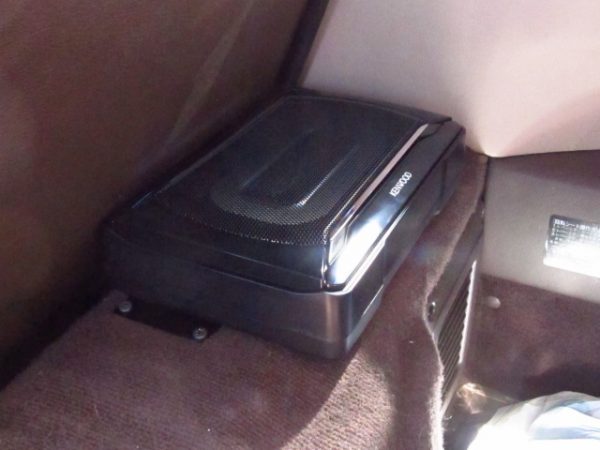
サブウーハーも既設で古いものが載せてありましたのでこれも入替となります
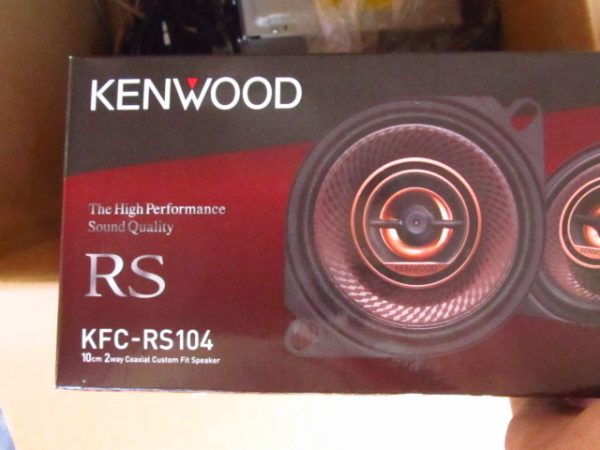
リアにはKENWOODのサテライトスピーカーを設置
フロントはKENWOODの10㎝スピーカーKFC-RS104を取付ました
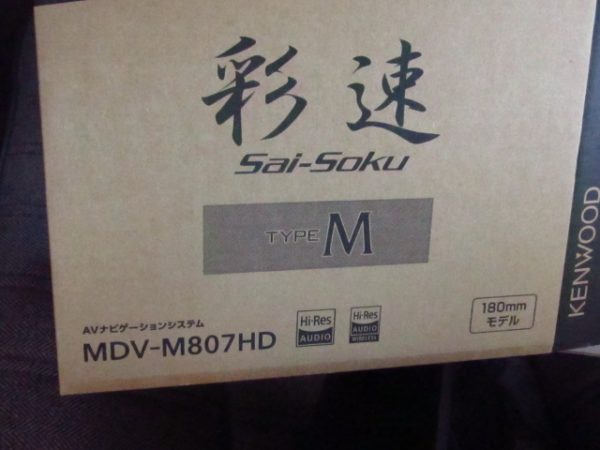
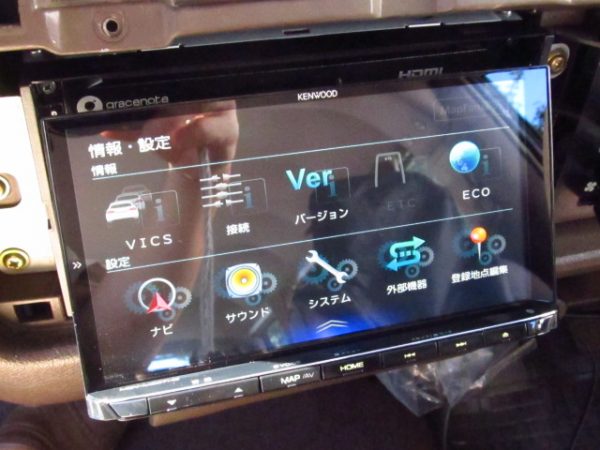
カーナビは同じくKENWOODの彩速ナビMDV-M807HDを取りつけ
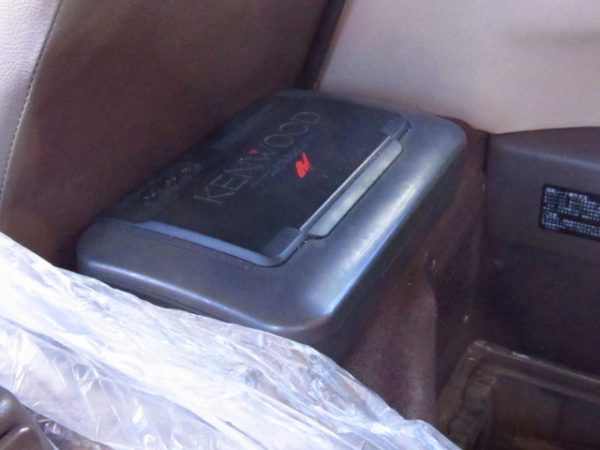
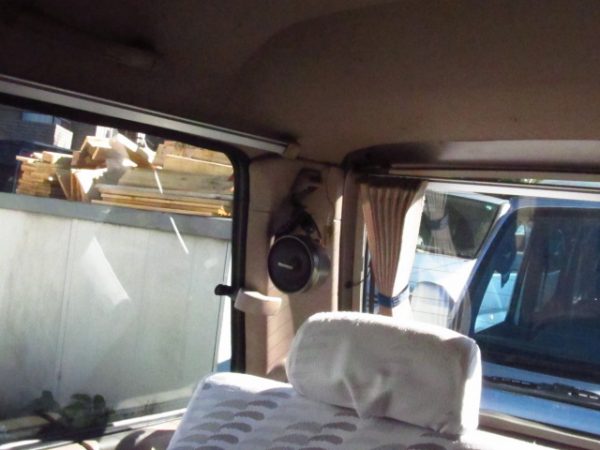
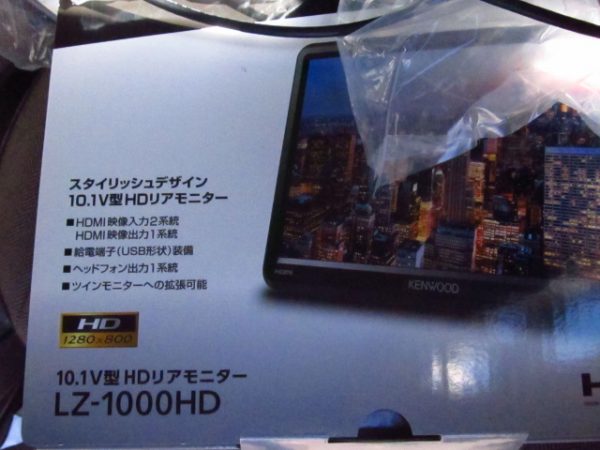
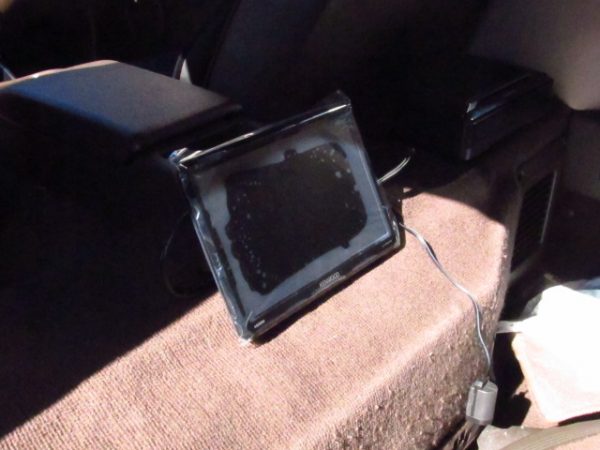
後部座席にはKENWOODのLZ-1000HDを設置
古い車は意外と分解工程が大変なことが多いです
ウーハーは運転席後部へ差し替え設置
後部座席モニターはセンターコンソール後部へ設置
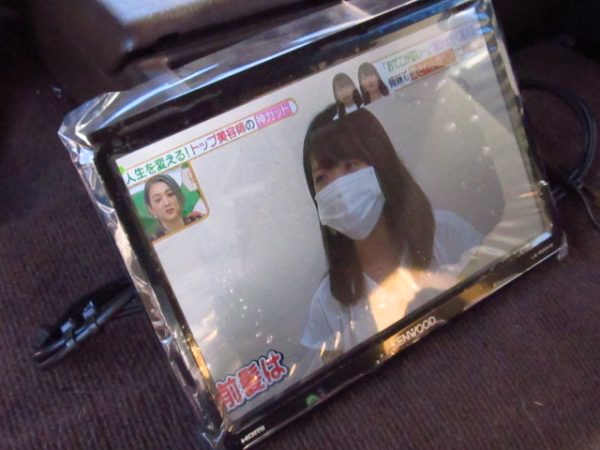
ナビゲーションも完成です
カーナビ、ドライブレコーダーなど電装パーツの商品持込、出張取り付けなら是非サンライズガレージへ、東京、神奈川他、関東全域へ出張取付にお伺いいたします
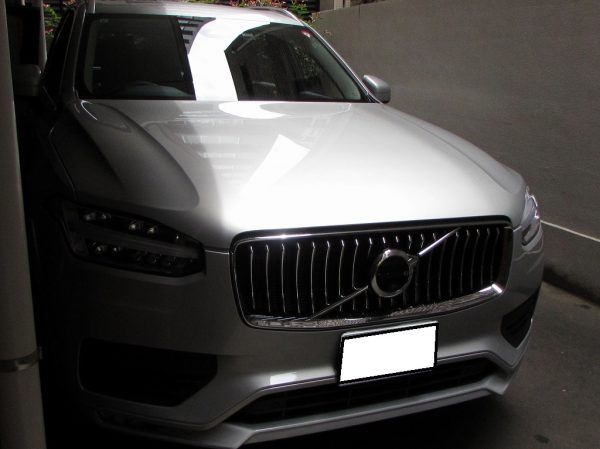
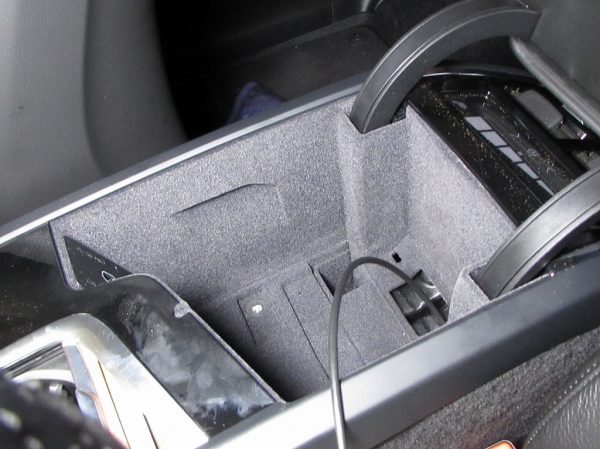
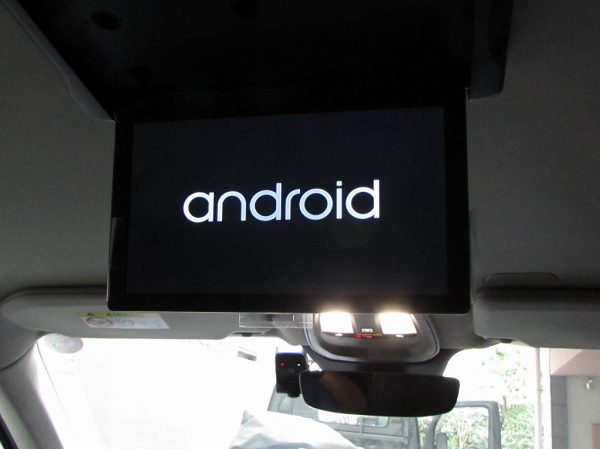
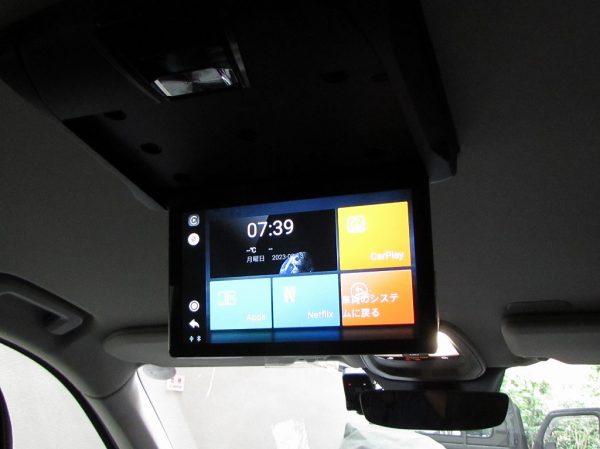
今回のご紹介はVOLVO XC90 2022年モデルへフリップダウンモニターの取付となります、文京区へ出張取付にお伺いいたしました
構成オーナー様がセンターコンソール内に設置されている社外carplay機器との接続するためにフリップダウンモニター設置及びHDMIケーブルをセンターコンソール内に引き回す作業となります
フリップダウンモニターはALPINE製のRSH10XS-L-B、取り付けにはXC90用の車種別キットは存在しない為
ワンオフオリジナルの取付となりますがベースには汎用の取付金具だけは必要なので一緒にご用意いただきました
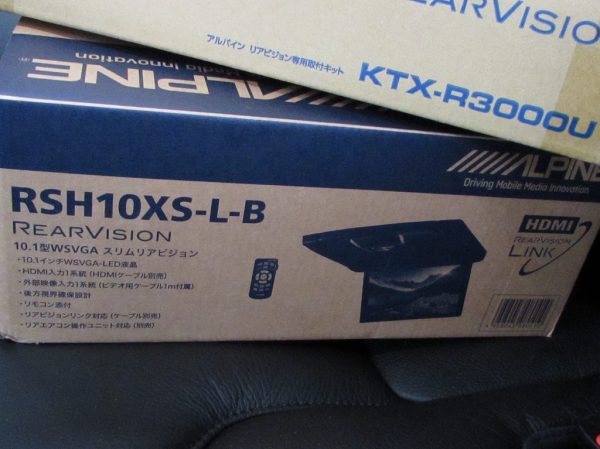
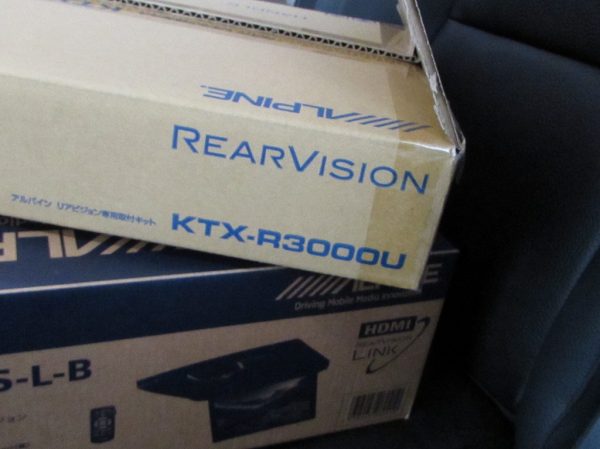
半用取り付けキットKTX-R3000Uhttps://www.alpine.co.jp/products/accessory/KTX-R3000U
まずはBピラーカバー等内装を外してルーフライニングの裏側をチェックします、屋根の構造の『梁』の位置を確認します
『梁』のおおよその位置の検討を付けましたらルーフライニングカット位置を熟考の上決めていきます
これはもう経験、創造力となります
ルーフライニングのカット位置を間違えたら大変なことになりますのでかなり慎重な工程です
目論見通り梁のある部分にアクセスできました
このままではルーフライニング裏のクリアランズが有りすぎなので木材で帳尻を合わせます
ここで汎用取り付けキットKTX-R3000Uの出番となります
ルーフ側は完成です
モニター側からのHDMIケーブルをセンターコンソール内に引き込みますが国産車などと異なり一筋縄では行きません

センターコンソール内には純正でUSB-Cの入力ポートが備わっております、その横側からHDMIケーブルを引き込み
このCAR PLAYの商品詳細は当方では分かりませんがAmazonやAliExpress等で売っている中華製商品なのだそうです
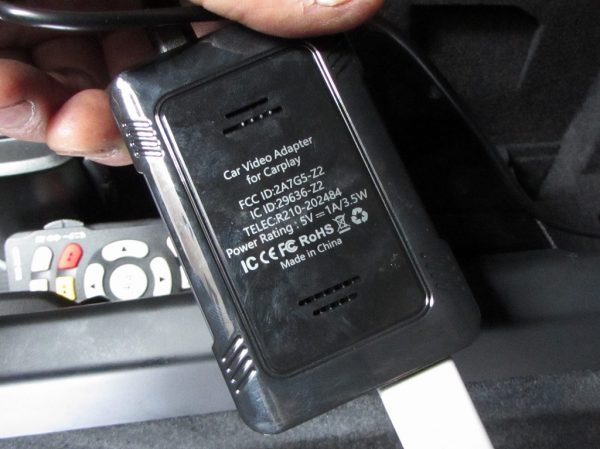
無事再生できました、音声はUSB-C経由で純正オーディオに入力されて聞こえました
カーナビ、ドライブレコーダーなど電装パーツの商品持込、出張取り付けなら是非サンライズガレージへ、東京、神奈川他、関東全域へ出張取付にお伺いいたします
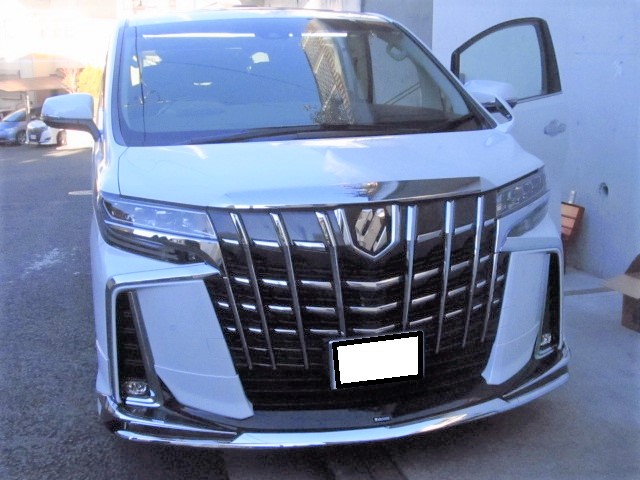
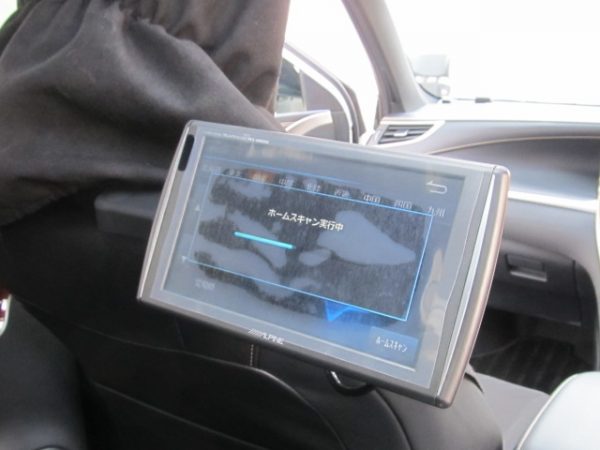
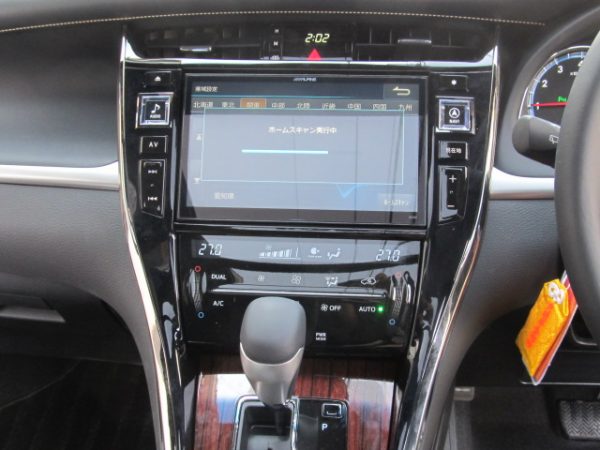
今回のご紹介は30系アルファードへ多数取り付けで横浜市戸塚区へ出張取付にお伺いいたしました
内容が多い為早朝からのお伺いとなります

新車卸し立てです
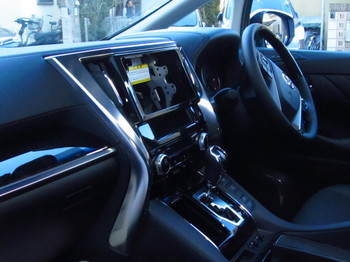
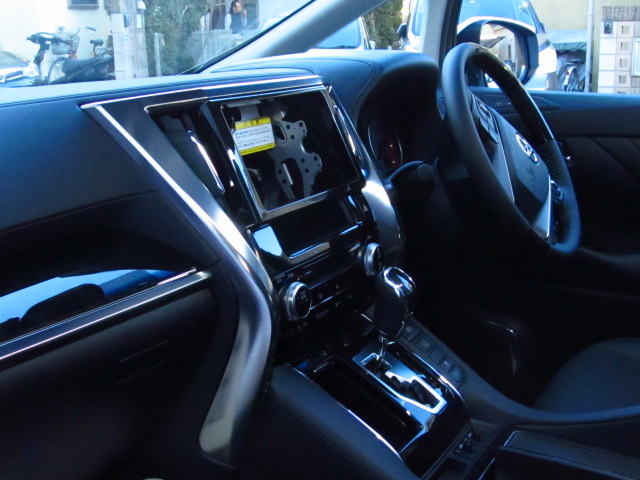
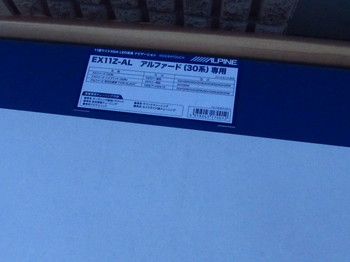
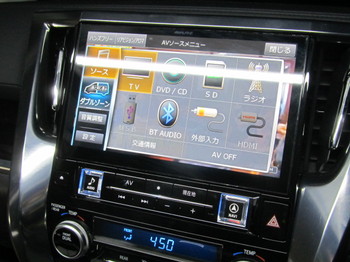
付けるナビはALPINE EX11ZーAL
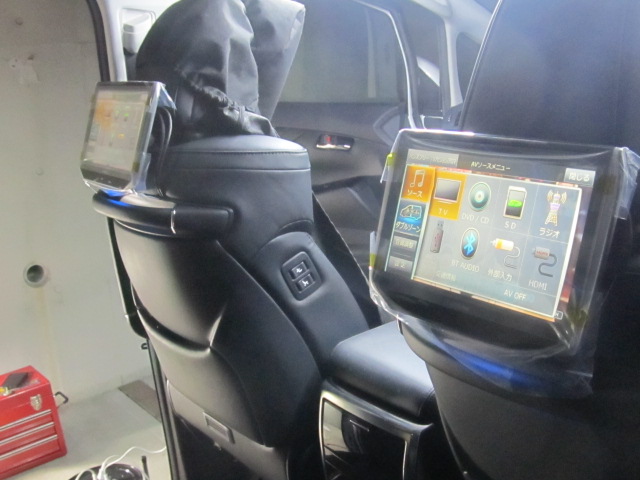
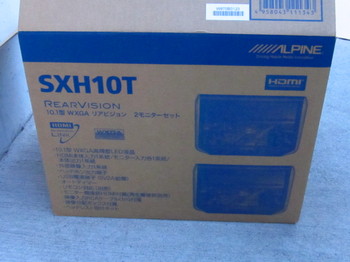
ヘッドレストモニターはSXH10T
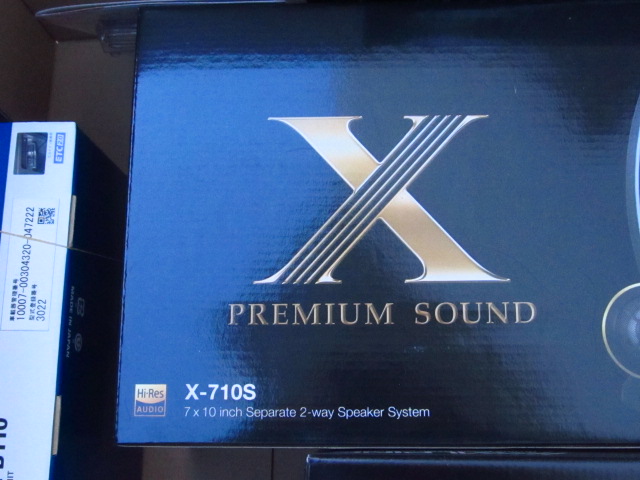
スピーカーはX-710S

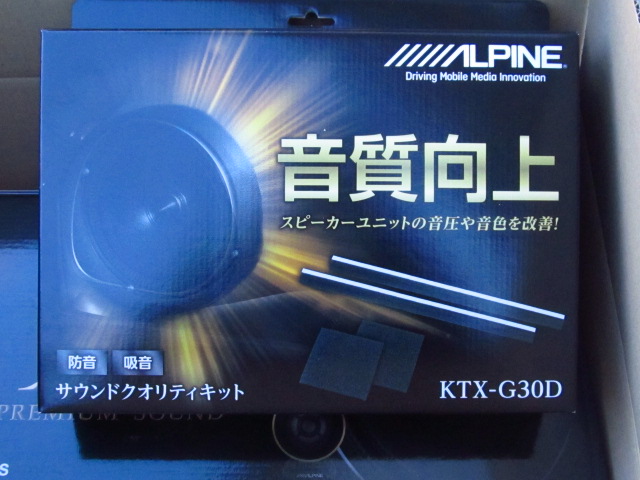
簡易デッドニングキットKTX-G30D

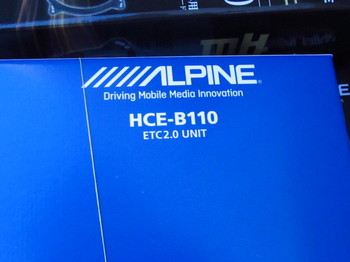
ETC2.0はHCE-B110
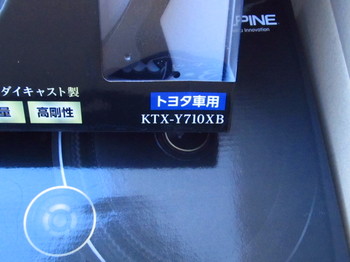
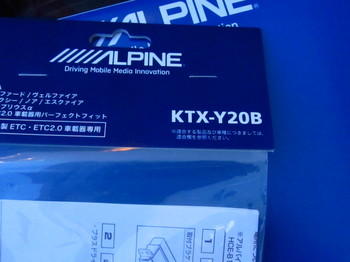
ETC専用ブラケットはKTX-Y20B
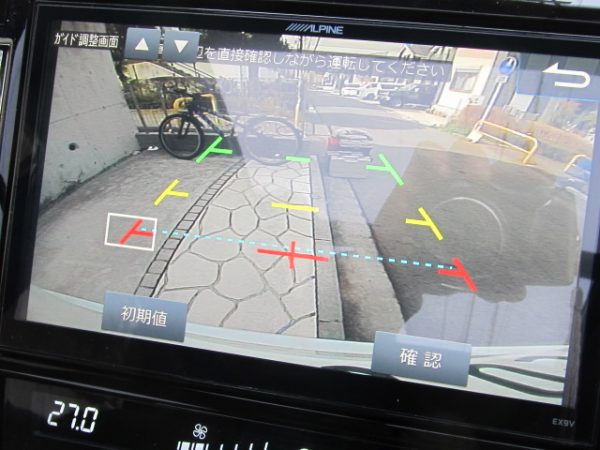
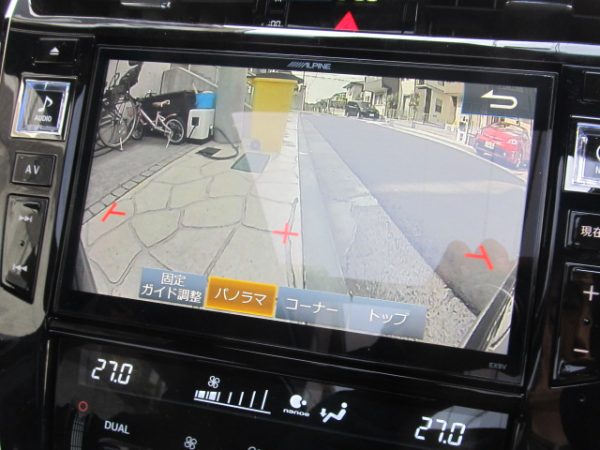
長丁場なので細かい工程は割愛させて頂きますがまずはバックカメラ
フロントカメラ、メインのナビから遠い場所から手を付けていきます
ドア内張りを外してサイドカメラとスピーカーを同時進行してきます

ミラーを脱着

再度カメラを組み込みます

ドアヒンジからの配線引き込みは結構大変な作業です
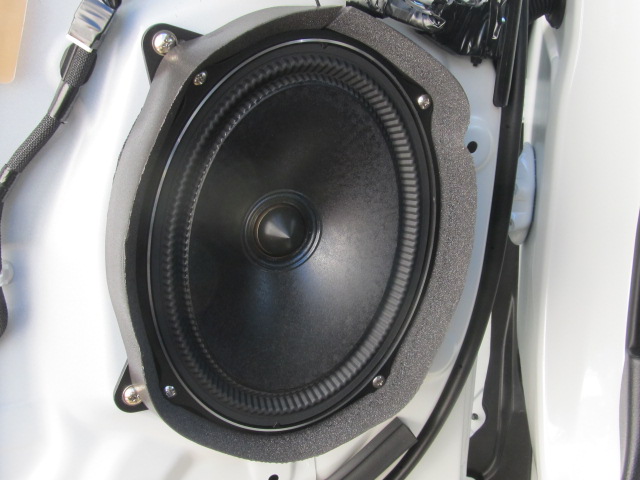
スピーカー完了
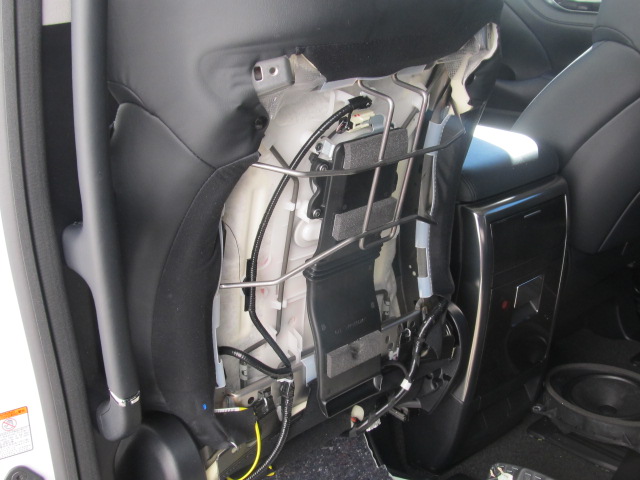
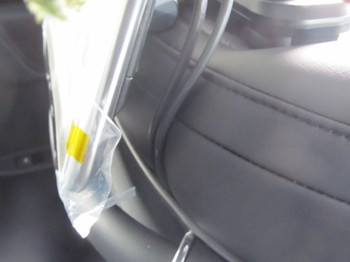
続いてヘッドレストモニターの為にシートバック脱着
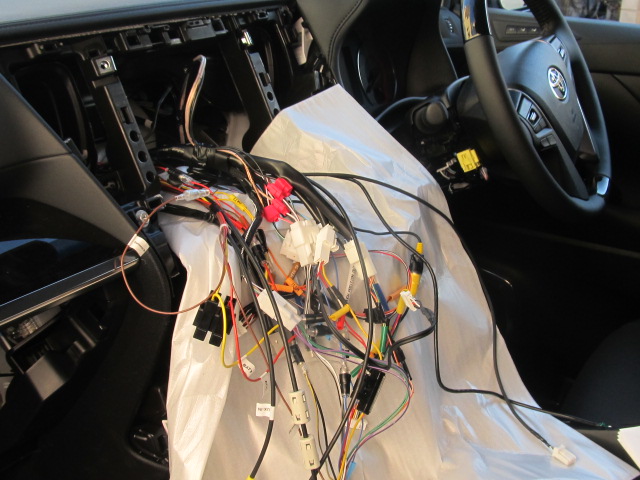
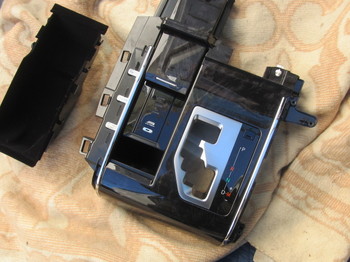
全ての配線が完了したらいよいよナビ本体の作業に掛かります

アロマの組み込み

完成です

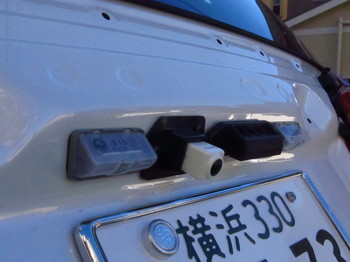
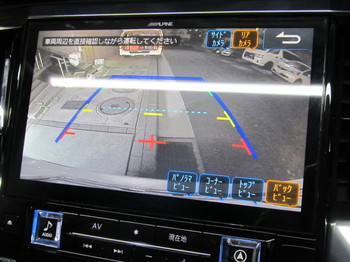
バックカメラ
フロントカメラ
サイドカメラ
レーダー
フロントドライブレコーダー写真の通り夜になってしまいました・・・

カーナビ、ドライブレコーダーなど電装パーツの商品持込、出張取り付けなら是非サンライズガレージへ、東京、神奈川他、関東全域へ出張取付にお伺いいたします