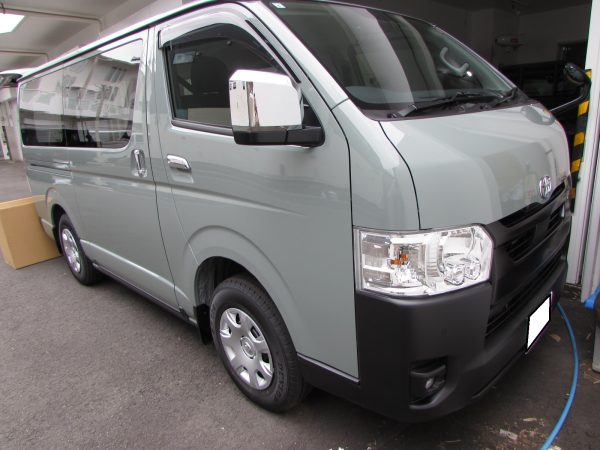
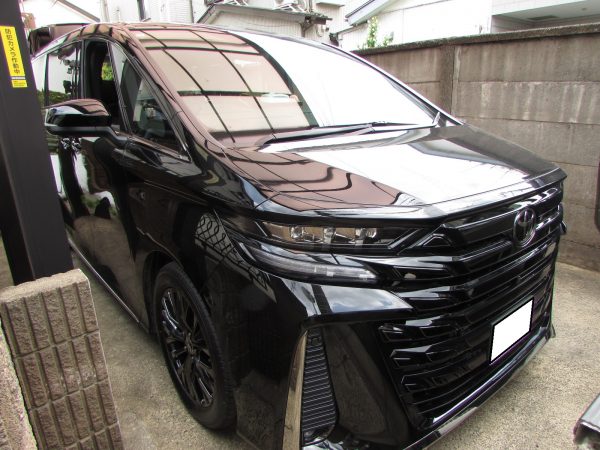
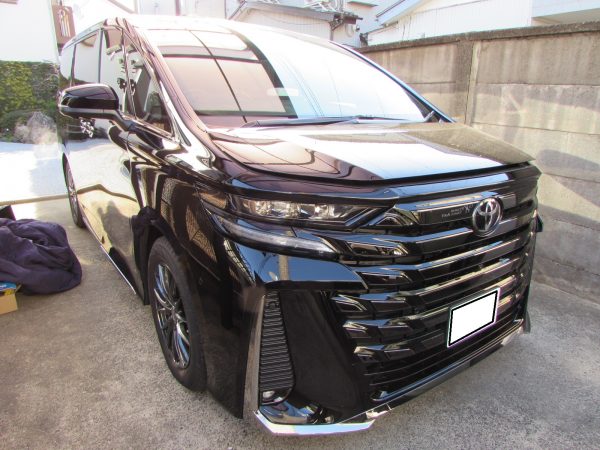
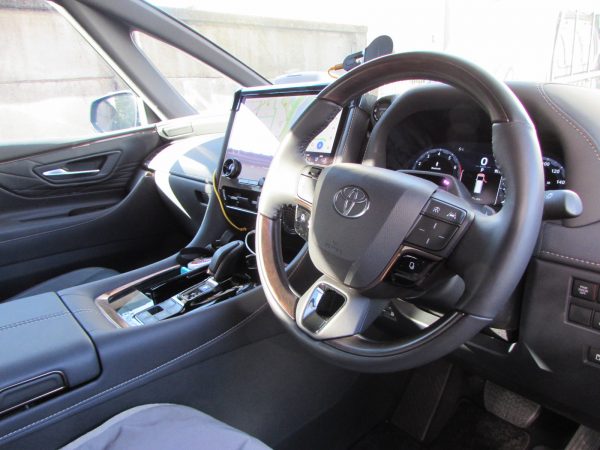
今回のご紹介は50系エスティマ 平成18年式前期モデルです。MOPナビから社外ナビ化の施工で東京都三鷹市へ出張取付にお伺いいたしました
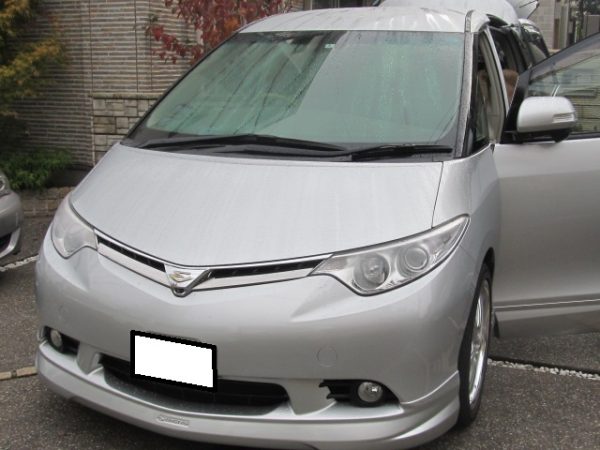
純正MOPナビから社外ナビ化は一般的には不可と言われていますが色々とハードルは有りますが可能です

6スピーカーのパノラミックライブサウンドと11スピーカーのパノラミック『スーパー』ライブサウンド
の2種類あるのですが今回は6スピーカーのパノラミックライブサウンドです

だた毎度50系エスティマの記事で書きますが未だに年代によりスピーカー構成が異なり確実に把握しておりません
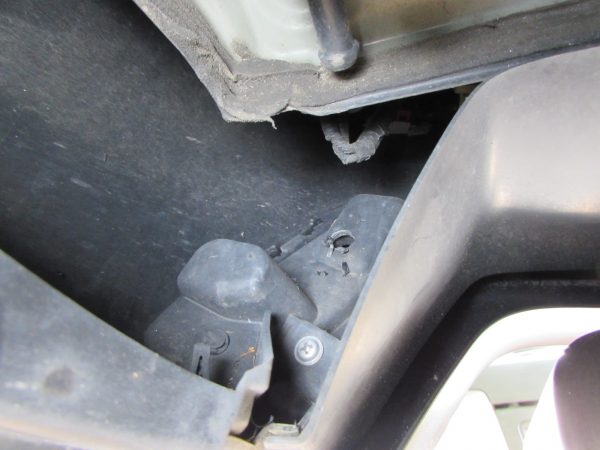
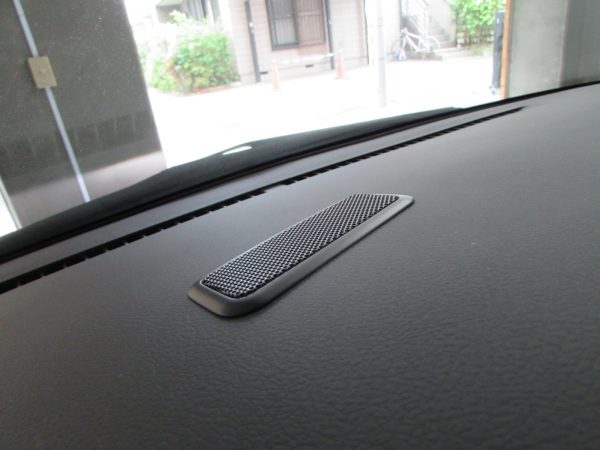
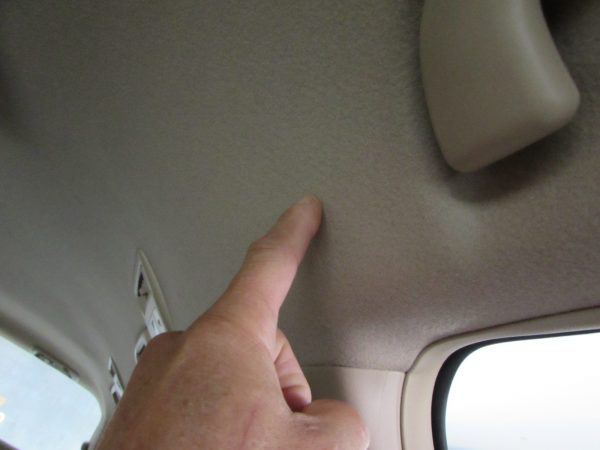
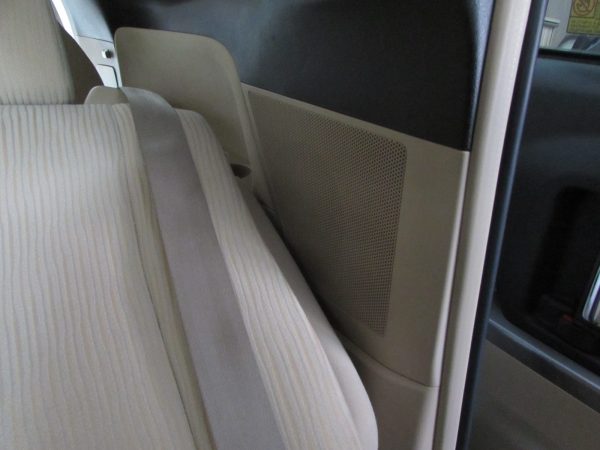
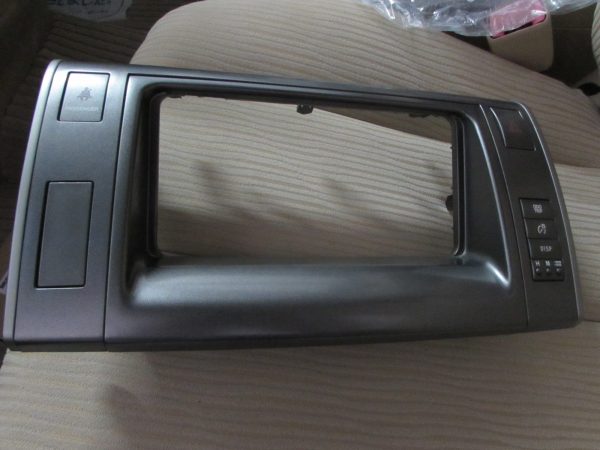
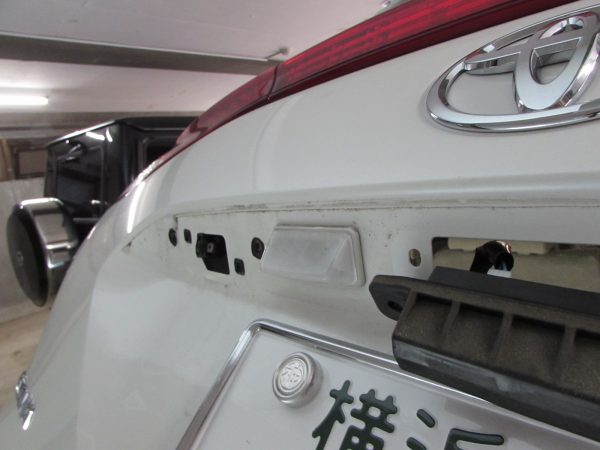
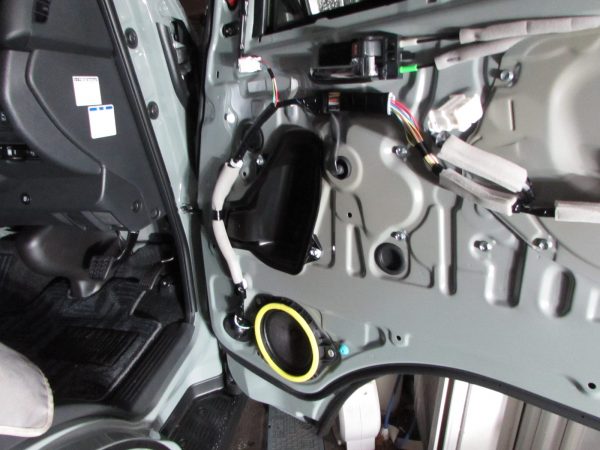
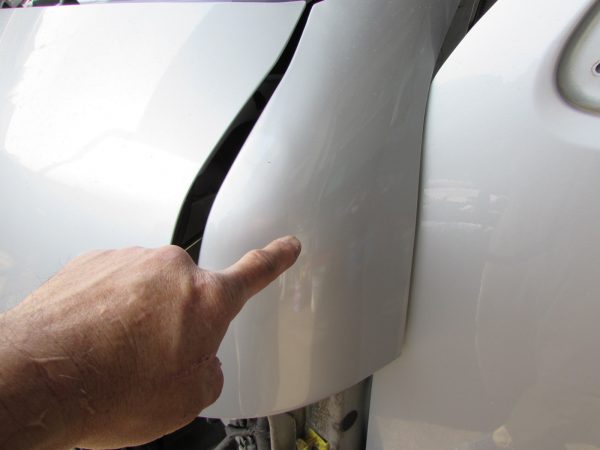
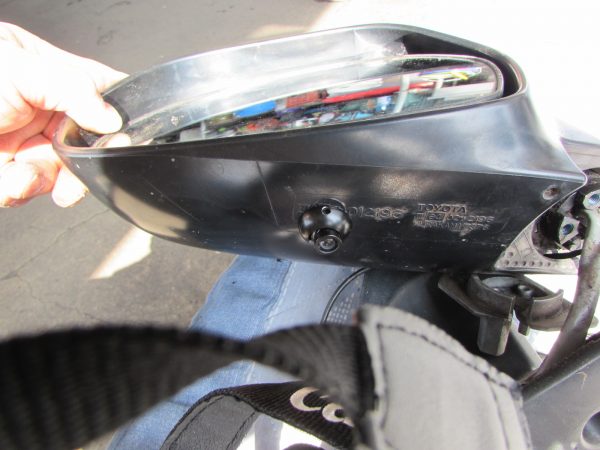
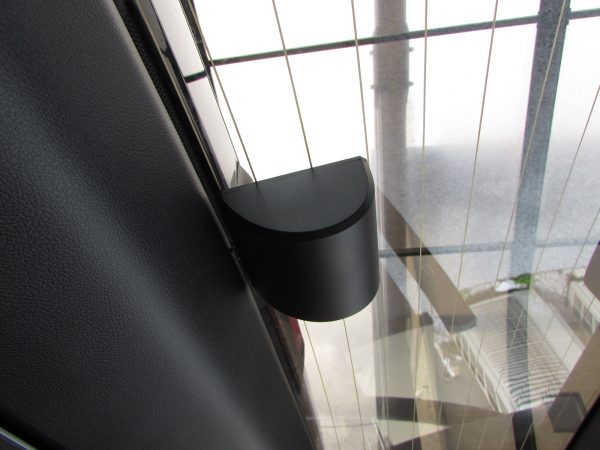
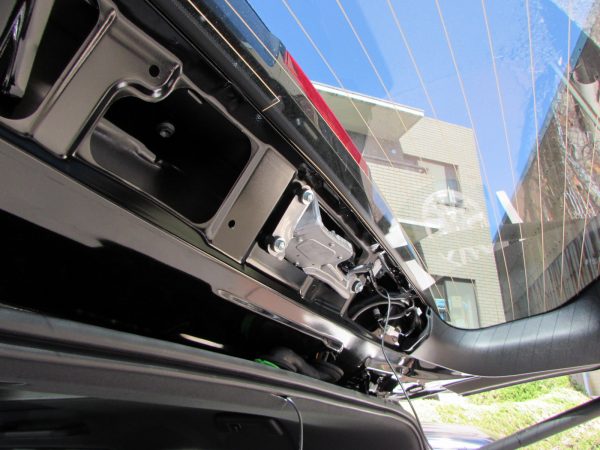
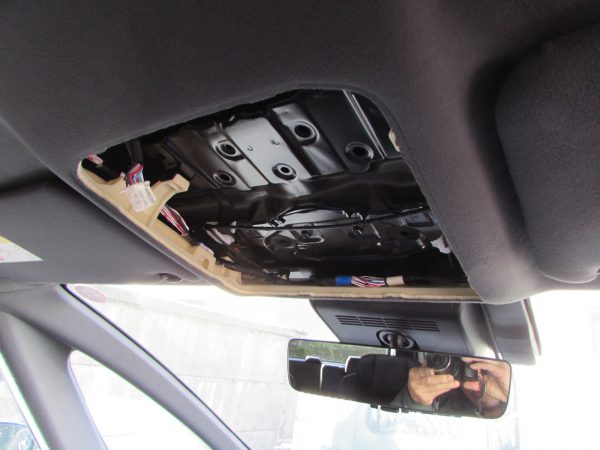
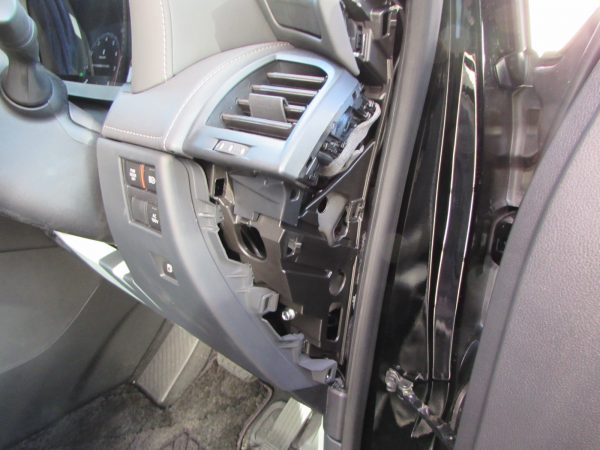
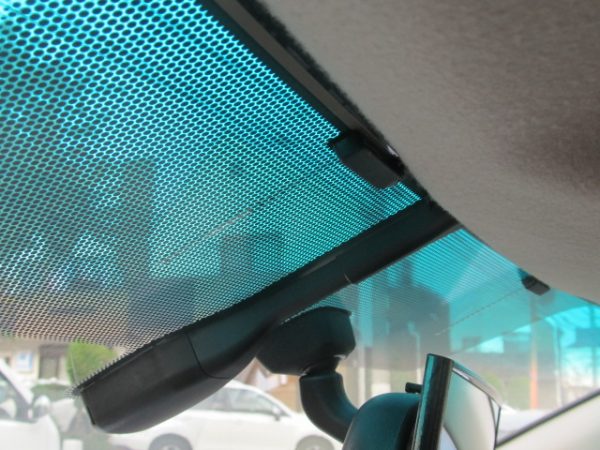
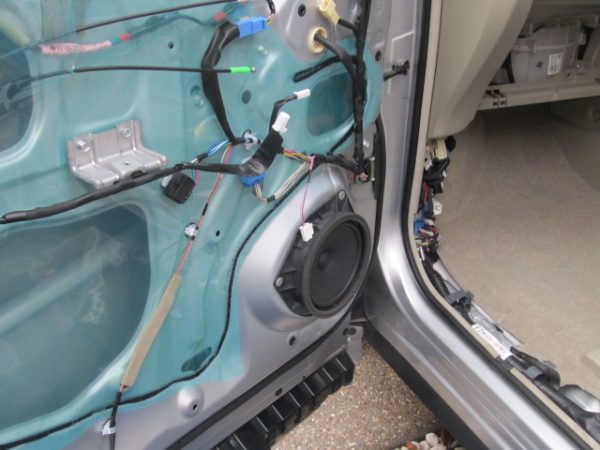
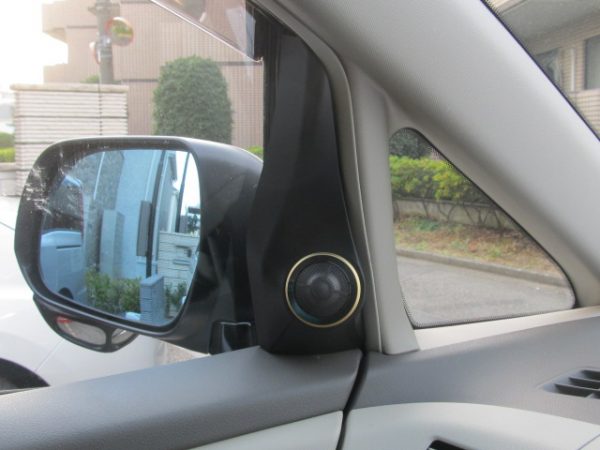
通常6スピーカーのパノラミックライブサウンドですとここにツイーター(厳密にはスコーカー)が有るはずなのですがこの様に無い個体を数台見た事が有ります
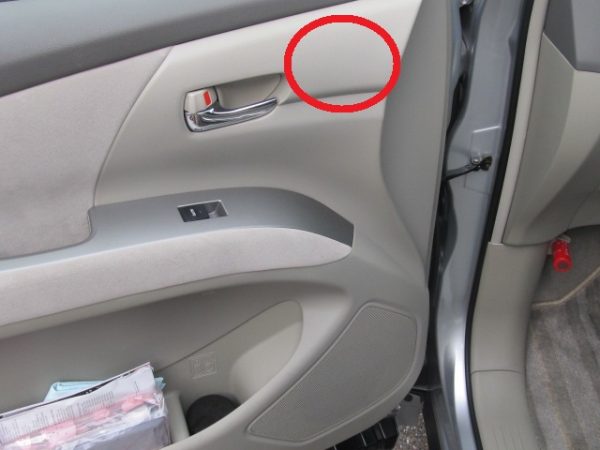
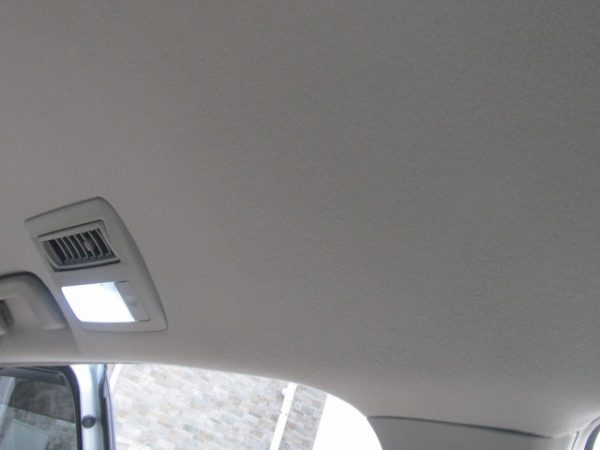
実際に鳴らしてみるとスコーカーが無い代わりにBピラー上部の天井内に埋め込まれているスピーカーから耳を当てると聞こえてきます
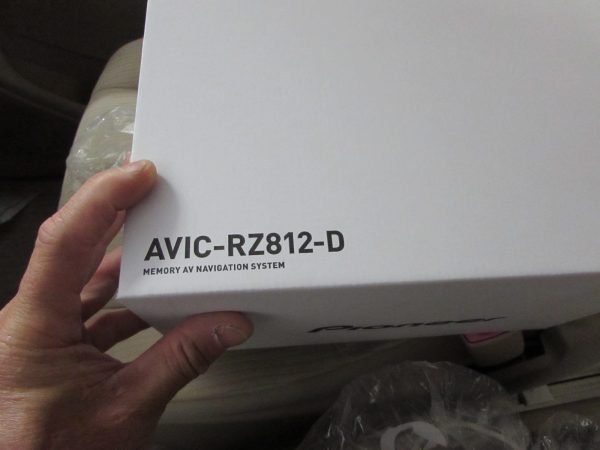
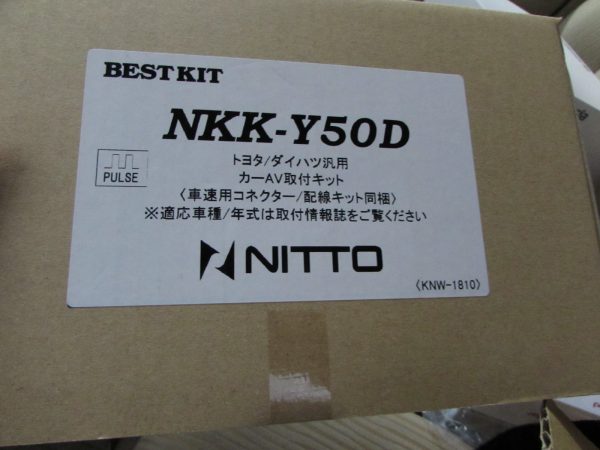
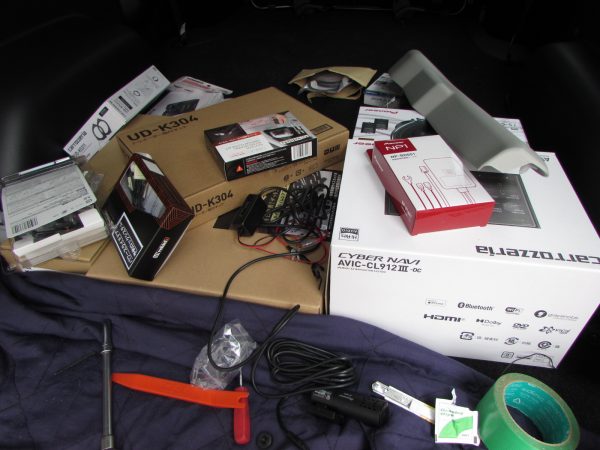
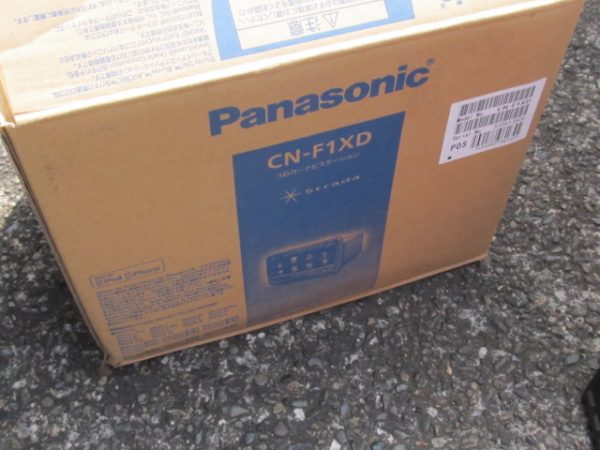
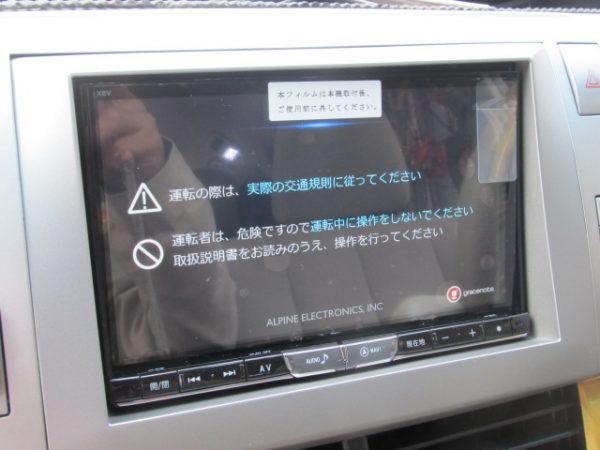
取り付けるナビはALPINEの8インチX8V
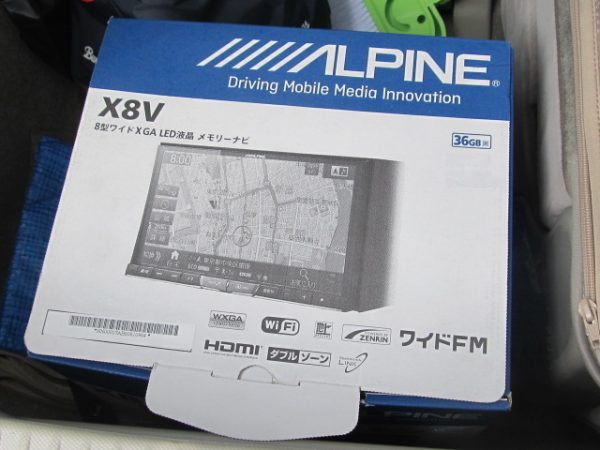
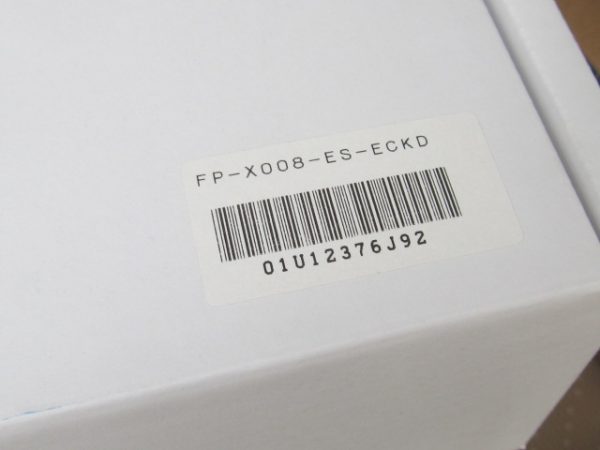
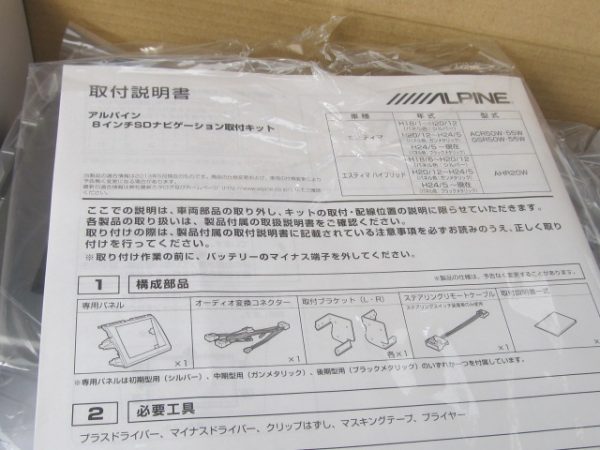
別途車種別取り付けキットFP-X008-ES-ECKDが必要になります https://products.alpine.co.jp/om/owner/product?P1=2443
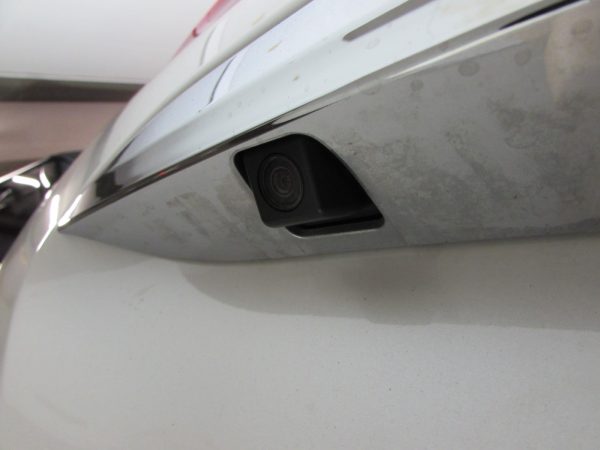
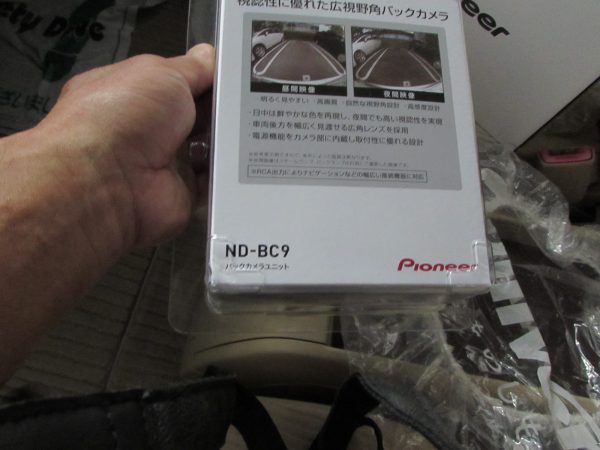
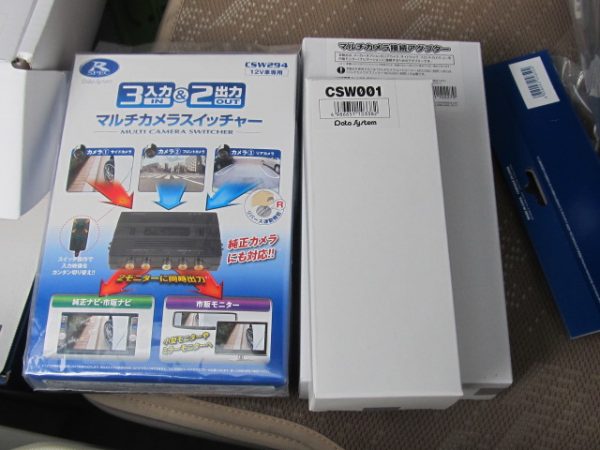
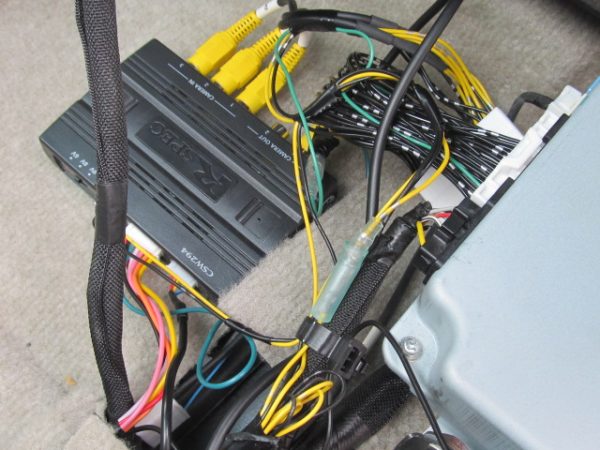
純正のフロント、サイド、リアカメラを再使用する為にデータシステム社の機器が必要になります、但しこれは前期モデルだけしか再使用できません
https://www.datasystem.co.jp/products/c_adapter/index.html
写真当時は3つの商品を組み合わせますが現在は『MCA036T』+『CSW298』の2つの組み合わせです
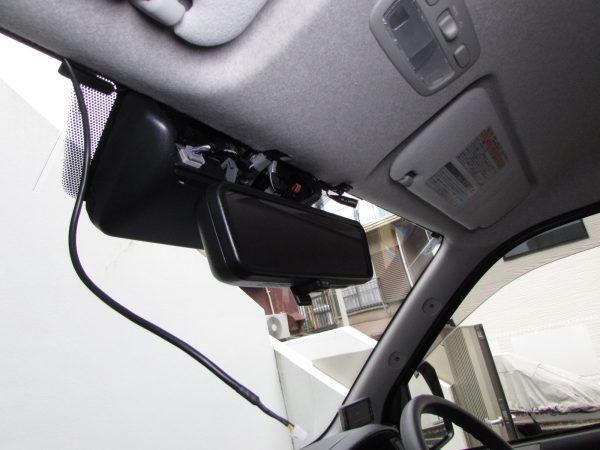
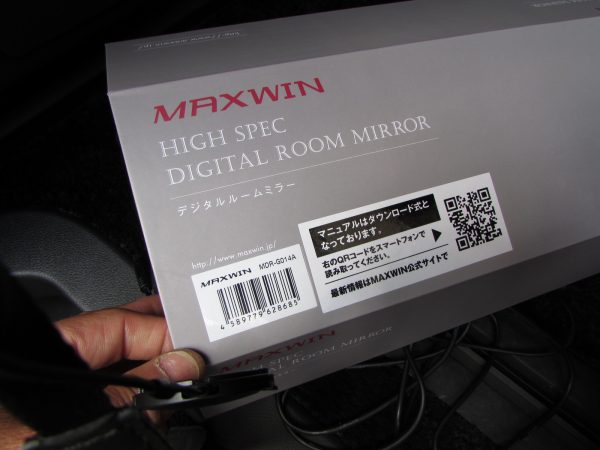
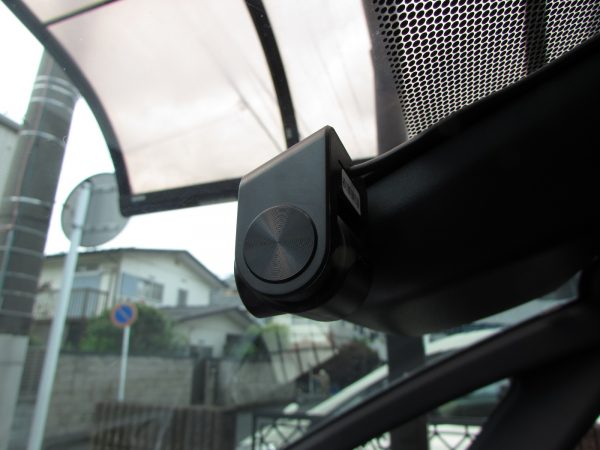
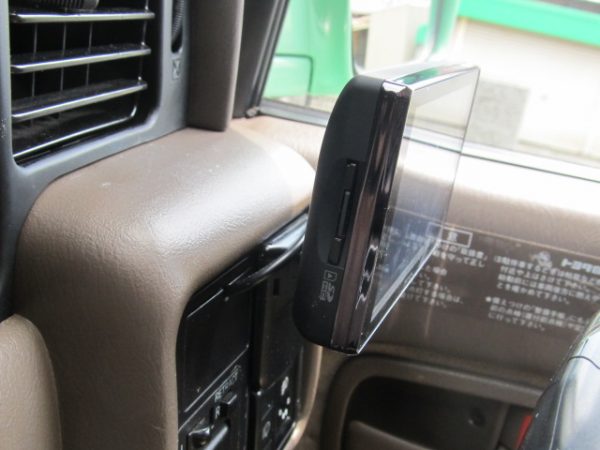
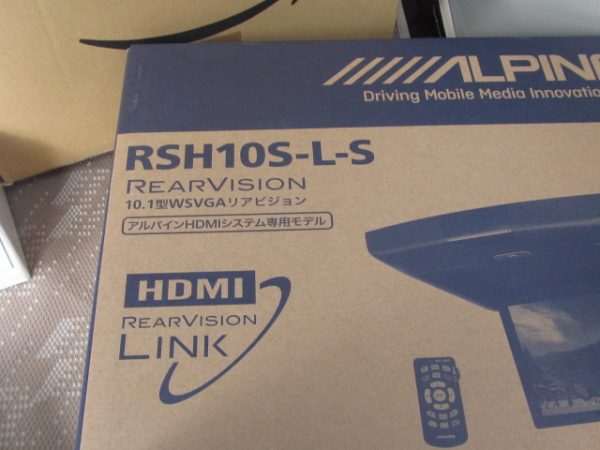
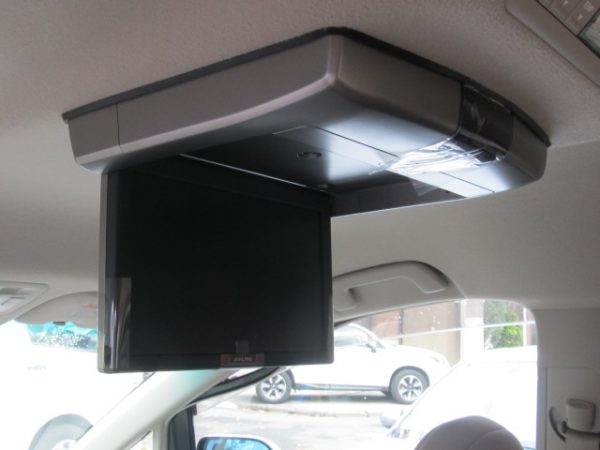
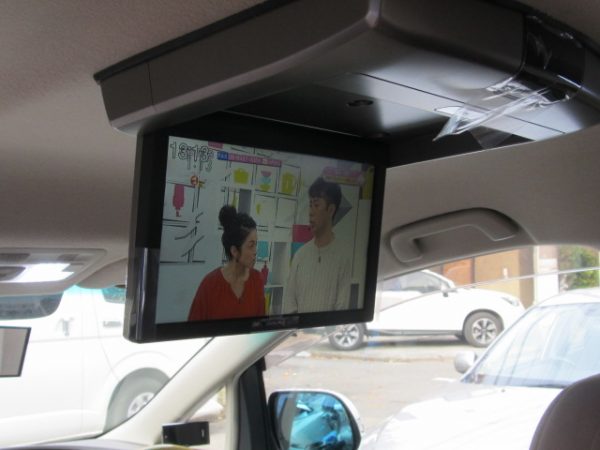
フリップダウンモニターはALPINEのRSH10S-L-S
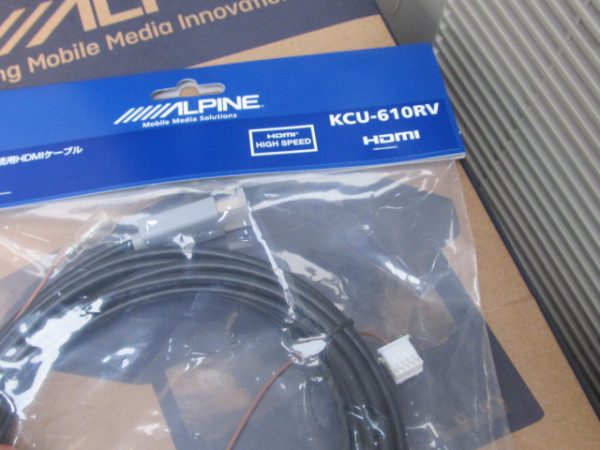
HDMIケーブルKCU-610RV
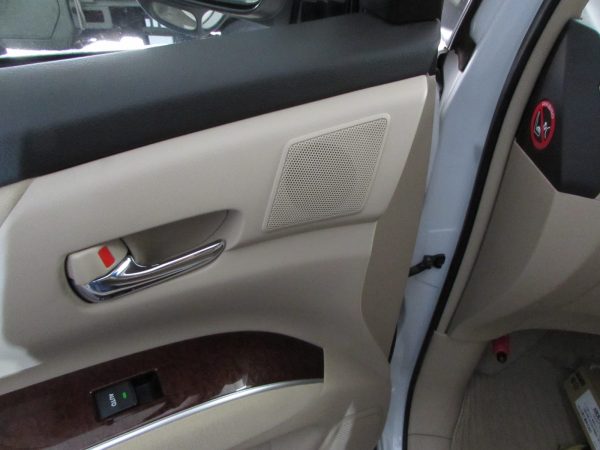
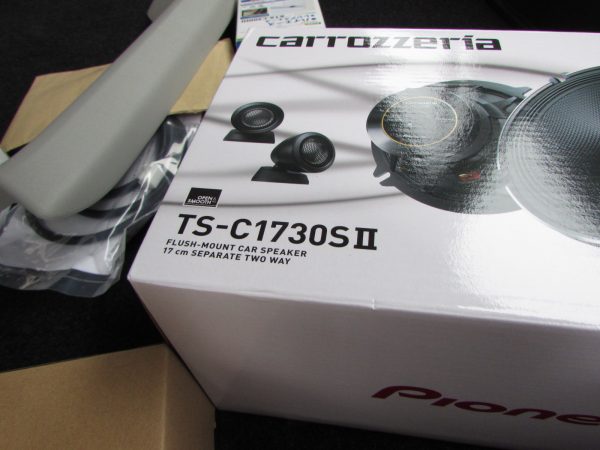
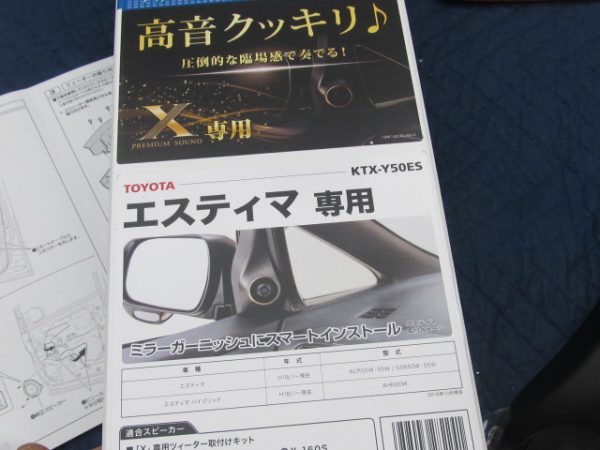
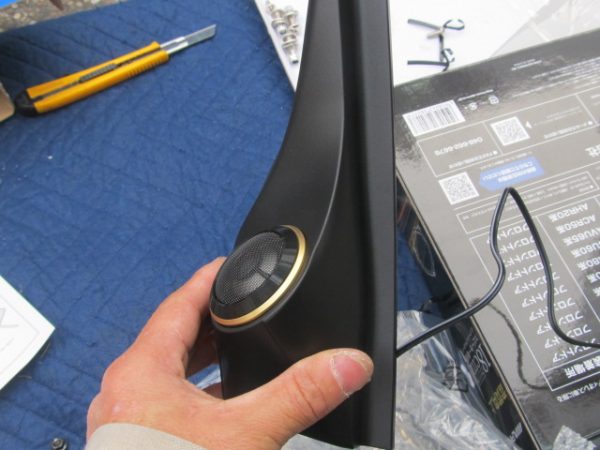
フロントスピーカーも交換しますALPINEのX-180S エスティマ専用のツイーターマウントKTX-Y50ESを使用します 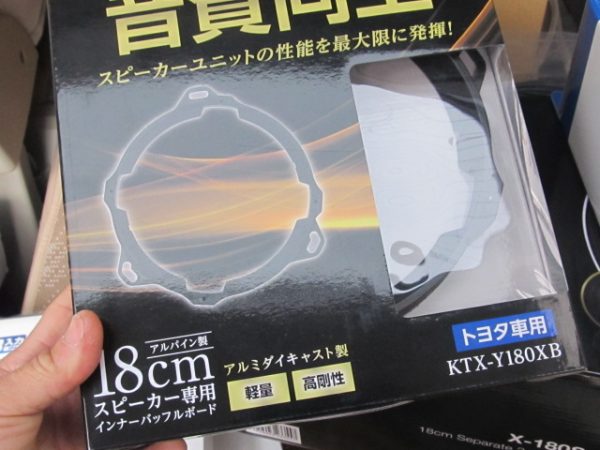
フリップダウンモニターの取付には京都マッハワンさんのキットを使用しますhttps://onlineshop.mach-1jp.com/shopbrand/sample1/
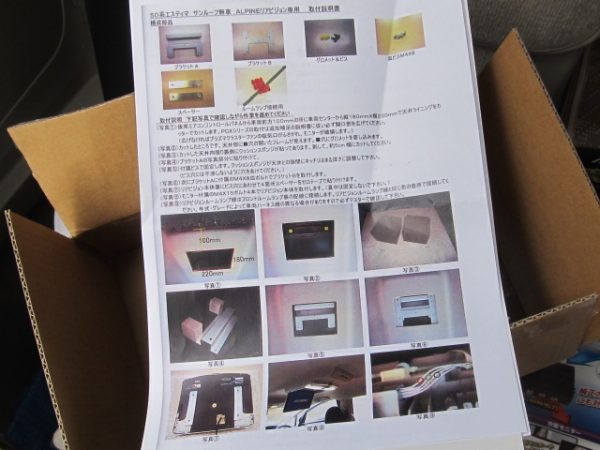
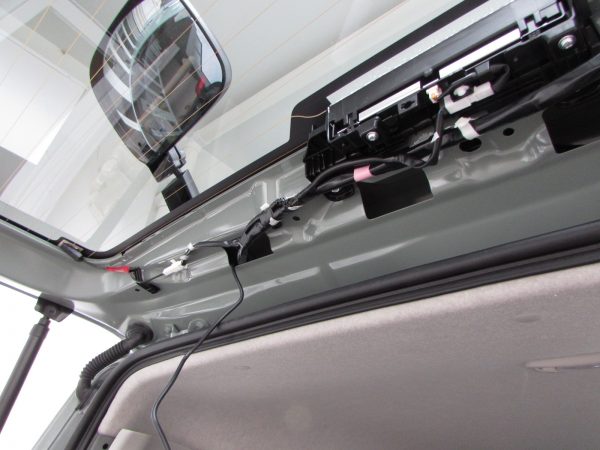
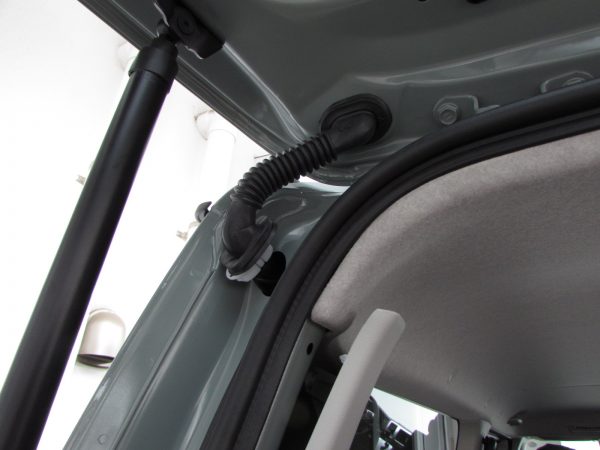
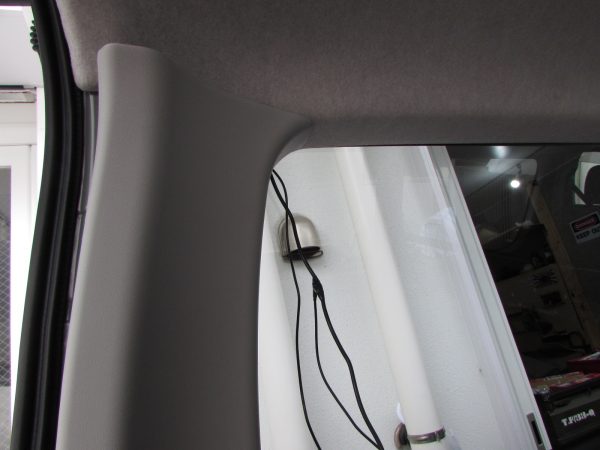
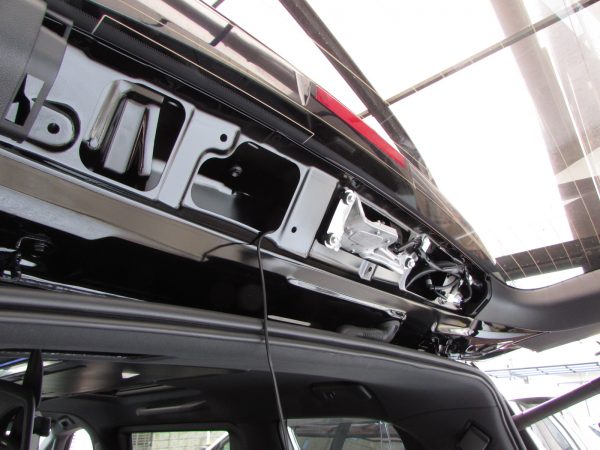
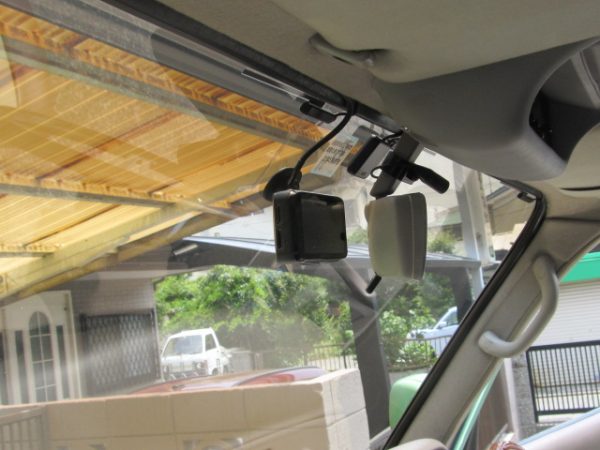
指示書に従いルーフライニングをカット
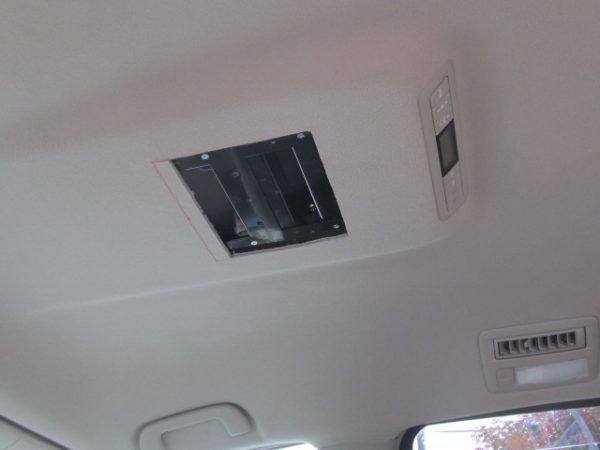
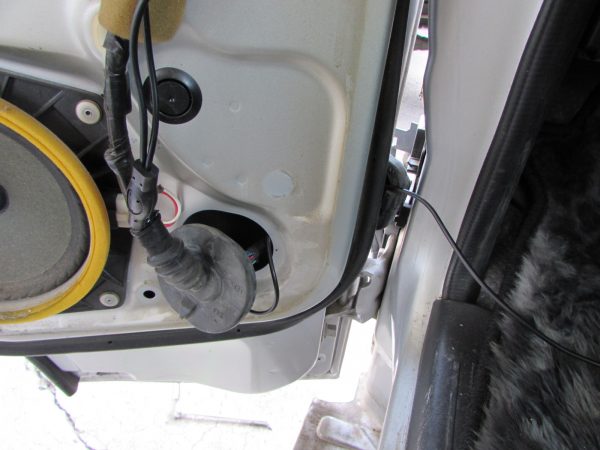
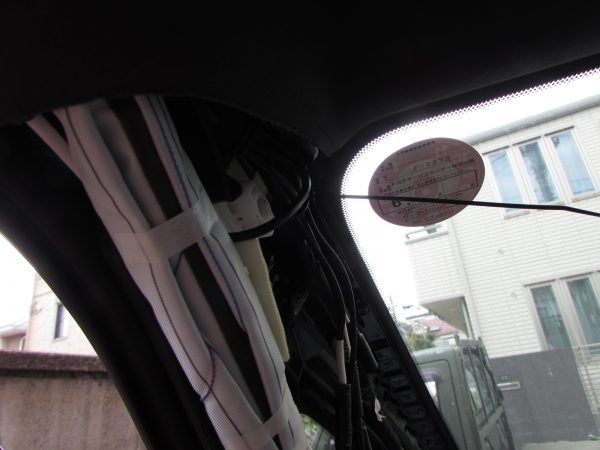
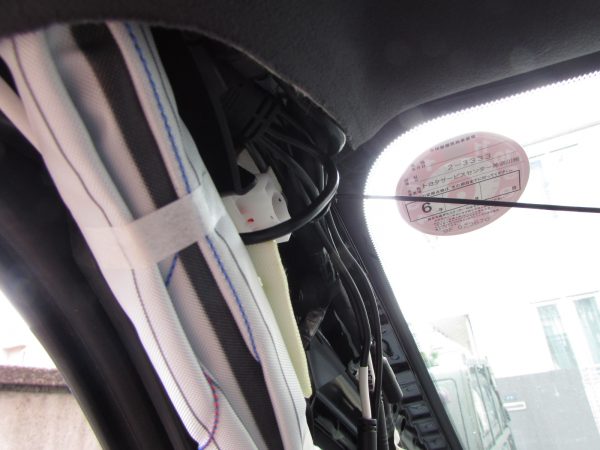
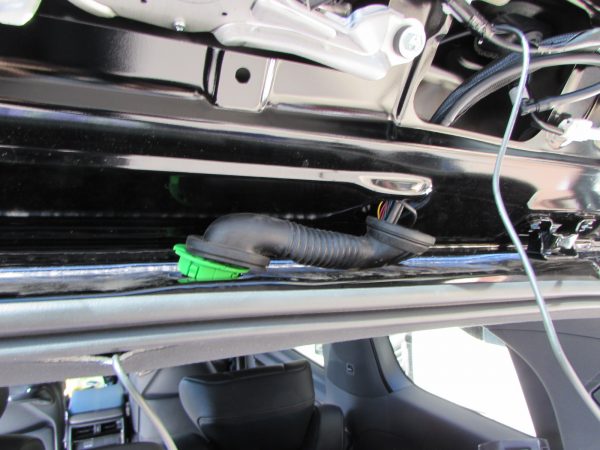
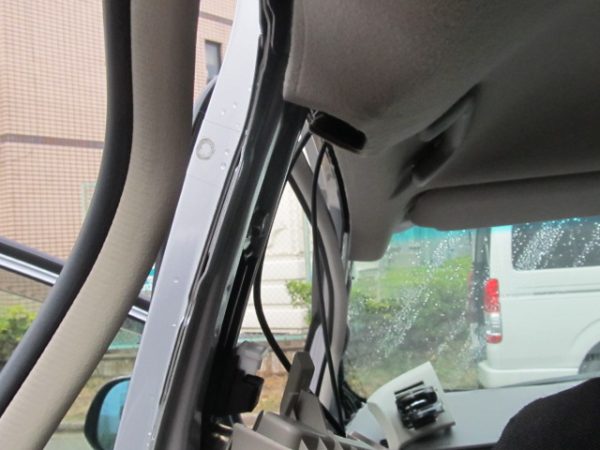
フリップダウンモニターのケーブルをオーディオコンソール裏まで引き回します
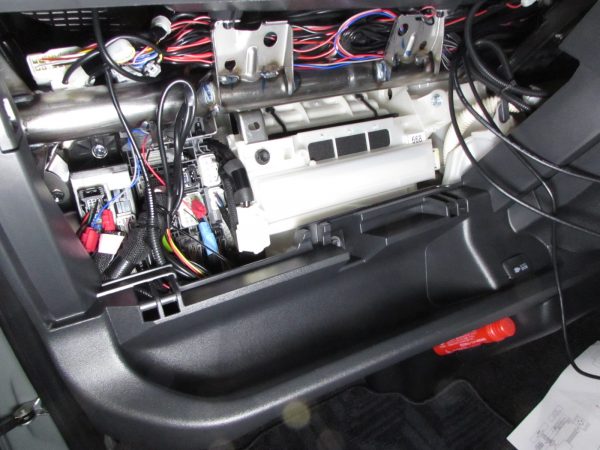
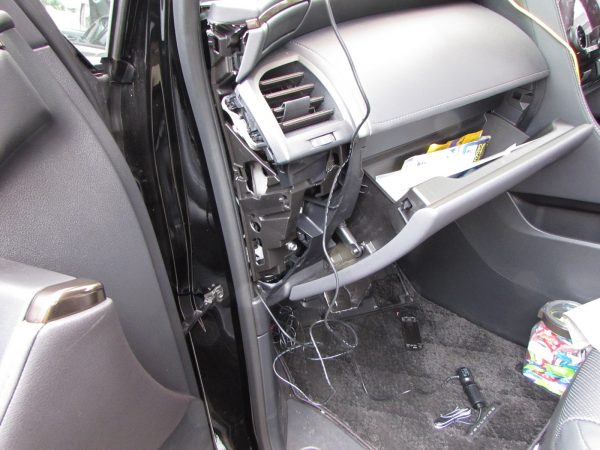
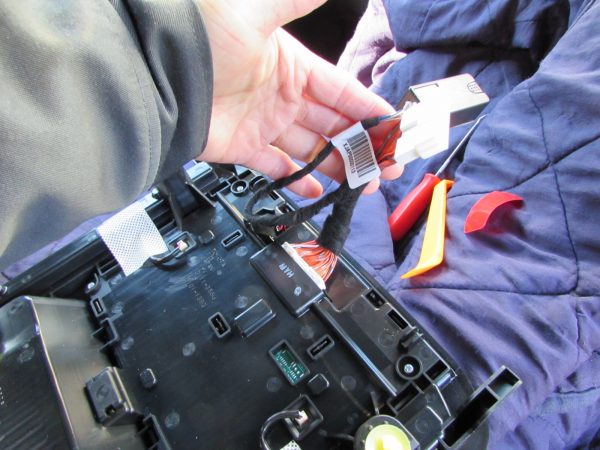
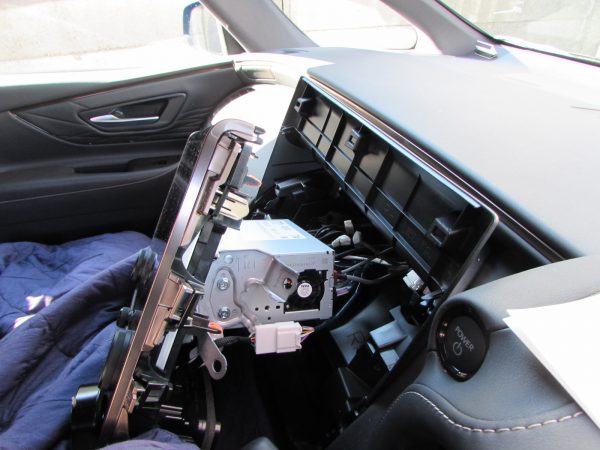
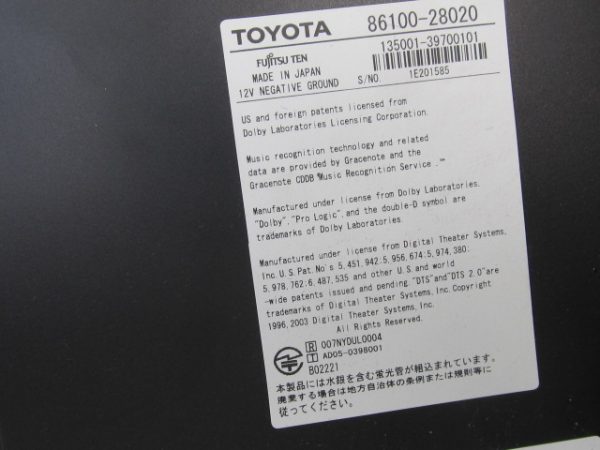
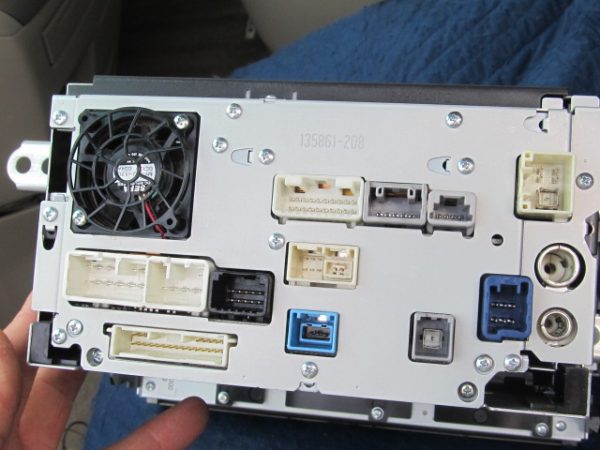
備忘録、参考資料として純正MOPナビの型番や背面写真を残します 86100-28020
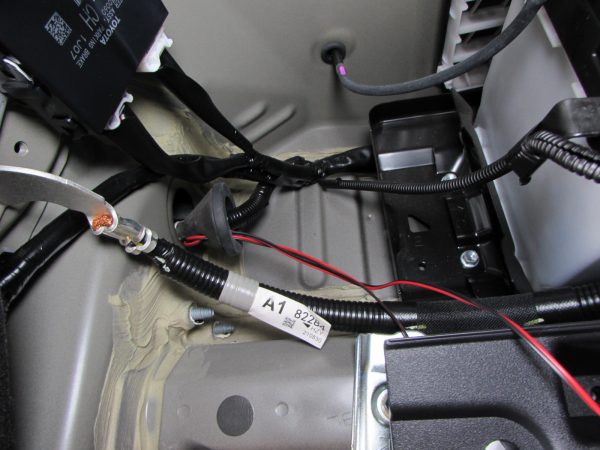
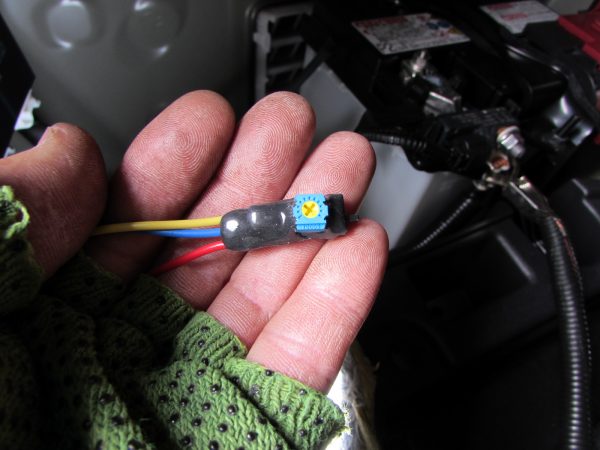
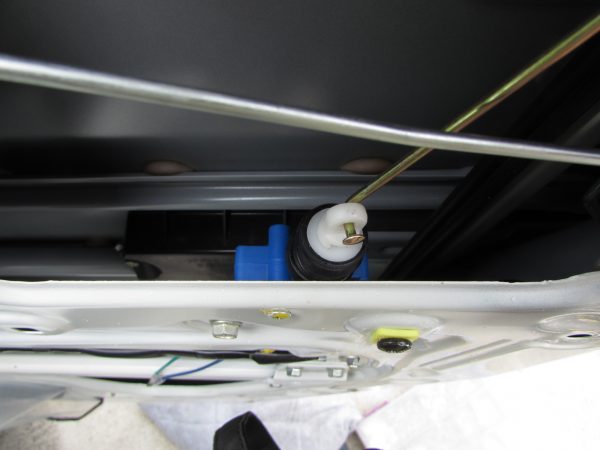
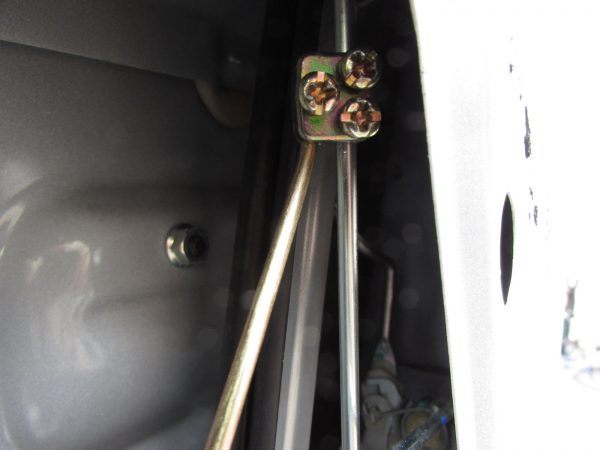
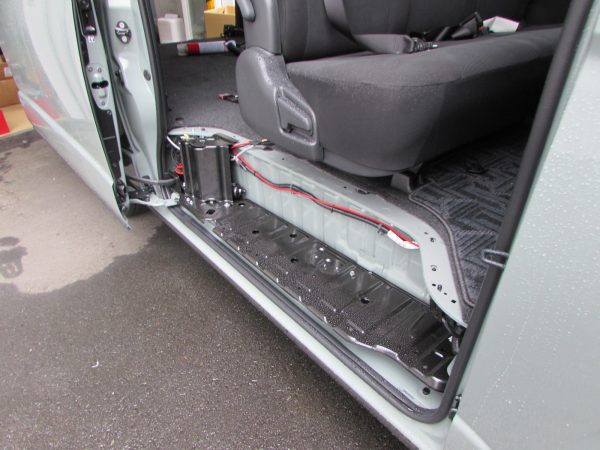
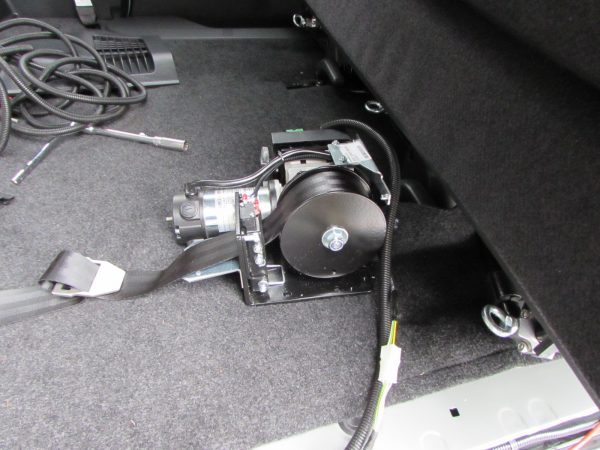
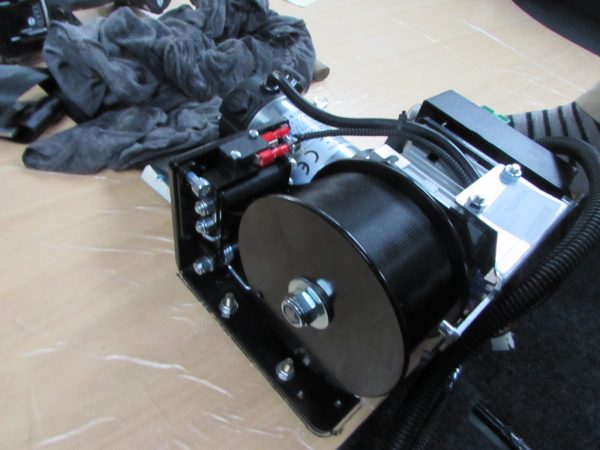
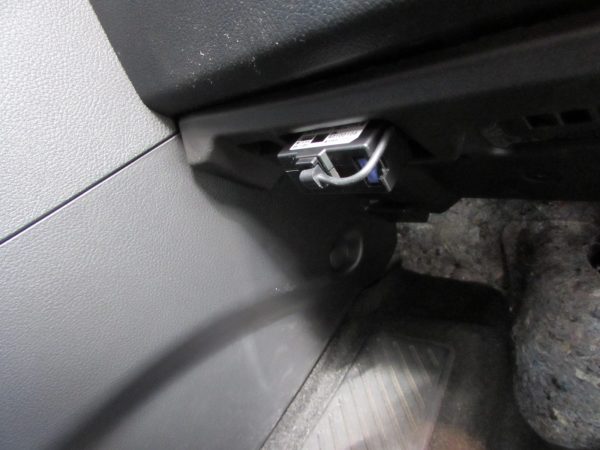
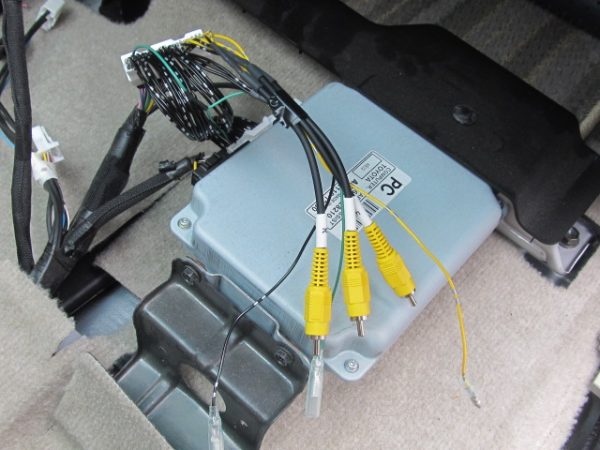
ナビ本体の作業の前に前述のデータシステム社のカメラアダプターの施工を致します助手席シート下にある純正のカメラ中枢ユニットに割り込ませます
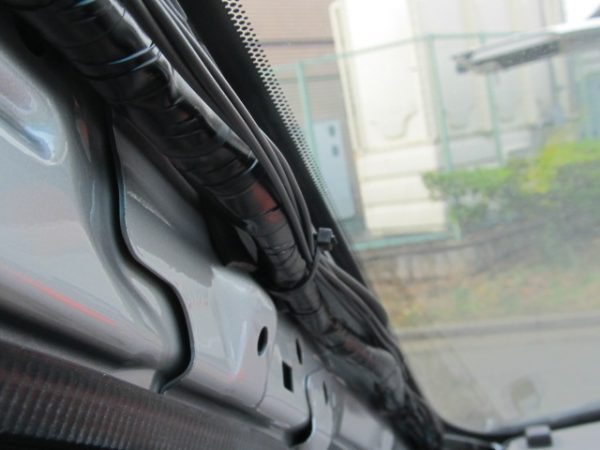
続いてナビの地デジアンテナ、GPSアンテナなどの施工
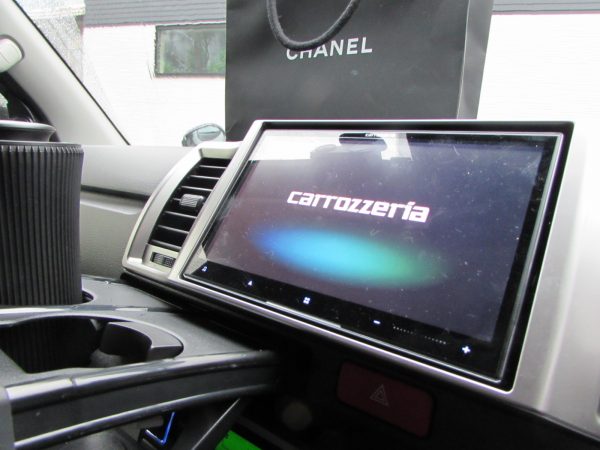
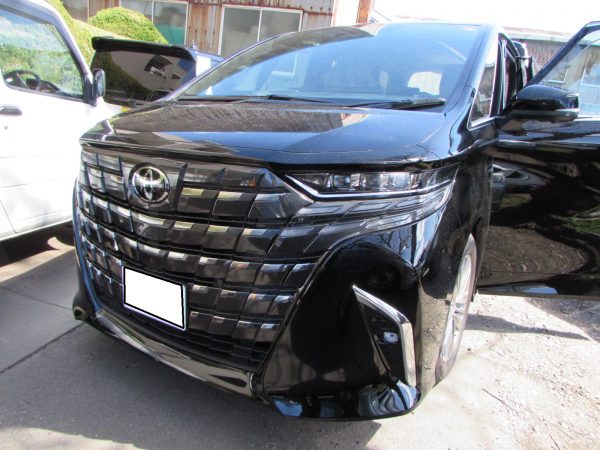
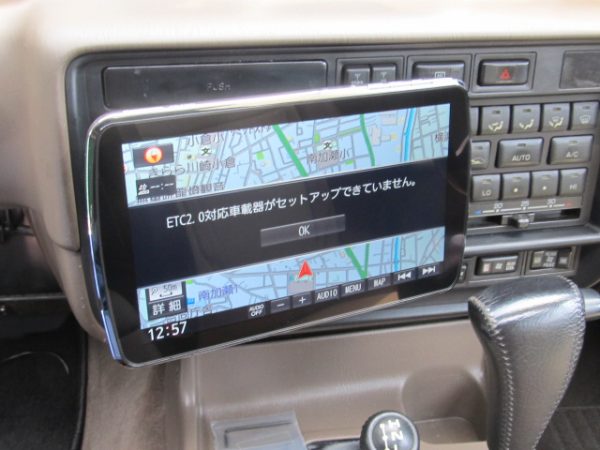
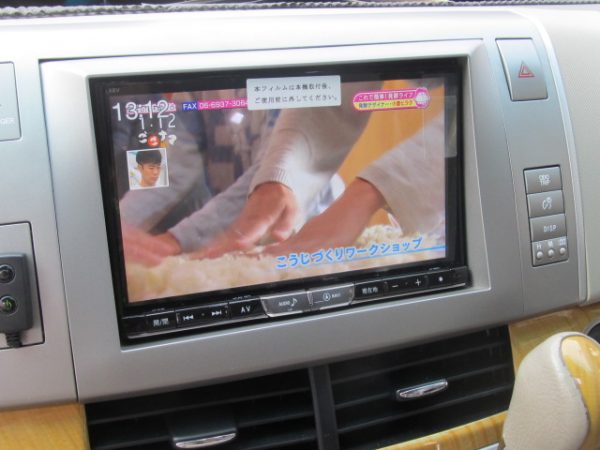
完成です
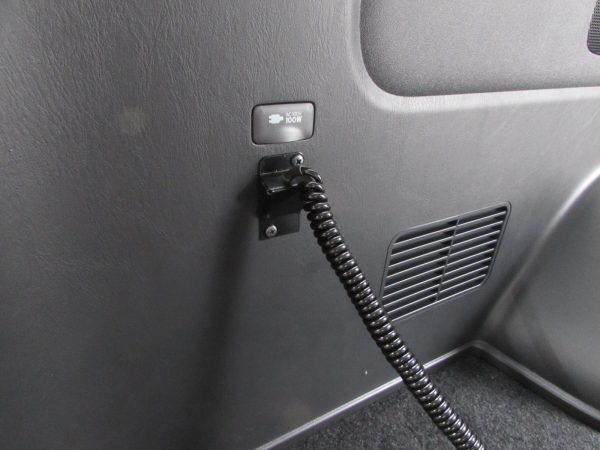
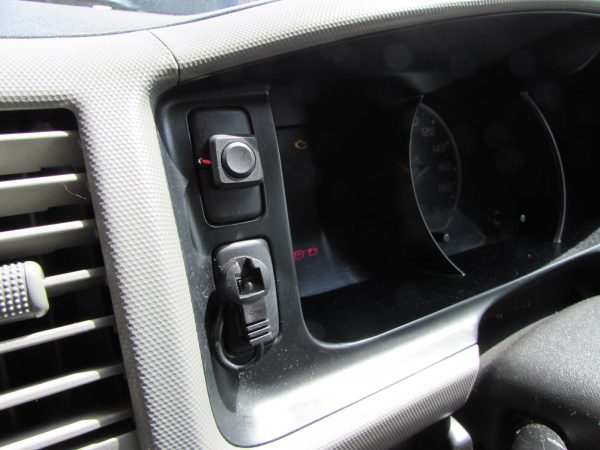
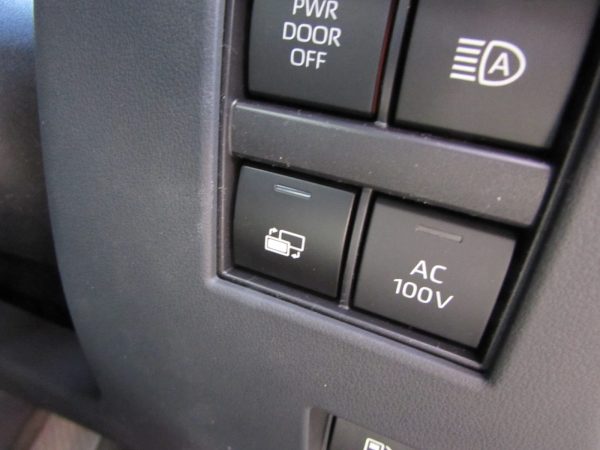
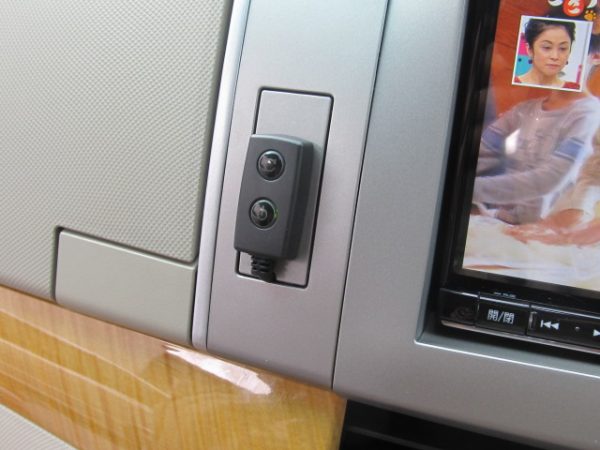
カメラアダプターのスイッチはナビパネルの空スイッチのメクラ蓋へ
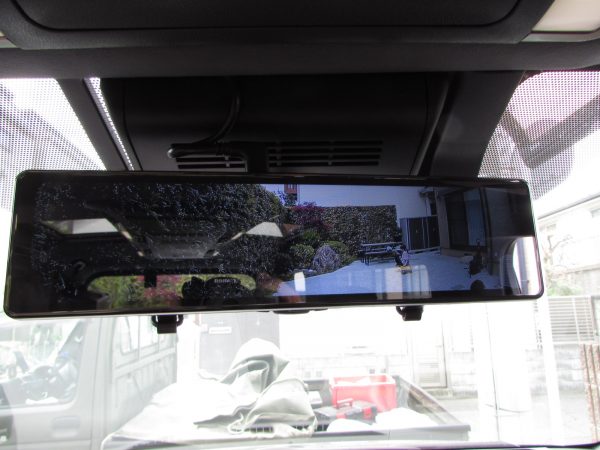
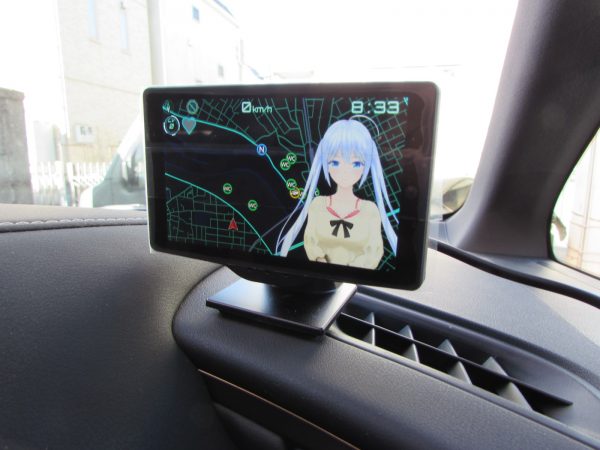
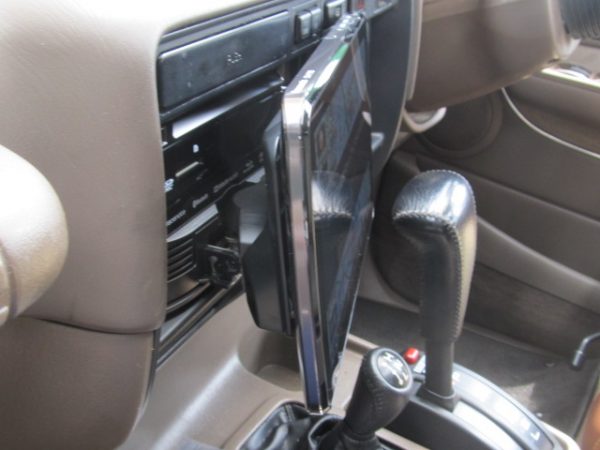
フリップダウンモニターもOKです
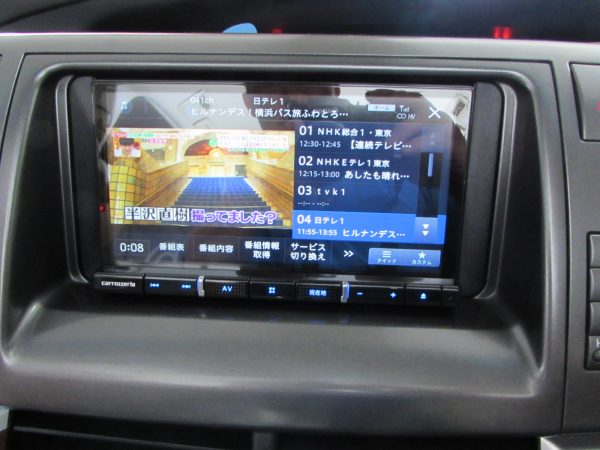
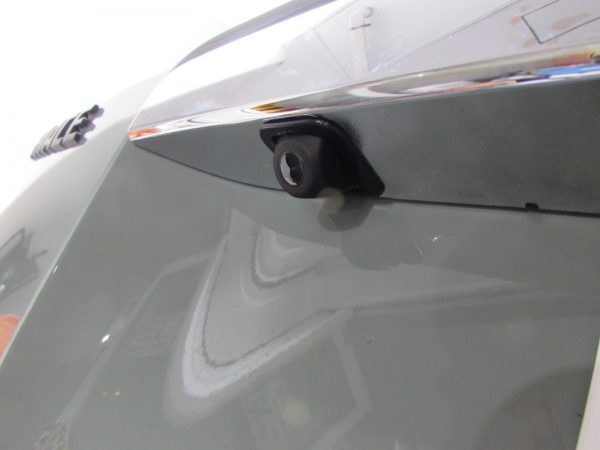
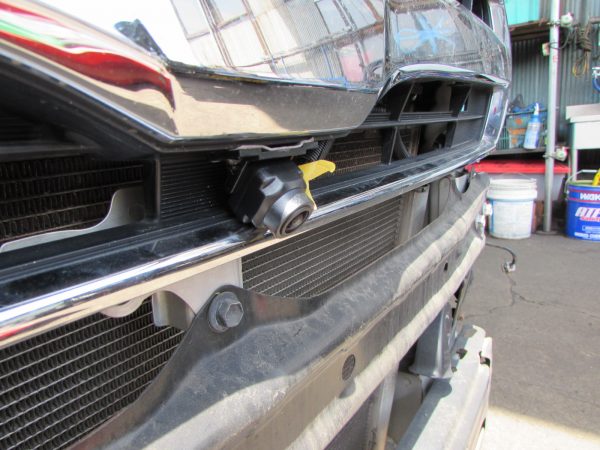
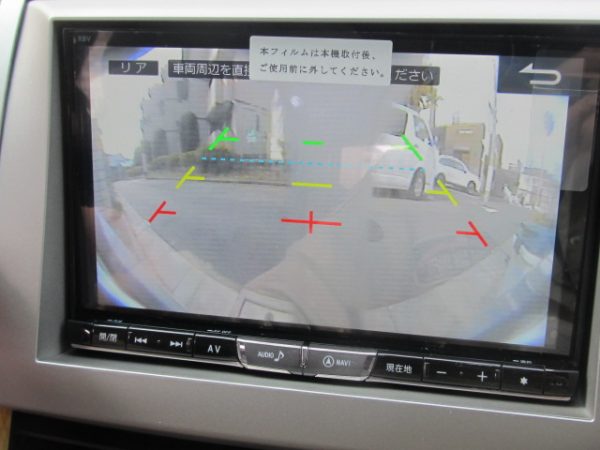
フロントカメラ映像
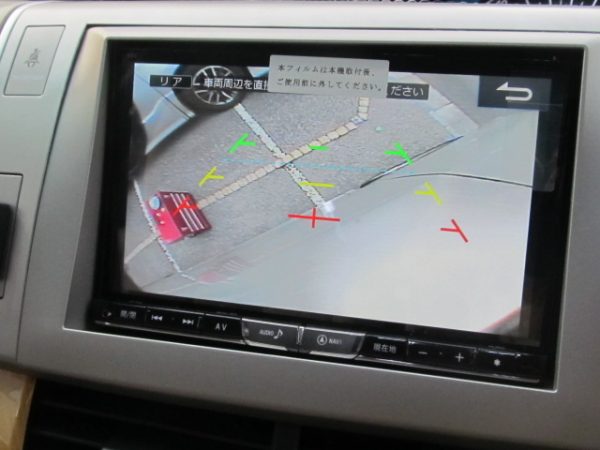
サイドカメラ映像
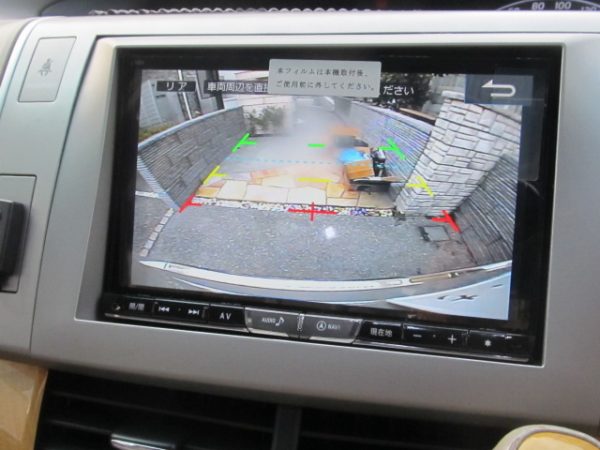
バックカメラ(リアカメラ)映像
最後にスピーカーの作業です
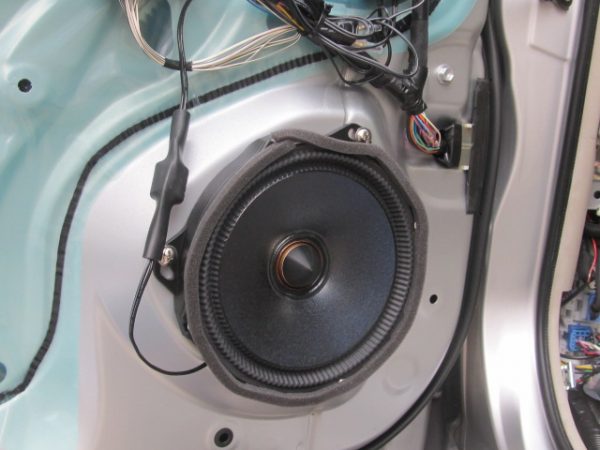
完成です
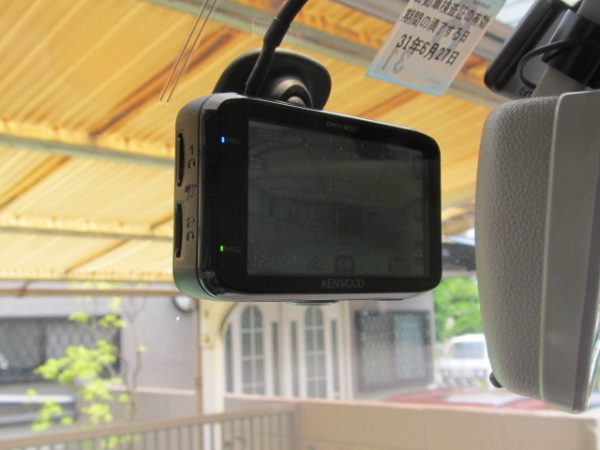
カーナビ、カメラ、ドライブレコーダーなど車の電気製品全般の商品持込、出張取り付けは是非サンライズガレージにご相談ください、東京、神奈川、埼玉、千葉、栃木、茨城、群馬等、関東近県どこでも出張取り付け致します。