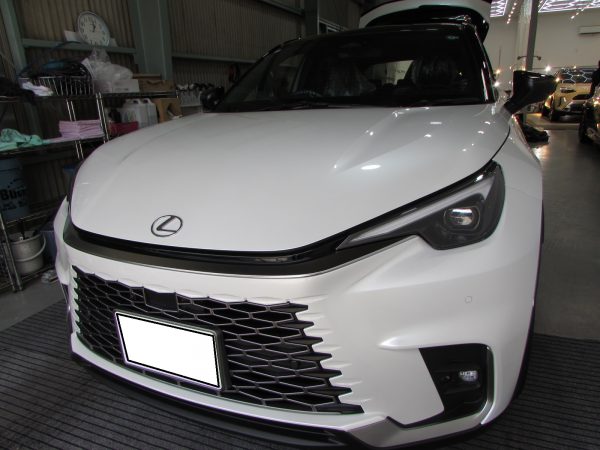
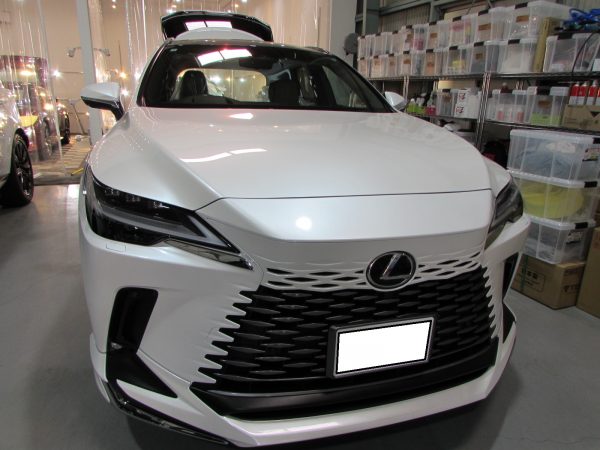
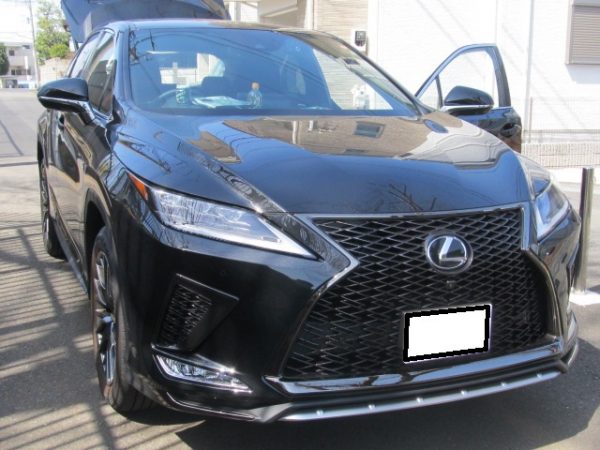
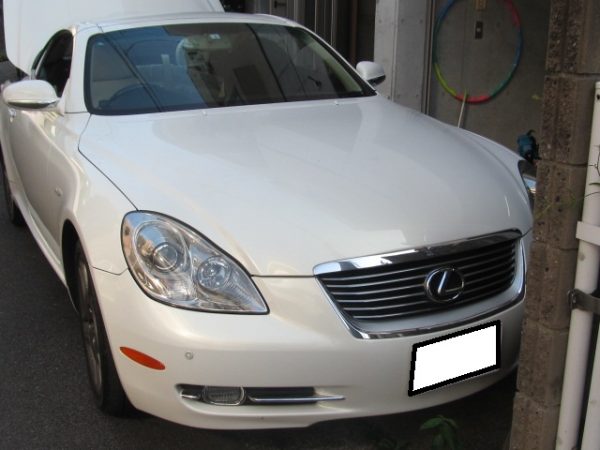
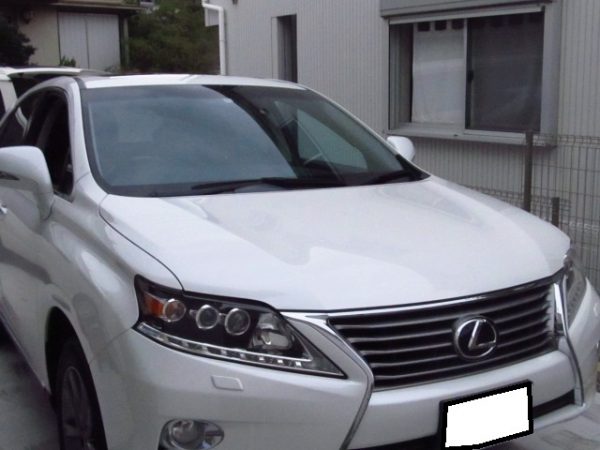
今回のご紹介はレクサスRX270 AL10型 2014年モデルへ後付けのアラウンドビューカメラの取付で埼玉県朝霞市へ出張取付にお伺いいたしました アラウンドビューモニターやマルチビューカメラシステムなどとも呼びますね
社外後付けなので純正のモニターへは接続不可となります
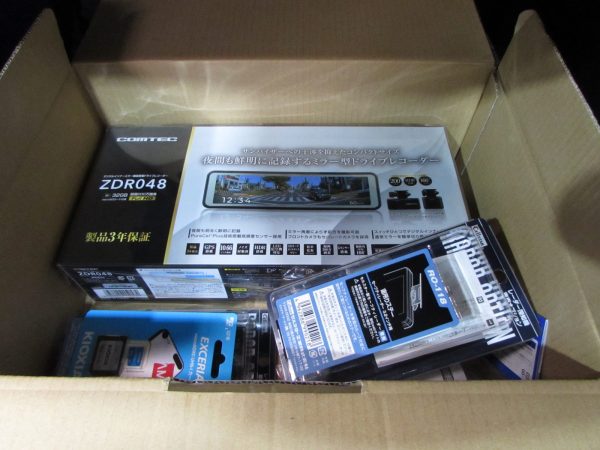
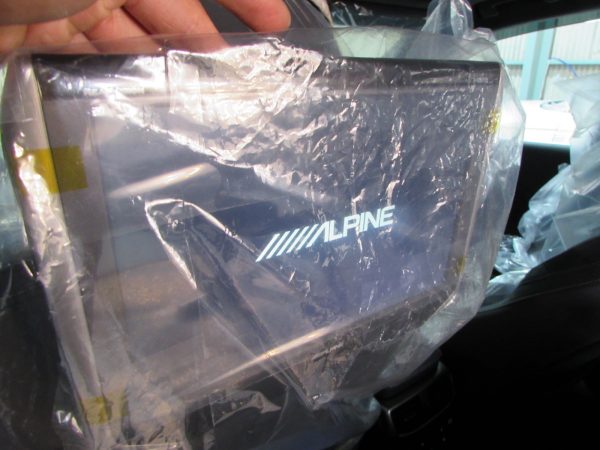
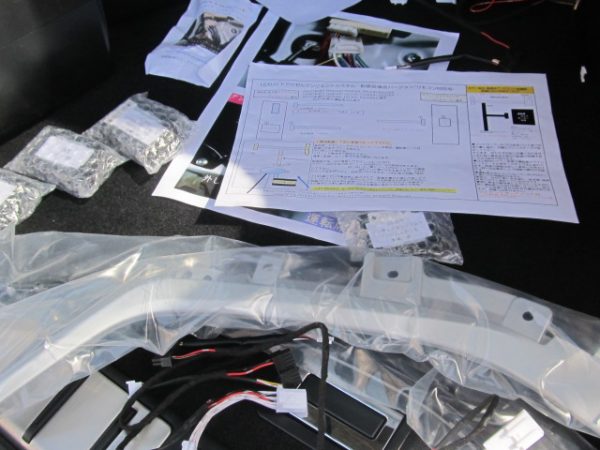
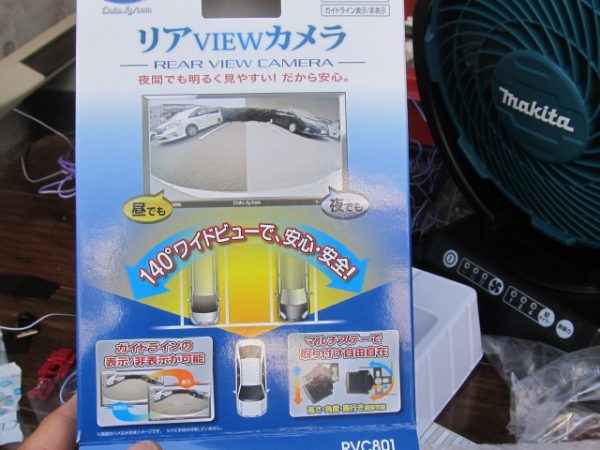
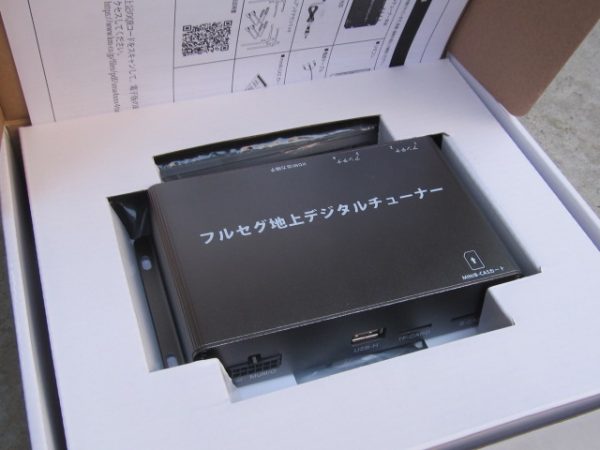
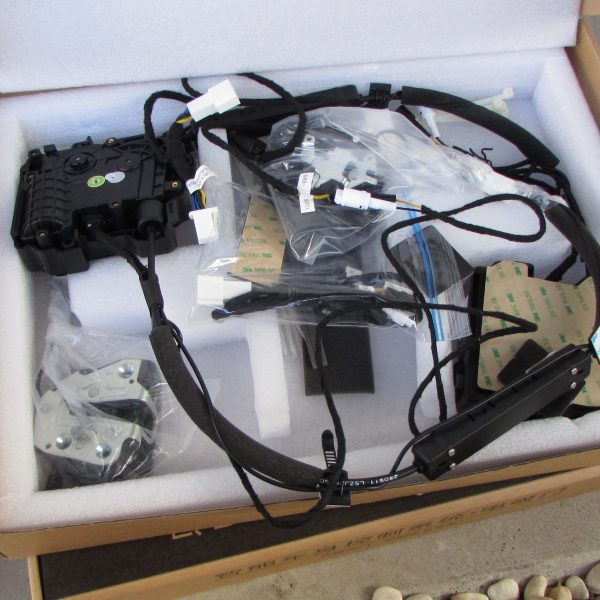
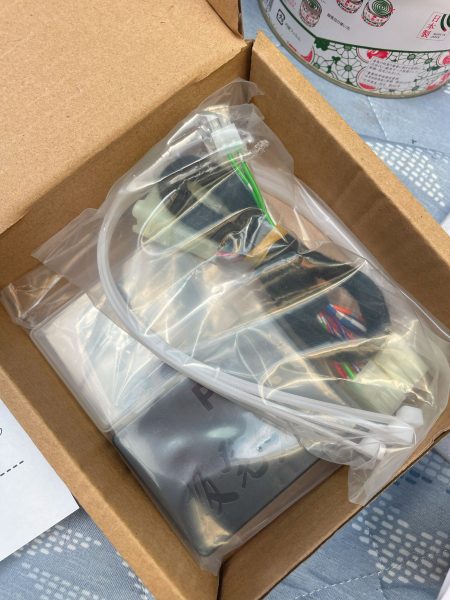
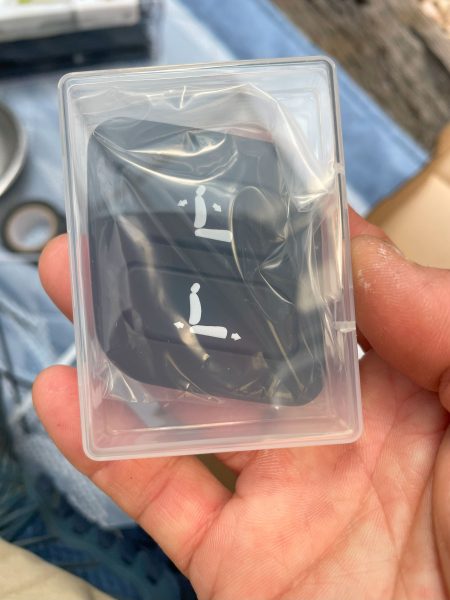
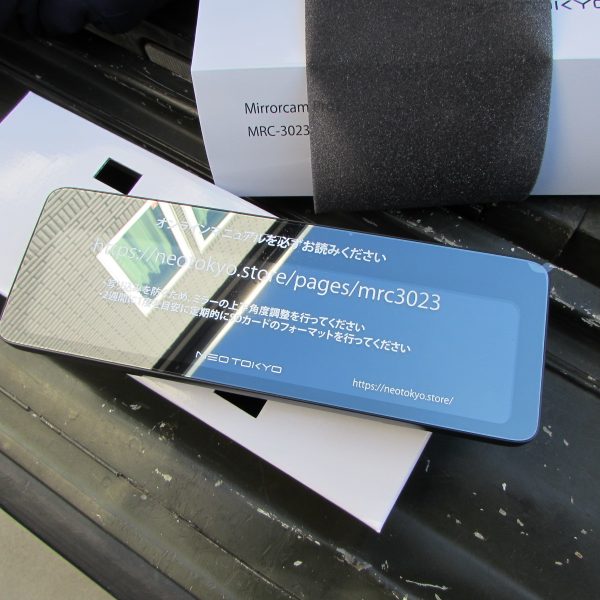
中華無名製でカメラとミラー型モニターがセットになっております
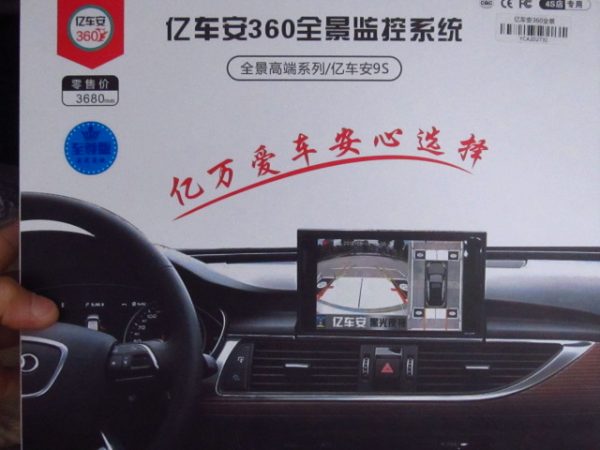
これはパッケージの写真ですが果たしてこのように上手く映ってくれるのか?
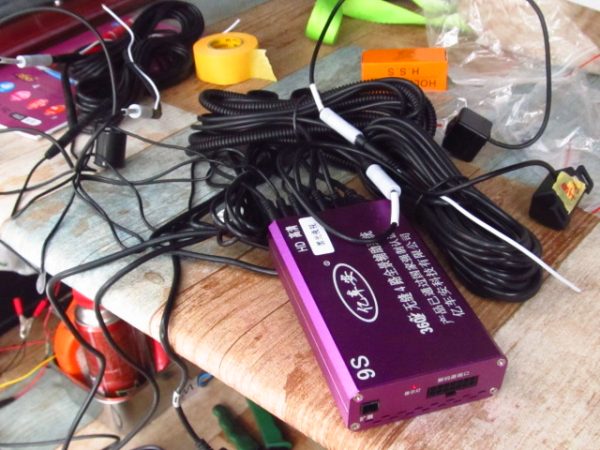
全てが中国語で半分感覚で取り付けていきます
この手の商品は特に心配なので取り付け前に一度電源確認いたします
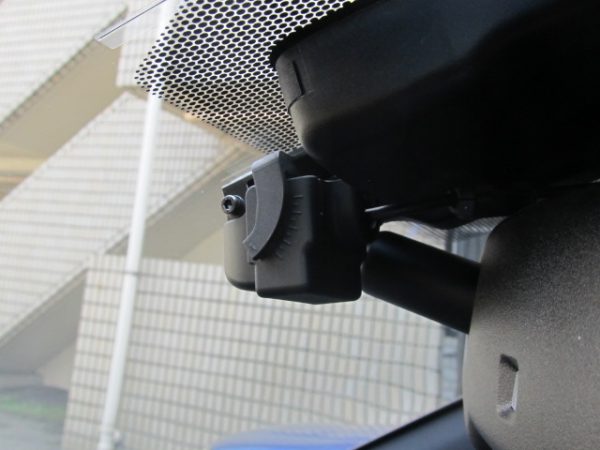
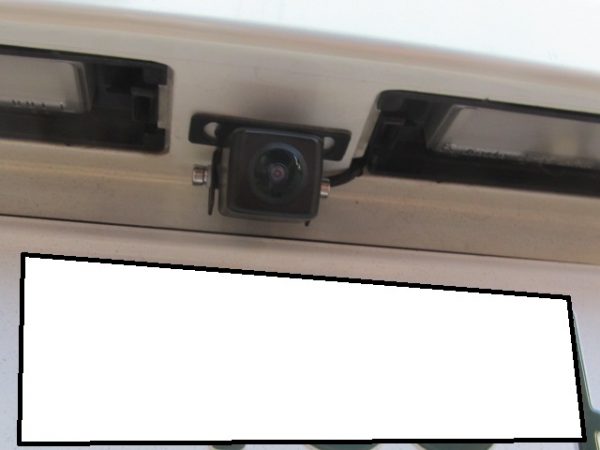
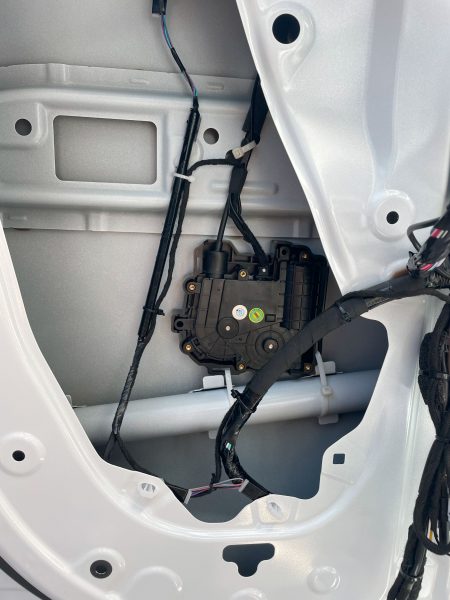
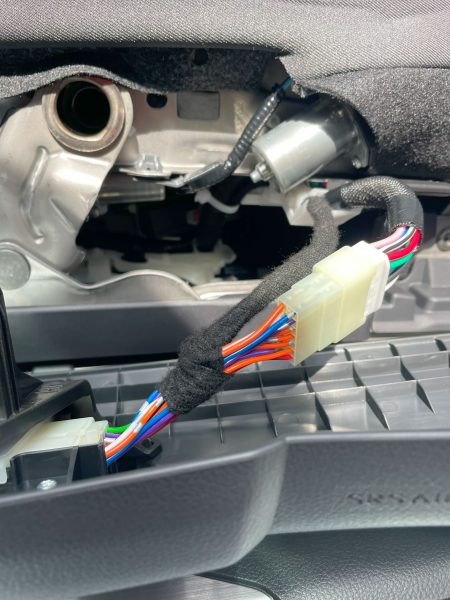
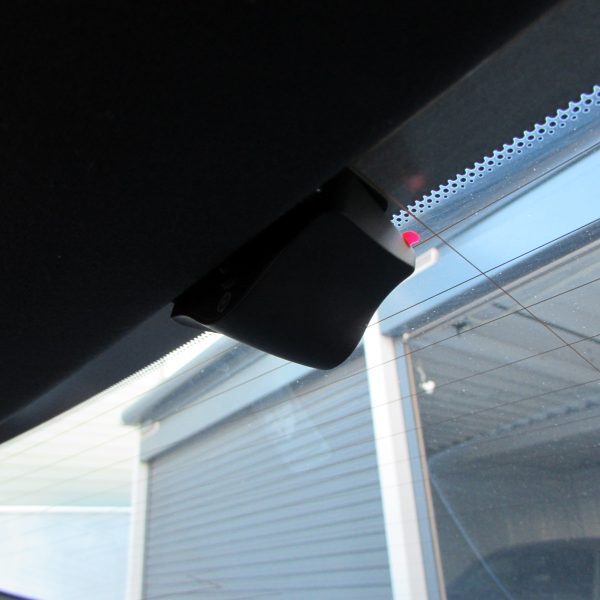
まずはリアカメラから開始
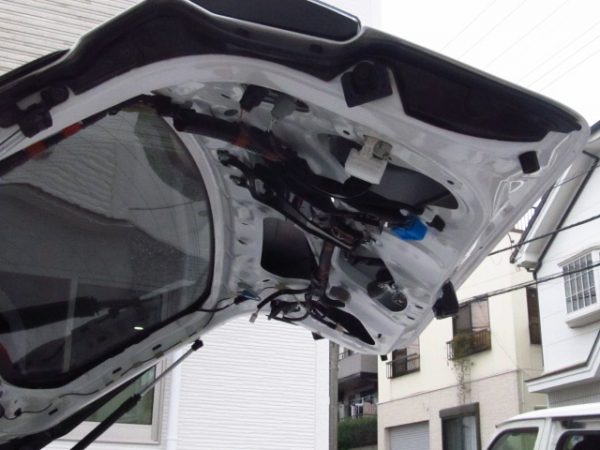
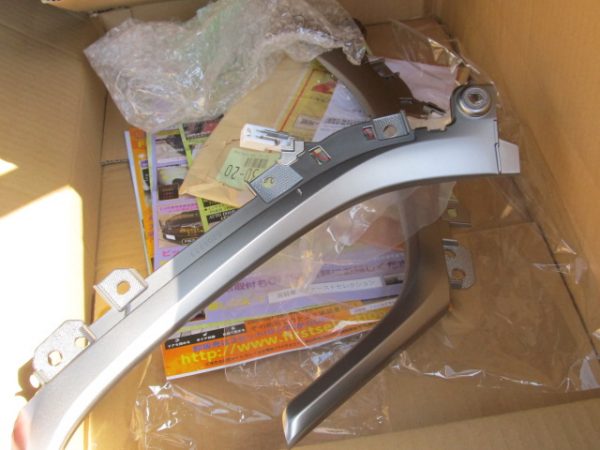
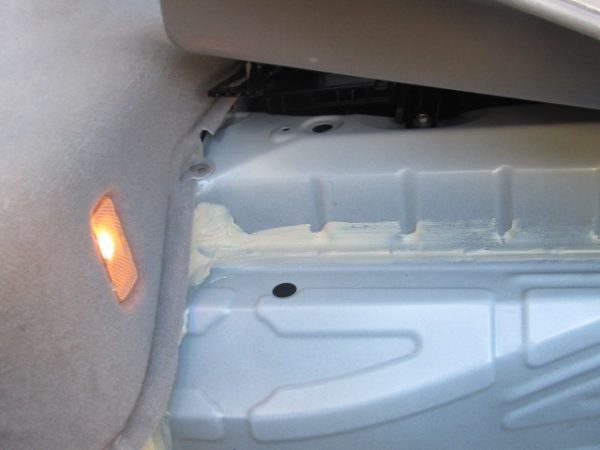
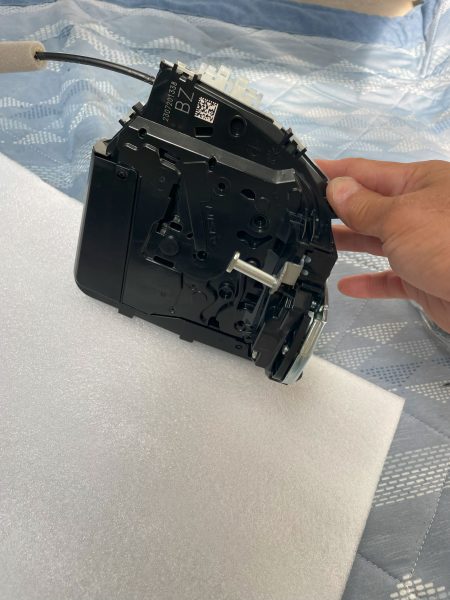
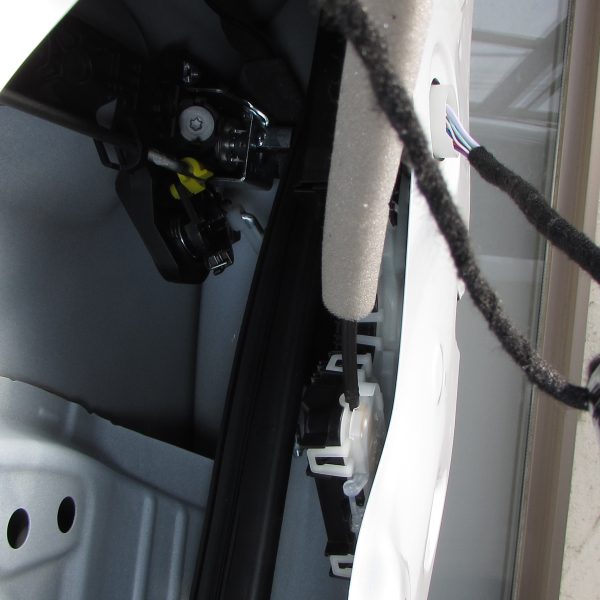
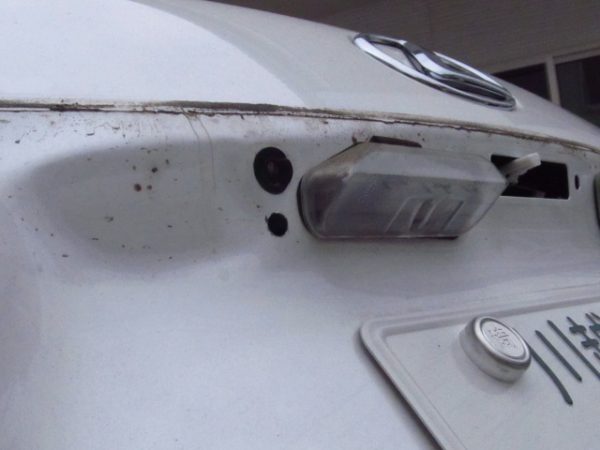
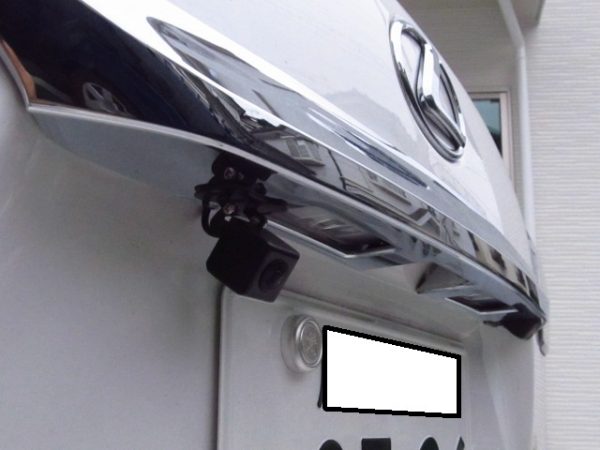
リアガーニッシュを外して取付けます、純正のバックカメラはそのまま残します
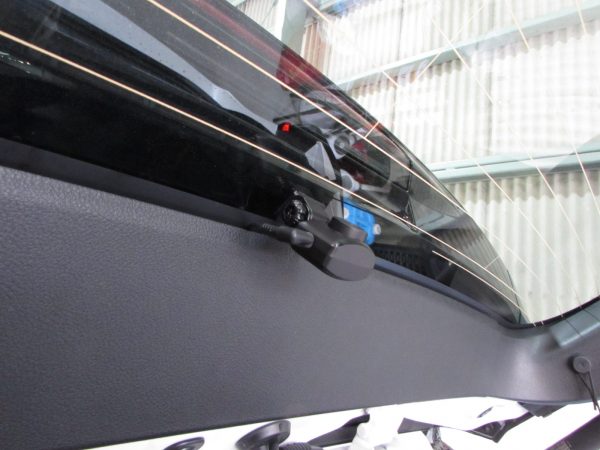
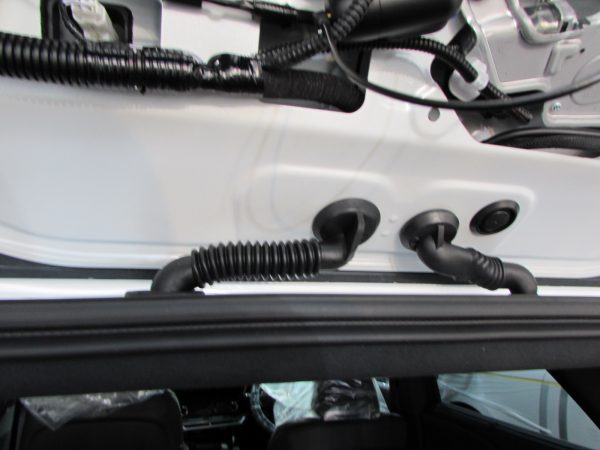
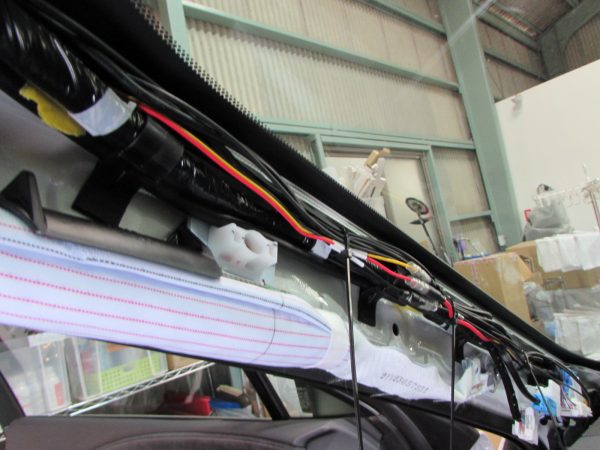
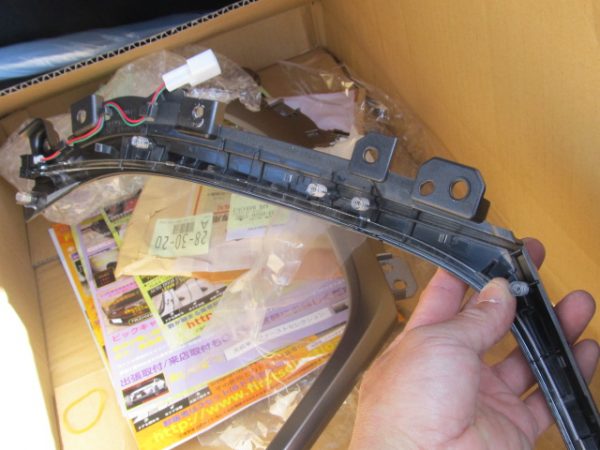
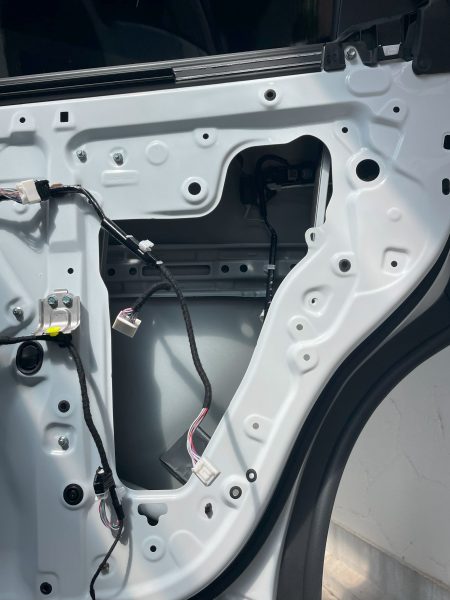
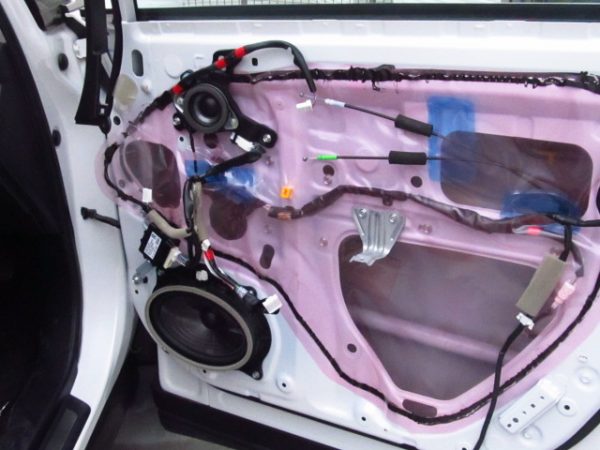
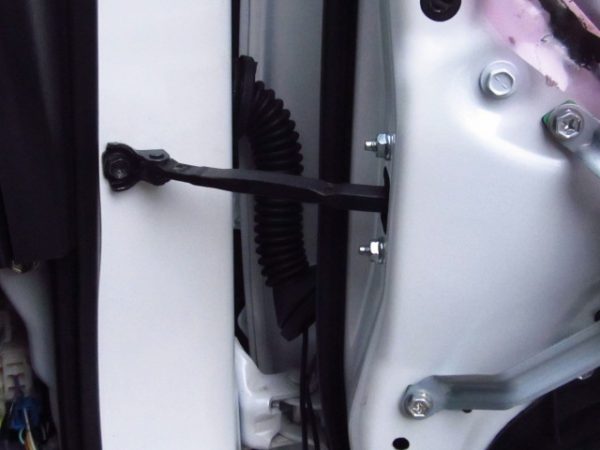
カメラ線をルーフに沿って前方へ引き回します

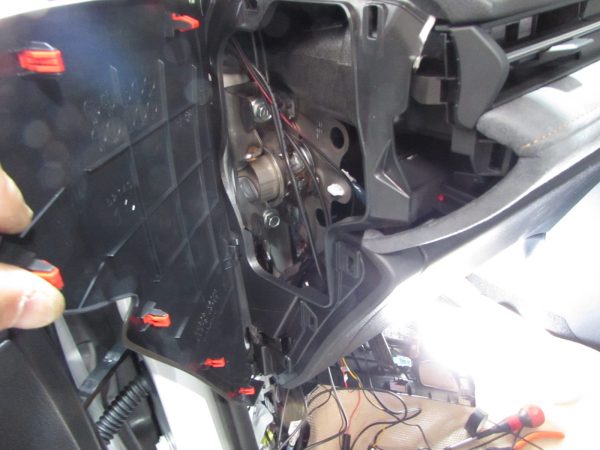
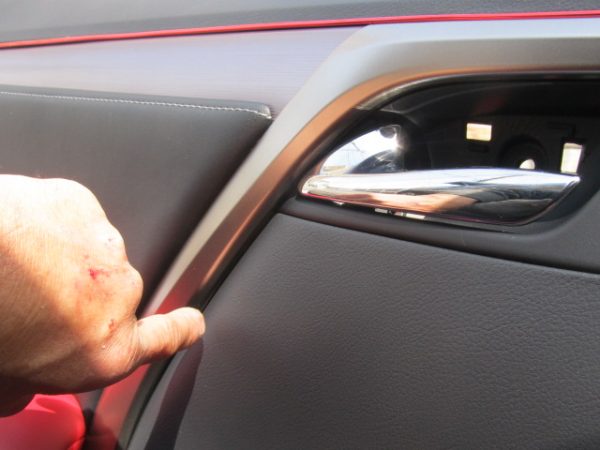
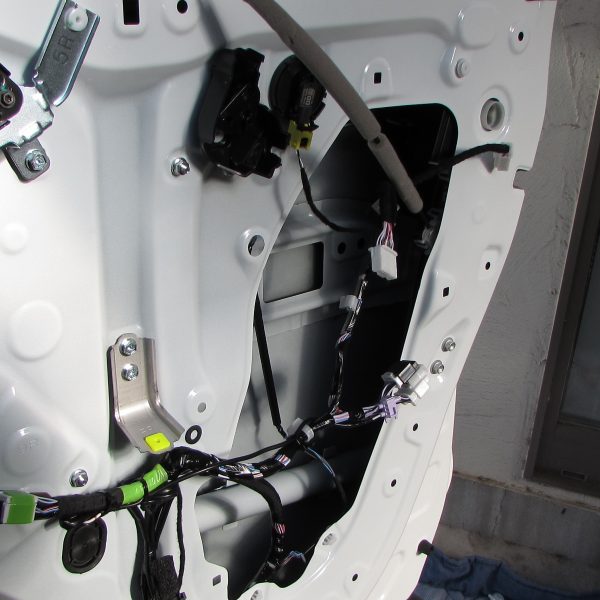
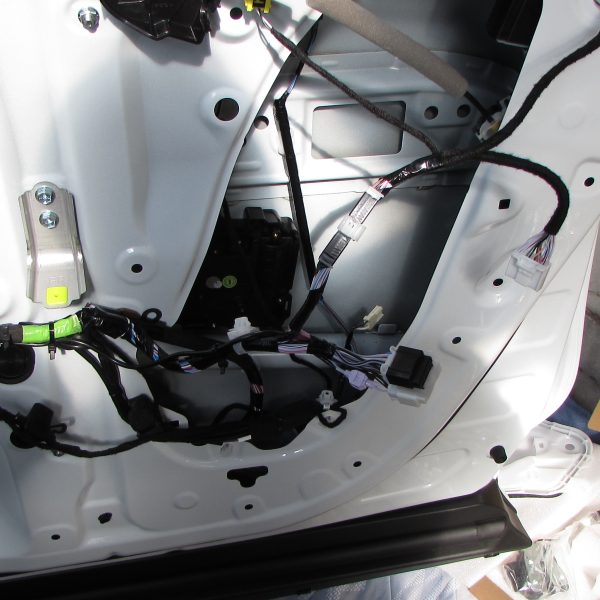
続いて左右のサイドカメラの施工に取り掛かります
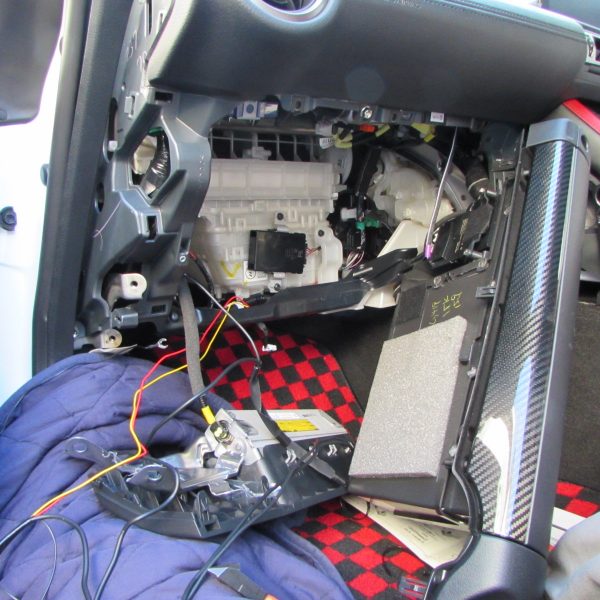
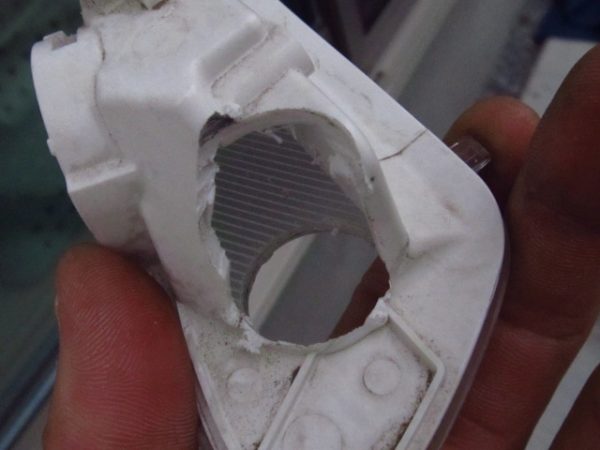
ミラーASSYを分解していきます
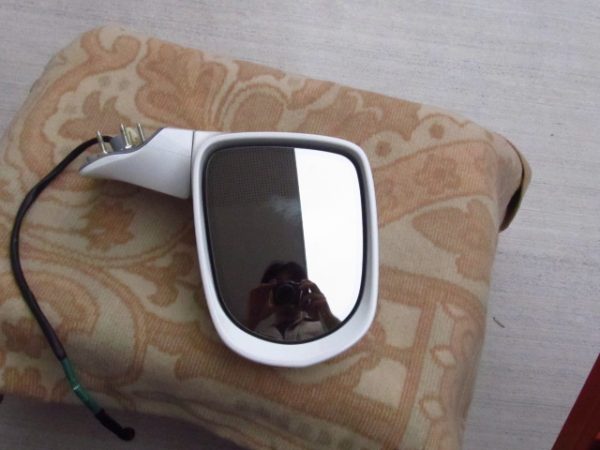
非常に繊細な作業です
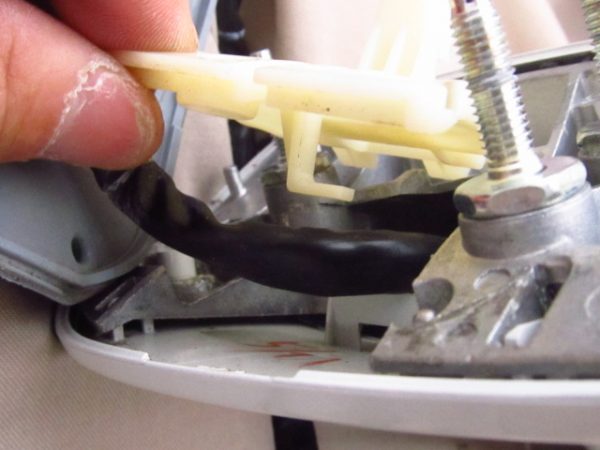
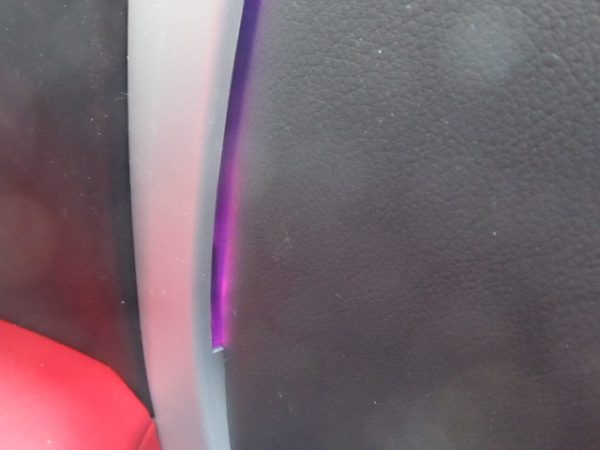
分解で来たところでサイドカメラの埋め込める場所を探ります
まあまあな奥行きが有る為取り付け場所に制限が有ります
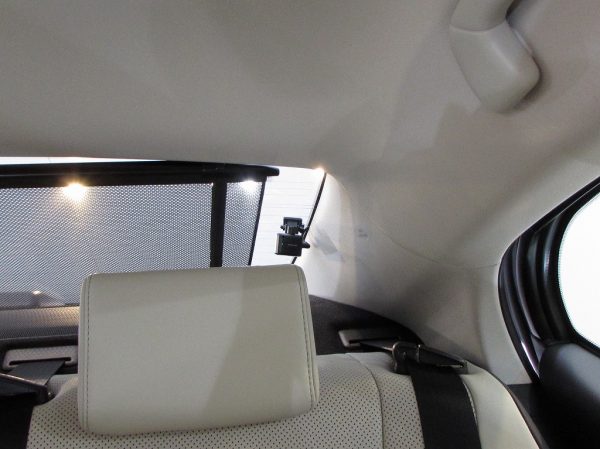
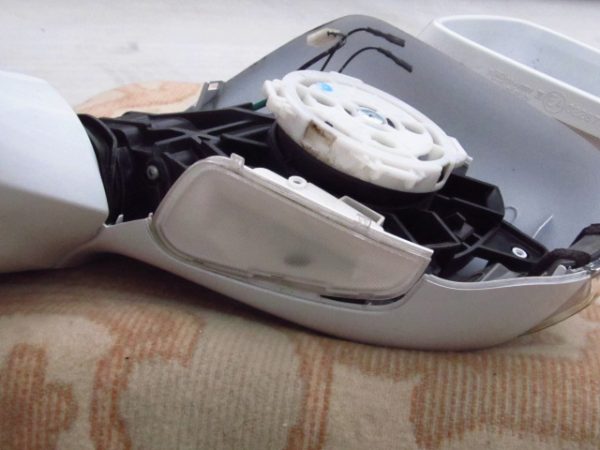
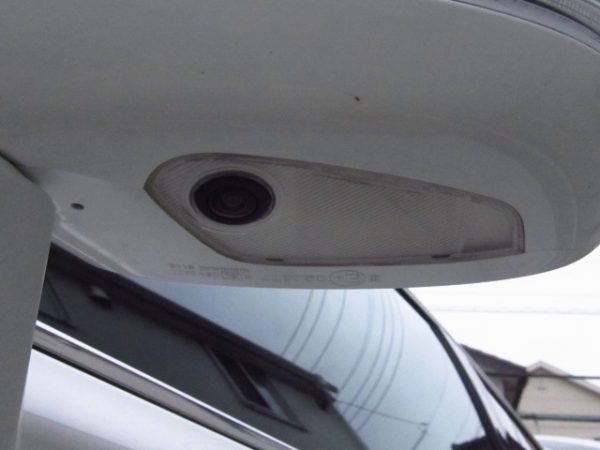
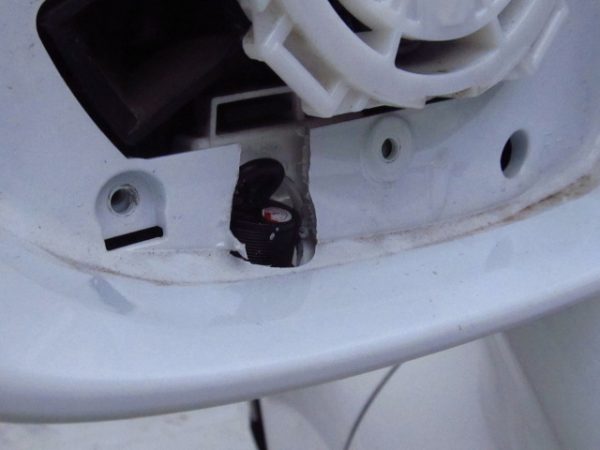
オーナー様にご相談して可能な場所は既設のウェルカムランプに埋め込むことになりました
実は助手席側のミラーには純正のサイドカメラが同じ場所に埋まっていますのでそれに倣っています
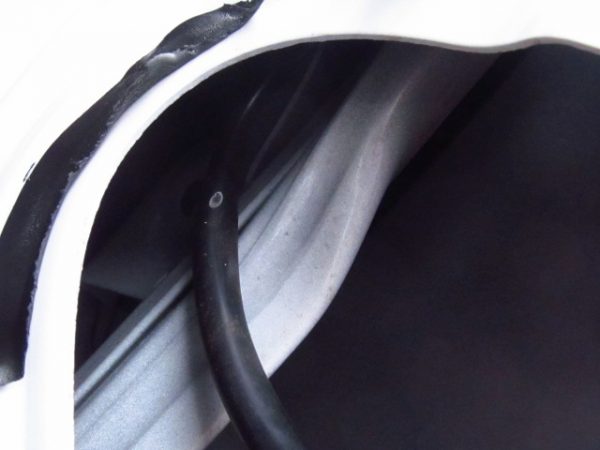
出来る範囲での防水は致しますが水が入らないお約束は出来ません
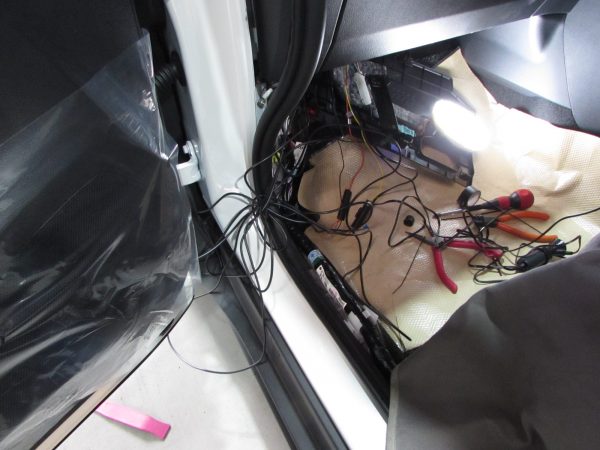
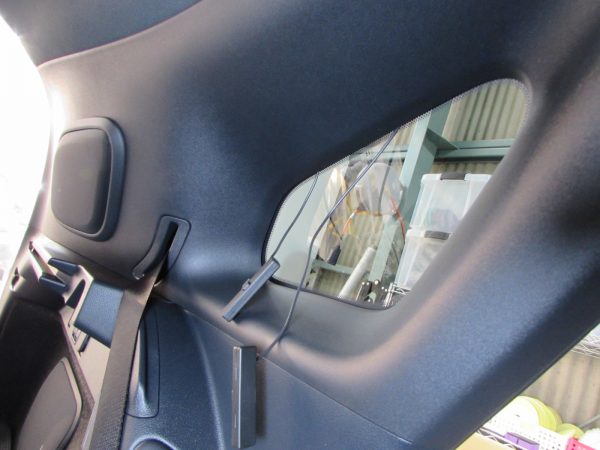
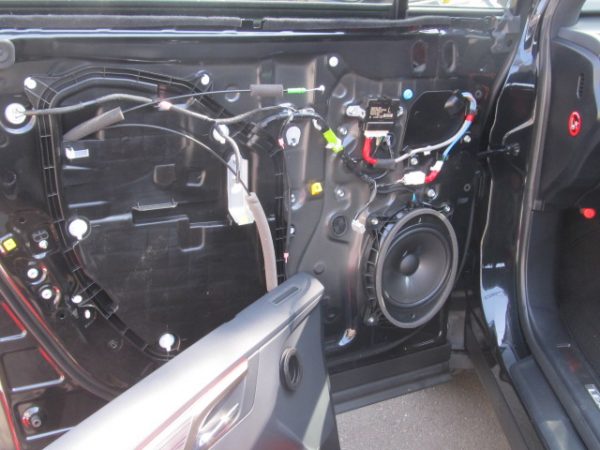
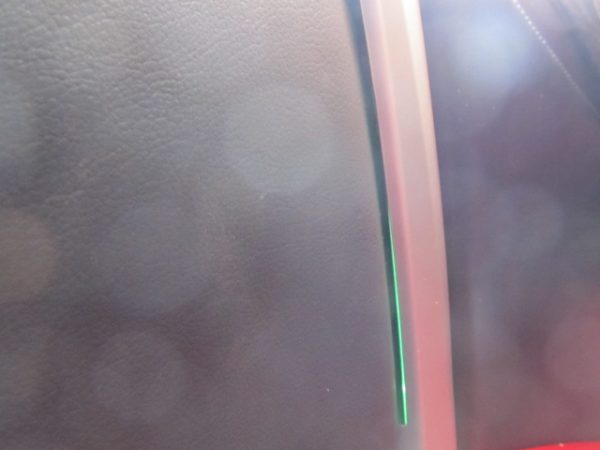
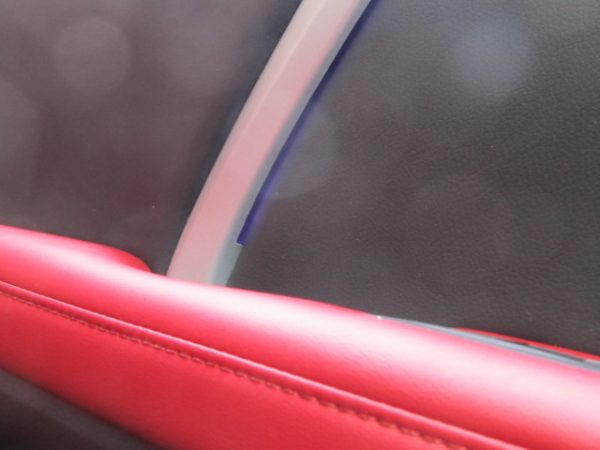
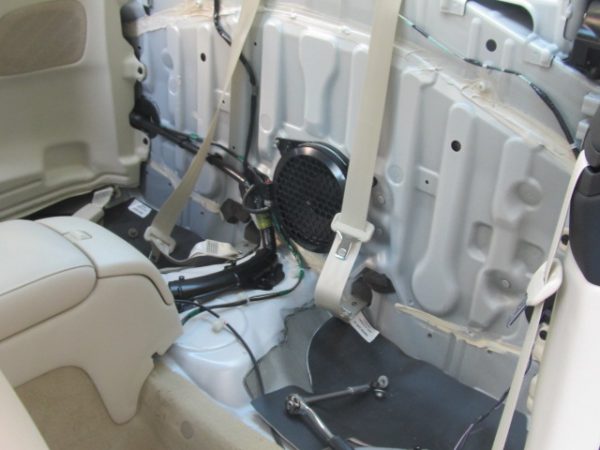
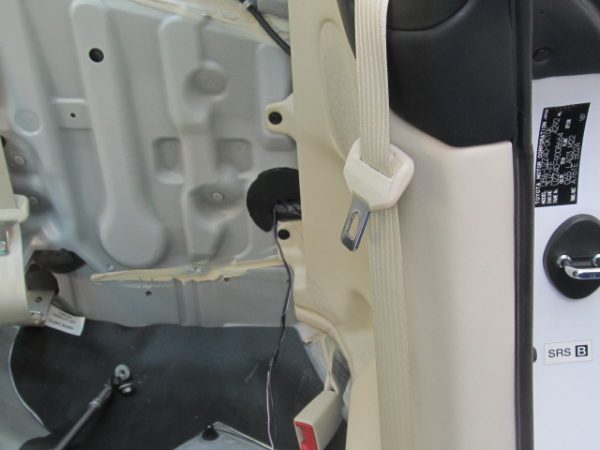
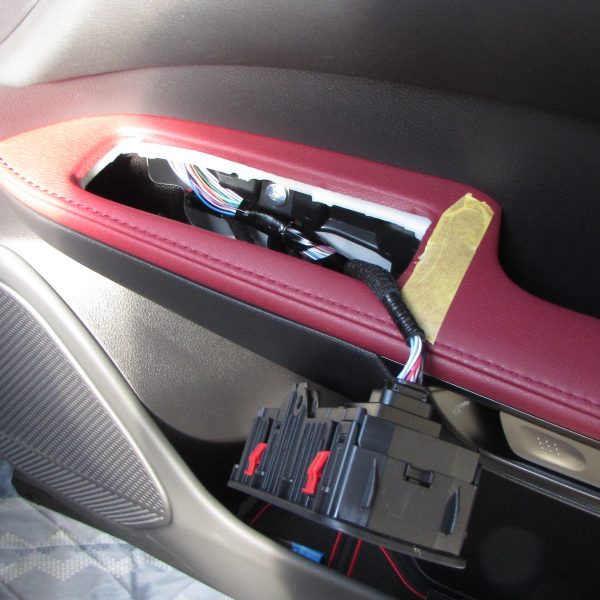
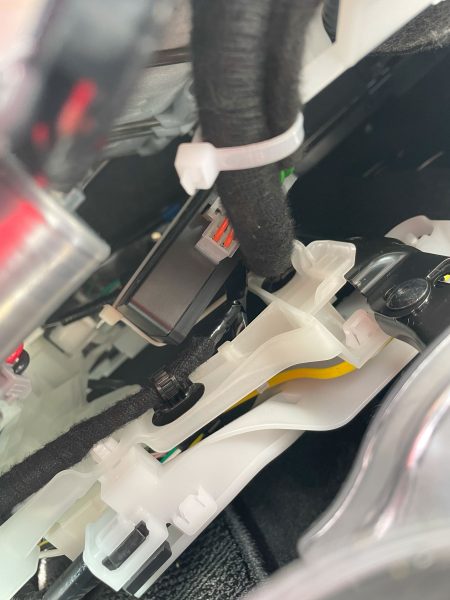
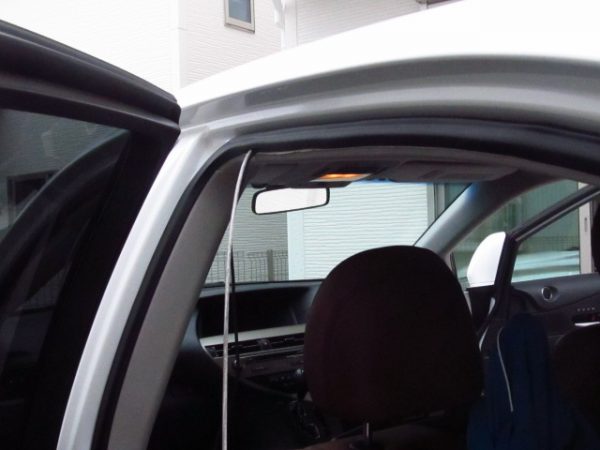
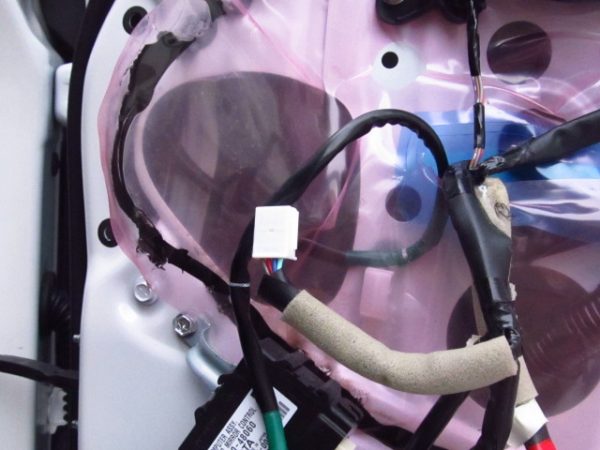
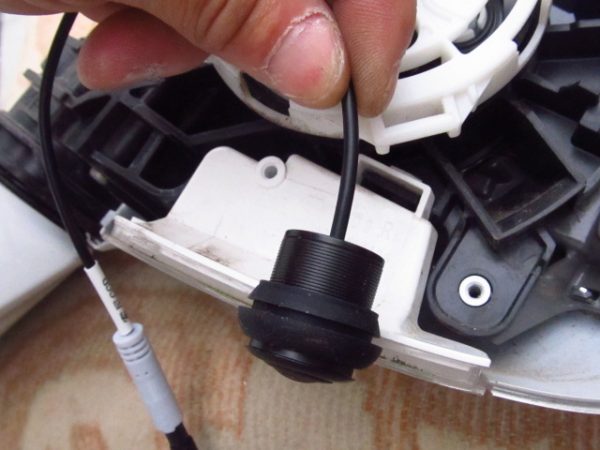
室内側へ引きこみ

助手席側は純正サイドカメラとアラウンドビューモニターのカメラを共存させます

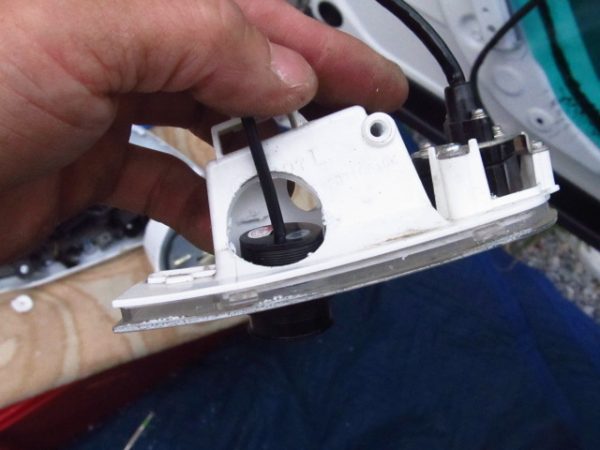
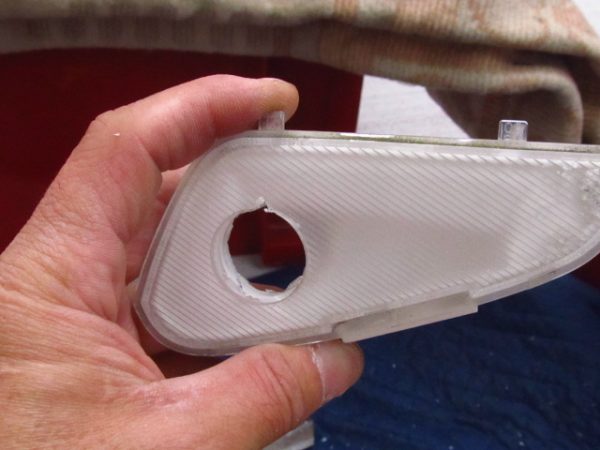
物理的にどうしても鏡面部のエリアに飛び出てしまうのでこの様に逃げを作りました
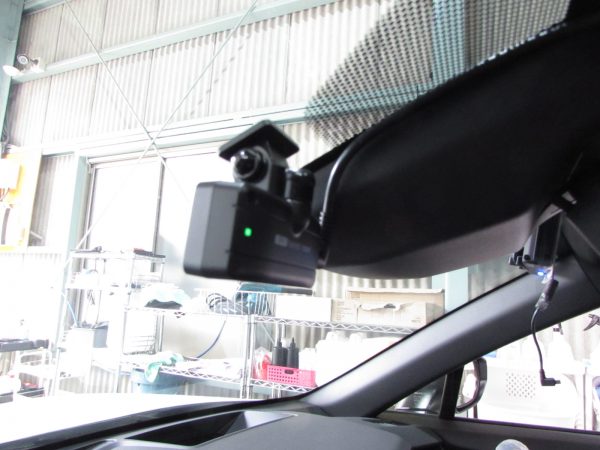
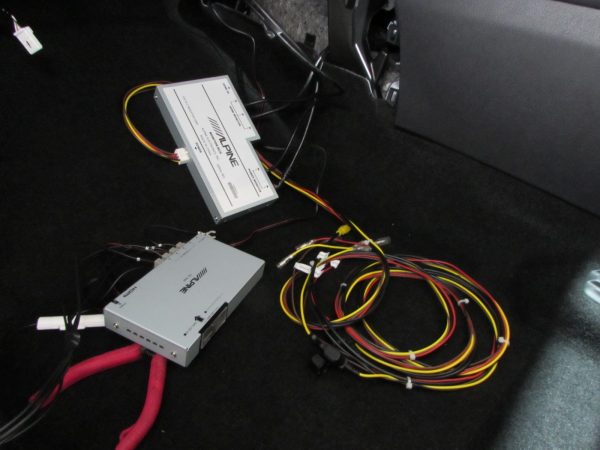
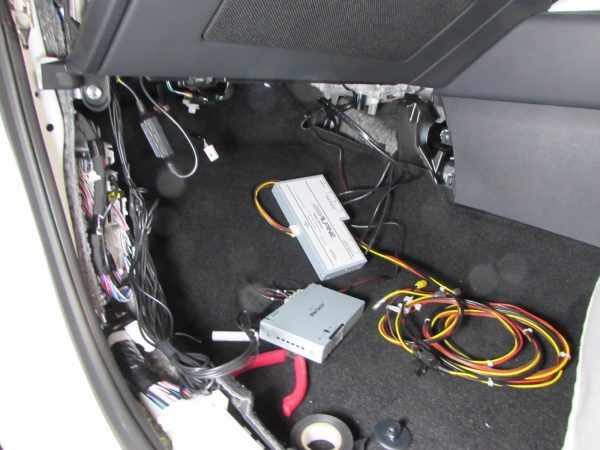
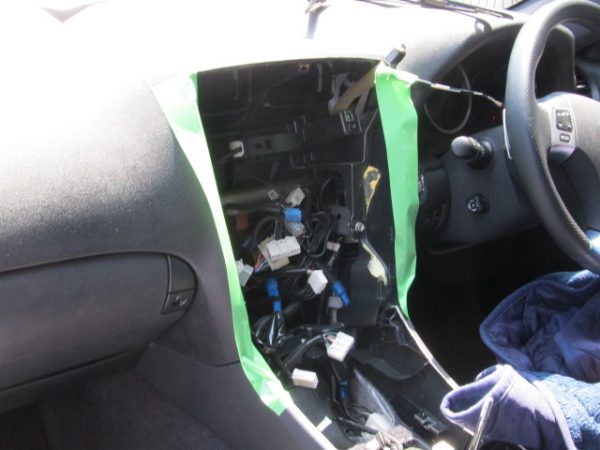
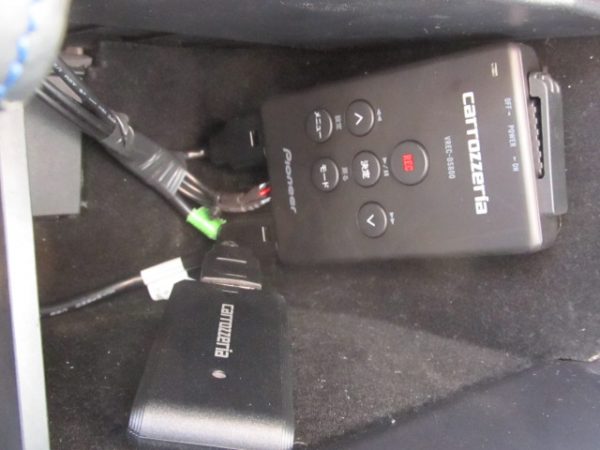
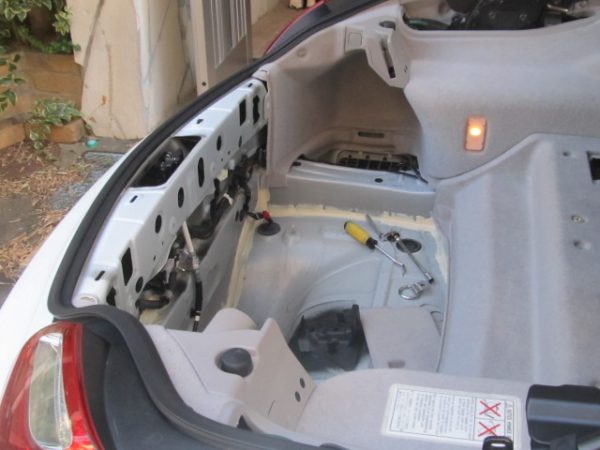
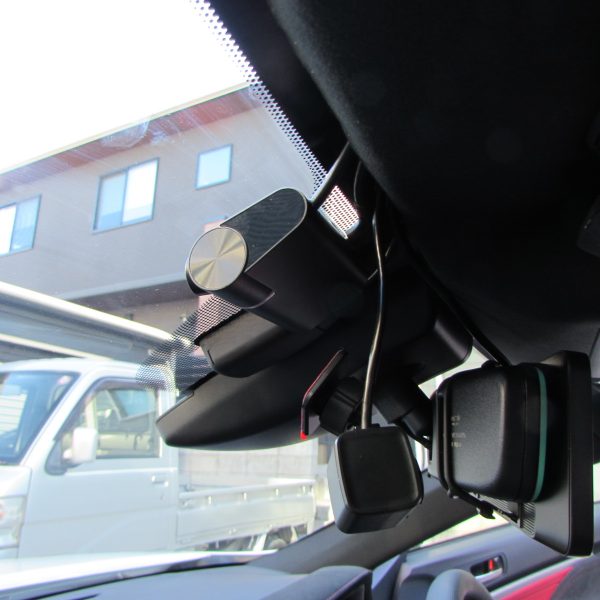
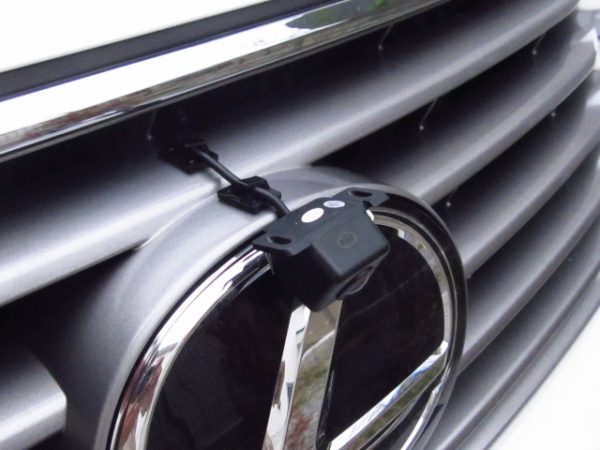
最後にフロントカメラの施工をして全てのケーブルをコントロールユニットに集めます

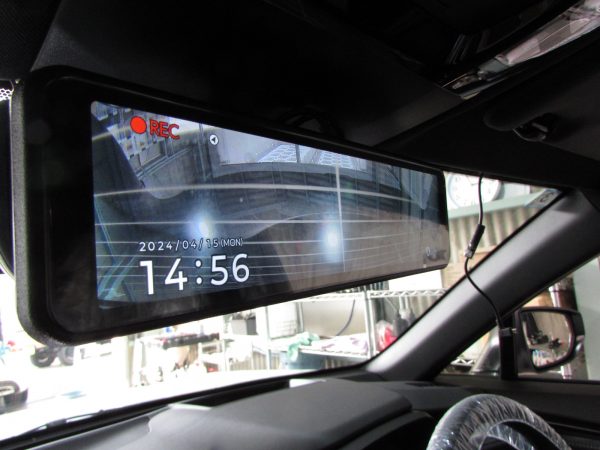
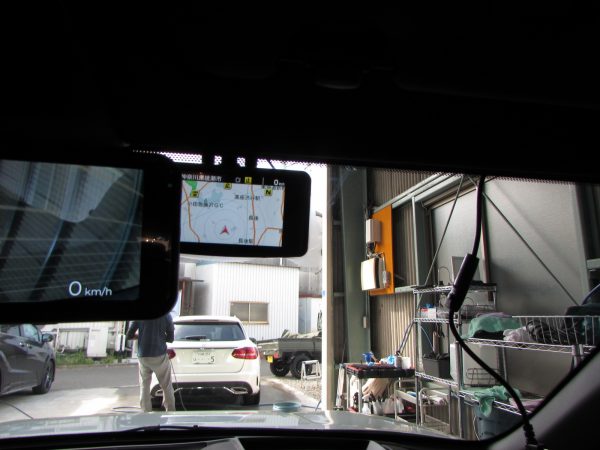
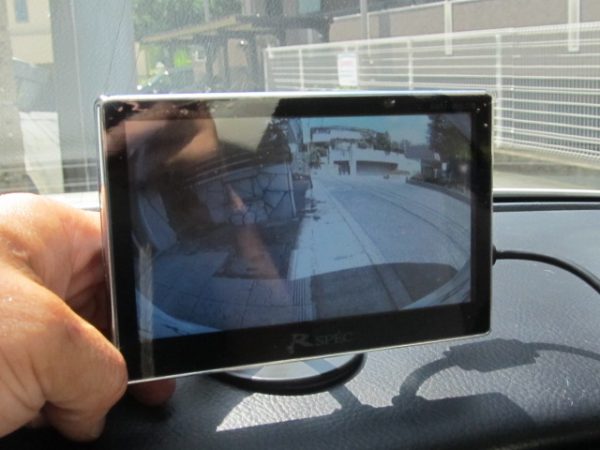
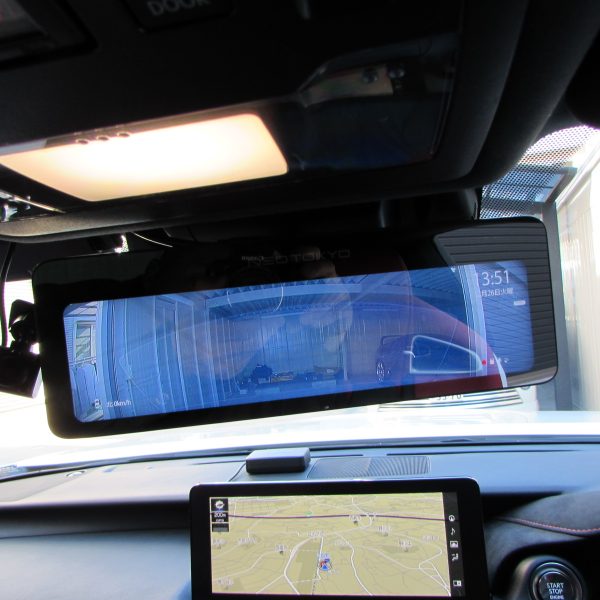
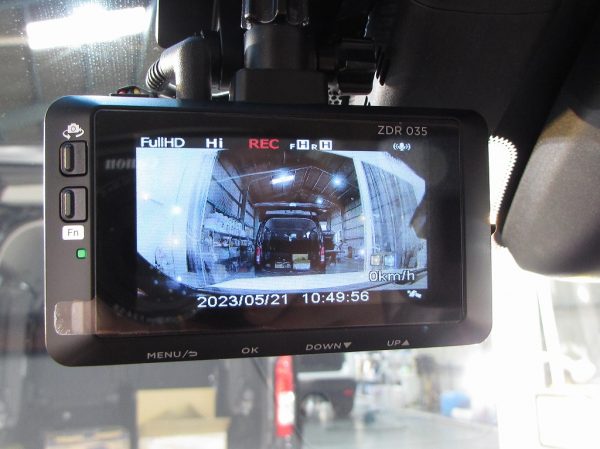
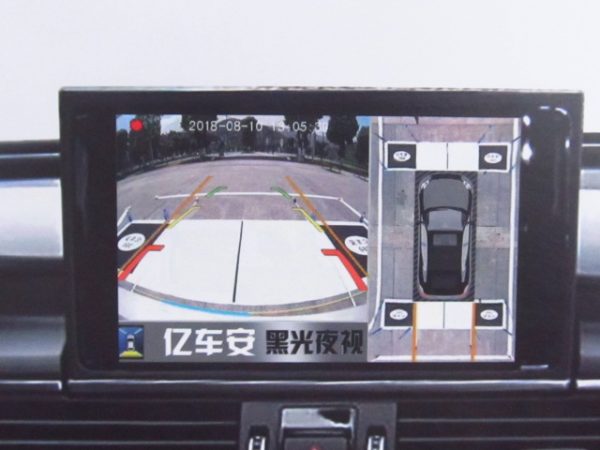
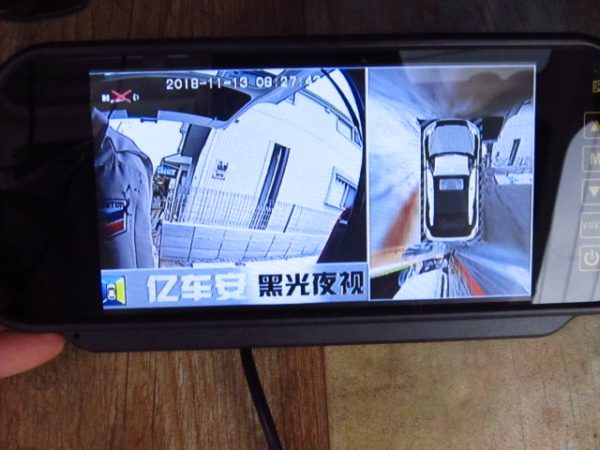
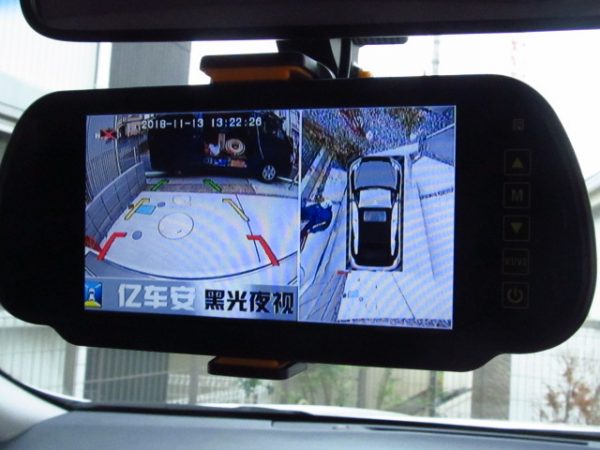
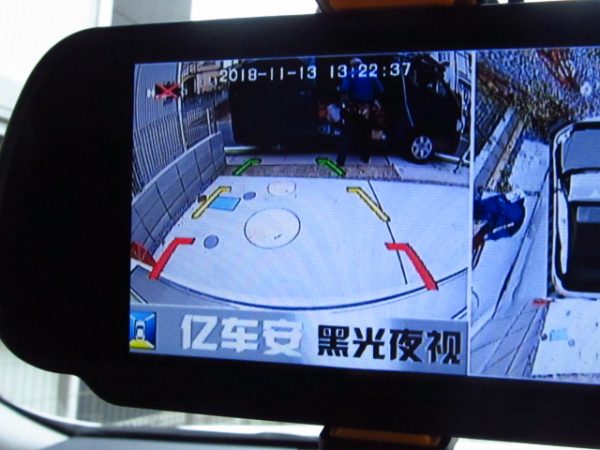
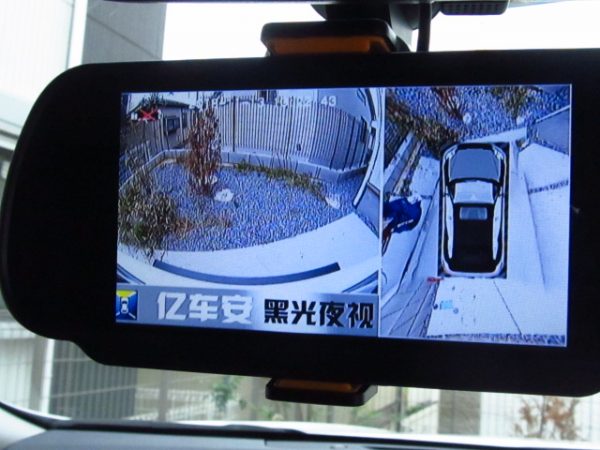
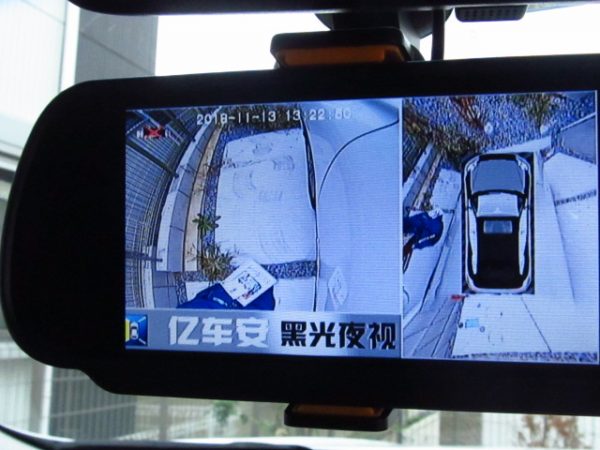
完成です左画面はバックカメラのみの映像右が上から見たイメージのアラウンドビュー映像です
この吸盤で付けるスタイルは…ですね

左側の画面はスイッチで各カメラへ切り替えが可能です
フロントカメラ映像
左サイドカメラ映像
右サイドカメラ映像
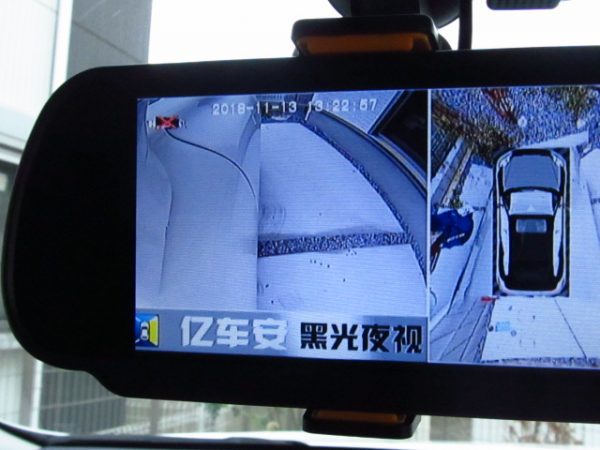
4カメラ4画面映像

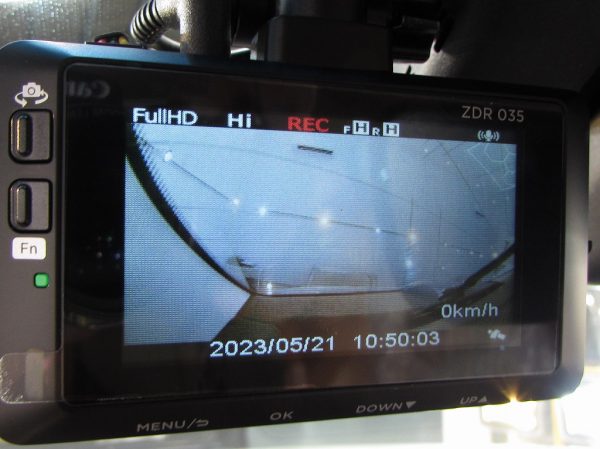
リアはなんてことない普通のカメラです奥の方に純正バックカメラが映っていますね
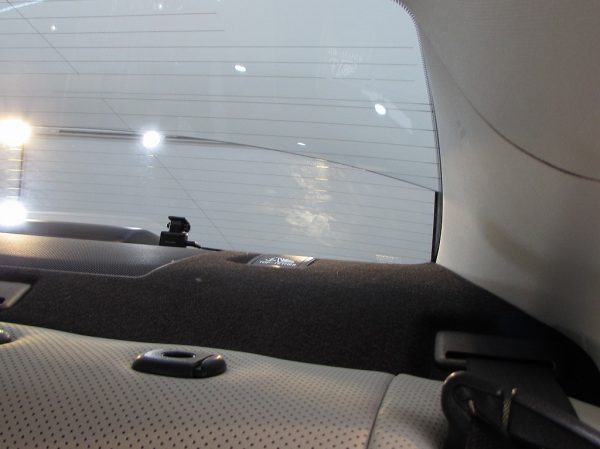
一番格好が悪くなってしまったのがフロントカメラ、これはどうアレンジしても設置場所も無く一番の問題はこの位置でなければアラウンドビューモニターとして画角が成り立たなかったのですオーナー様はご納得です
カーナビ、カメラ、ドライブレコーダーなど車の電気製品全般の商品持込、出張取り付けは是非サンライズガレージにご相談ください、東京、神奈川、埼玉、千葉、栃木、茨城、群馬等、関東近県どこでも出張取り付け致します。